(no subject)

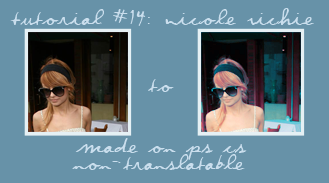
1] Prep your base however you usually would. Since the picture I used was of pretty decent quality all I did was brighten the picture up.
2] Duplicate the base, desaturate, and set it to soft light at 100%.
3] Create a Selective Colouring layer and set to the following:
REDS
c: -100
m: 26
y: 100
b: -16
YELLOWS
c: -84
m: 22
y: -37
b: -5
NEUTRALS
c: 31
m: -19
y: -19
b: -28
4] Create another Selective Colouring layer and set to the following:
REDS
c: -87
m: -23
y: -46
b: 26
YELLOWS
c: -45
m: -42
y: 12
b: -19
CYANS
c: -36
m: 24
y: 22
b: -28
NEUTRALS
c: 30
m: 3
y: -11
b: 0
5] Create a Hue/ Saturation layer and set to the following:
MASTER:
saturation: 25
REDS:
saturation: 10
CYANS:
saturation: 10
BLUES:
saturation: 10
MAGENTAS:
saturation: 7
6] Create one more Selective Colouring layer and set to the following:
REDS
c: 12
m: -17
y: -28
b: 19
YELLOWS
c: 1
m: 12
y: 12
b: -5
NEUTRALS
c: 45
m: 14
y: 12
b: -25
Set the layer to Lighten at 45%.
Depending on the picture you use you may have to play around with the neutrals' setting of the second selective colouring layer since it does turn everything white into a light blue hue.
And, for anyone who wants it, here is the psd file.
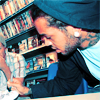
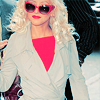
other results ::


