Tutorial: Vivid Coloring for PSP 7
Go from 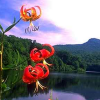
to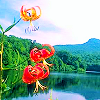
in just 10 steps.
Program Used: Paint Shop Pro 7
Difficulty: Beginner/Intermediate
Translatable: I believe so
Beginning Image:
Step 1: Sharpen your picture if needed (Effects > Sharpen > Sharpen).
Result:
Step 2: Change Automatic Color Balance (Effects > Enhance Photo > Automatic Color Balance); Strength 50, Temperature 6500.
Result: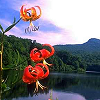
Step 3: Change Automatic Contrast Enhancement (Effects > Enhance Photo > Automatic Contrast Enhancement); Bias-Neutral, Strength-Normal, Appearance-Bold.
Result: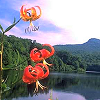
Step 4: Change Automatic Saturation Enhancement (Effects > Enhance Photo > Automatic Saturation Enhancement); Bias-More colorful, Strength-Strong).
Result: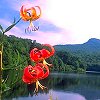
Step 5: Now, on to the actual layers. Copy background, paste as new layer, set to Softlight 100%.
Result: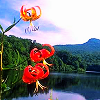
Step 6: Copy background again, put it above Softlight layer, set to Screen at 30% (this percentage depends on the icon you're using).
Result:
Step 7: Create new layer, floodfill with
(#F5E4B7), set to Softlight 100%.
Result: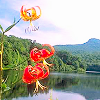
Step 8: Create new layer, floodfill with
(#C7ECF5), set to Burn 100%.
Result: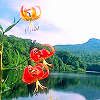
Step 9: Create new Color Balance layer (Layers > New Adjustment Layer > Color Balance), make sure Midtones is selected and Preserve luminosity is checked, set Color levels to -45, -21, -10.
Result:
Step 10: Create new Hue/Saturation/Lightness layer (Layers > New Adjustment Layer > Hue/Saturation/Lightness), set Saturation to 20.
Result:
And that's it. I hope this tutorial was helpful in achieving this type of coloring. Comments are always love. :)