(no subject)
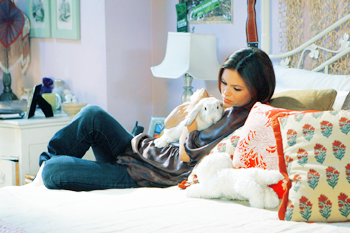
How to go from 
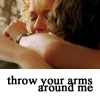
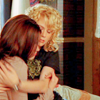
to
This tutorial was requested by
kimmy_willis from my post at the community
chic_lipstick. Involves basic selective colouring and was made using Photoshop CS2.
Start with you base (I don't usually crop icons until I've coloured the entire picture because that way you get to see the entire image coloured and can chose the best crop), I'm using this one.

1. Duplicate your base and set new layer to screen
2. New selective colouring layer-
Reds: -100, 0, 100, 0
3. New selective colouring layer-
Reds: -100, 0, 100, 0
Neutrals: 25, -11, -17, 5
4. New Hue/Saturation layer-
Saturation: +10
5. Merge layers
My image now looks like this:

Now crop however you feel is best and add text, texture or brushes if you feel they are necessary.

Using similar colouring:


For the OTH icons, and some of the OC icons step 2 has been omitted. Ultimately it depends on how red or blue you want your icons to be. This depends per picture and what effect you are after. For this reason, in some icons I have altered the cyan on the neutrals selective colour layer.
Feel free to ask questions or whatever. :)

to

This tutorial was requested by
kimmy_willis from my post at the community
chic_lipstick. Involves basic selective colouring and was made using Photoshop CS2.
Start with you base (I don't usually crop icons until I've coloured the entire picture because that way you get to see the entire image coloured and can chose the best crop), I'm using this one.

1. Duplicate your base and set new layer to screen
2. New selective colouring layer-
Reds: -100, 0, 100, 0
3. New selective colouring layer-
Reds: -100, 0, 100, 0
Neutrals: 25, -11, -17, 5
4. New Hue/Saturation layer-
Saturation: +10
5. Merge layers
My image now looks like this:

Now crop however you feel is best and add text, texture or brushes if you feel they are necessary.

Using similar colouring:
For the OTH icons, and some of the OC icons step 2 has been omitted. Ultimately it depends on how red or blue you want your icons to be. This depends per picture and what effect you are after. For this reason, in some icons I have altered the cyan on the neutrals selective colour layer.
Feel free to ask questions or whatever. :)