my first tutorial
I'm so excited!
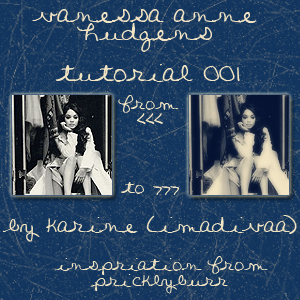
This was made in PSCS2.
1. Prep base.
I've found this tutorial works well with bad quality images as well as HQ pics.
Sharpen doesn't matter because we're going to blur anyway.
2. Duplicate base.
Filter >> Blur >> Gaussian Blur >> 2.0
3. Duplicate base.
Drag to top.
Soft Light >> 70% Opacity
4. New Fill Layer.
Layer >> New Fill Layer >> Solid Color
Use a dark blue color.
I used 11355e
Set to exclusion, around 65% opacity.
5. Duplicate Soft Light Layer.
Drag to top, 15% opacity
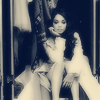
ALL DONE .. YAY!!
Tell me that wasn't easy!!
** If your icon is dark, you can add a brightness/contrast layer
Layer >> New Adjustment Layer >> Brightness/Contrast
Up the brightness to about 11.
i would love to see your outcomes. =]

This was made in PSCS2.
1. Prep base.
I've found this tutorial works well with bad quality images as well as HQ pics.
Sharpen doesn't matter because we're going to blur anyway.
2. Duplicate base.
Filter >> Blur >> Gaussian Blur >> 2.0
3. Duplicate base.
Drag to top.
Soft Light >> 70% Opacity
4. New Fill Layer.
Layer >> New Fill Layer >> Solid Color
Use a dark blue color.
I used 11355e
Set to exclusion, around 65% opacity.
5. Duplicate Soft Light Layer.
Drag to top, 15% opacity

ALL DONE .. YAY!!
Tell me that wasn't easy!!
** If your icon is dark, you can add a brightness/contrast layer
Layer >> New Adjustment Layer >> Brightness/Contrast
Up the brightness to about 11.


i would love to see your outcomes. =]