Yeah, another one...
Going from this: 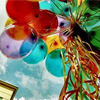
to this: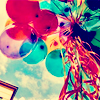
With Photoshop 7
So, step one... Do what you gotta do. Crop it, sharpen it, lighten it, blah blah blah...
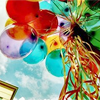
Step two, make a new layer and fill it with 001571 on Exclusion 70%. Play around with the opacity if you want.
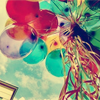
Another layer. Fill with FED9FF on Soft Light 100%
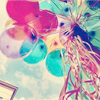
Use the selection tool and select the whole image, then go to Edit, Copy Merged, then Paste. Set that layer to Colour Burn 100%
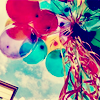
New Hue/Saturation layer. This is where you probably need to play around and see what looks best and what colours you really want to bring out.
This is what I did for this image:
Masters Sat: +15
Reds Sat: +35
Yellows Sat: +15
Cyans Sat: +5

Done already! My, my...
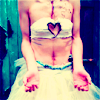
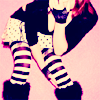
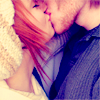
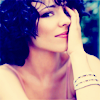
Here are some other icons made with this colouring:


to this:

With Photoshop 7
So, step one... Do what you gotta do. Crop it, sharpen it, lighten it, blah blah blah...

Step two, make a new layer and fill it with 001571 on Exclusion 70%. Play around with the opacity if you want.

Another layer. Fill with FED9FF on Soft Light 100%

Use the selection tool and select the whole image, then go to Edit, Copy Merged, then Paste. Set that layer to Colour Burn 100%

New Hue/Saturation layer. This is where you probably need to play around and see what looks best and what colours you really want to bring out.
This is what I did for this image:
Masters Sat: +15
Reds Sat: +35
Yellows Sat: +15
Cyans Sat: +5

Done already! My, my...
Here are some other icons made with this colouring:

