(no subject)
I know this picture has given quite a few people a good bit of grief, and I know there have been a couple of posts here about it. However, all the tutorials for it have been for Photoshop, and there haven't been many helpful tips for people who use PaintShopPro. So, I was playing around with it the other day, came up with something gorgeous, and decided to make my first tutorial. I've screencapped my every step, because when I first got started making icons, I would get frustrated with tutorials that would say, "Do this," and not tell you where "this" was located.
So, without further ado...
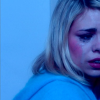
to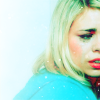
using PSP8.
Crop and resize your base to whatever you want.

Create a new Color Balance Layer
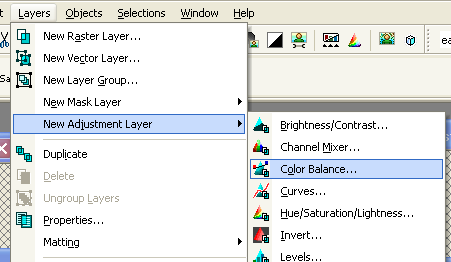
and drag the Yellow/Blue level all the way down to -100.
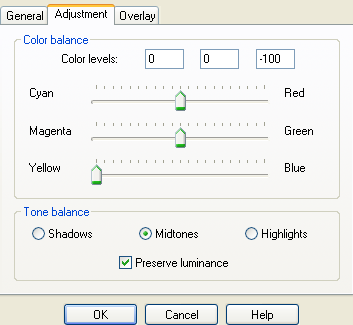
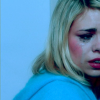
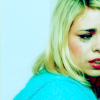
You picture should look like this now:

>
Next, duplicate the Color Balance Layer like this
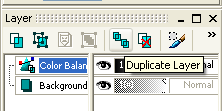
or this
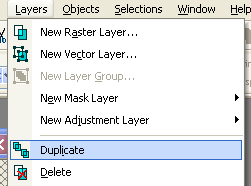
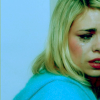
if you don't have the Layers Palette displayed. Your picture should look like this:

>
Now, merge the three layers.
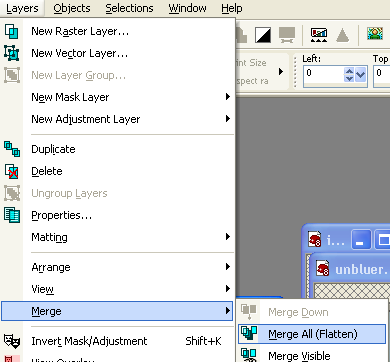
Duplicate the new merged layer as you did above, and set the duplicate to screen, like this if you have the Layers Palette displayed
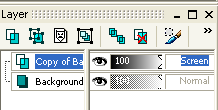
or this if you don't.
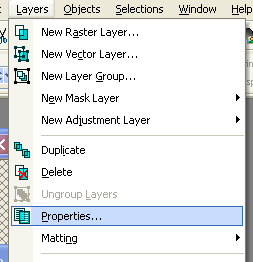
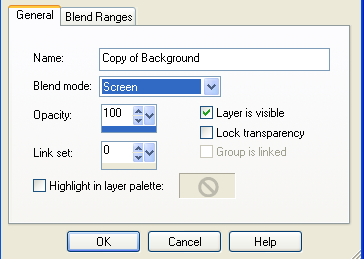
Your picture should look like this:

>
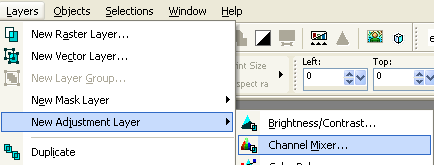
Now, because I wanted the reds to stand out, I added a Channel Mixer layer,
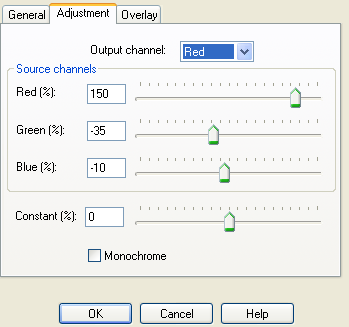
and brought out the reds and then balanced them with green and blue until I got the result I wanted. The result was R(150) G(-35) B(-10).
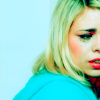
Your picture should now look like this:

>
And finally, I added this texture made by domeofstars
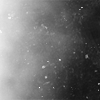
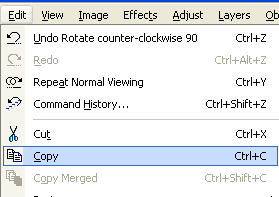
by copyng it
pasting it to the picture of Rose
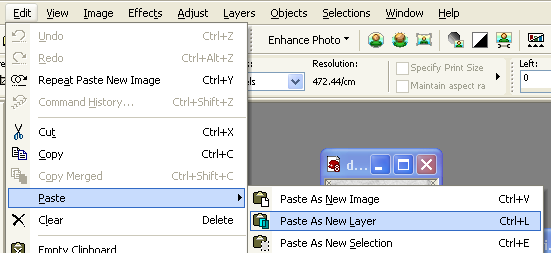
and setting it to screen as I did above.

>
The end!
I hope this helped. Let me know if you have any questions or suggestions for how I could make future tutorials better.
So, without further ado...
to
using PSP8.
Crop and resize your base to whatever you want.
Create a new Color Balance Layer
and drag the Yellow/Blue level all the way down to -100.
You picture should look like this now:
>
Next, duplicate the Color Balance Layer like this
or this
if you don't have the Layers Palette displayed. Your picture should look like this:
>
Now, merge the three layers.
Duplicate the new merged layer as you did above, and set the duplicate to screen, like this if you have the Layers Palette displayed
or this if you don't.
Your picture should look like this:
>
Now, because I wanted the reds to stand out, I added a Channel Mixer layer,
and brought out the reds and then balanced them with green and blue until I got the result I wanted. The result was R(150) G(-35) B(-10).
Your picture should now look like this:
>
And finally, I added this texture made by domeofstars
by copyng it
pasting it to the picture of Rose
and setting it to screen as I did above.
>
The end!
I hope this helped. Let me know if you have any questions or suggestions for how I could make future tutorials better.