Blend Tutorial
Photoshop cs2
Photo filter, Color balance, Selective color and Levels
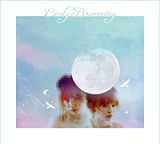
BASE
Start with your base. Preferably pictures with a light background. Blend them, sharpen, blur, however you prepare your base. I wanted to create a movement effect. I did this by duplicating my base, and applying the 'fragment filter' on it (filter -> pixelate), then erasing over face etc. My base:
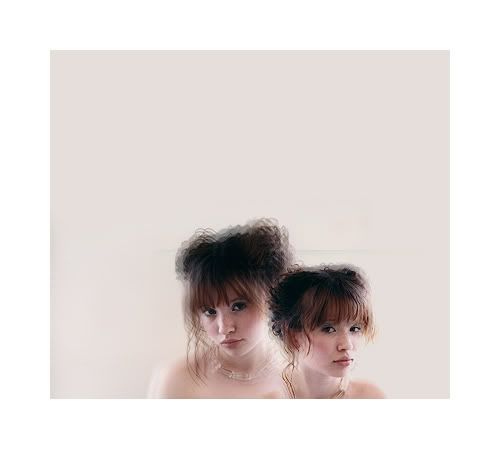
COLORING
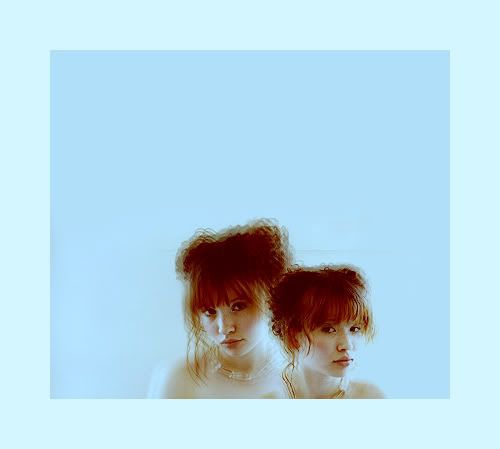
1. Fill a layer with the color #3e0000 and change the blend mode to exclusion 100%.
2. Layer - New Adjustment Layer - Photo Filter. Cooling filter (LBB), density 15% and preserve luminosity checked.
3. Layer - New Adjustment Layer - Color Balance.
MIDTONES: 14 30 -15
SHADOWS: 17 0 0
HIGHLIGHTS: 0 0 10
4. Layer - New Adjustment Layer - Selective Color.
YELLOWS: -32 0 100 0
NEUTRALS: 0 0 10 0
5. Layer - New Adjustment Layer - Levels. I only edited the RGB channel.
INPUT LEVELS: 34 1.18 255
OUTPUT LEVELS: 0 255
TEXTURES
1. Take a colorful texture and apply a gaussian blur to it. Or take a huge soft round brush and paint different colors on your canvas. Set this texture on darken 25%.
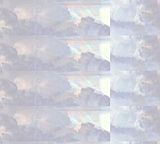
2. I wanted the background to have a more cloudy effect. I found the following image in my patterns window. I smudged the edges with the smudge tool and set the texture on color burn 100%. Erase over the faces.
It looks like THIS
now.
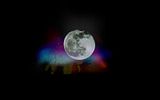
3. I took this texture by Babliz and set it on screen
It looks like THIS
now.
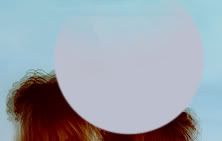
I didn't want the hair to shine through the moon. I added a new layer underneath the moon texture and painted a blue circle the same size as the moon.
MUCH BETTER
4. I want some more pink in it. Take a soft round brush and paint red blobs on a new layer. Change the blend mode to screen.
5. Added a bird texture on screen.
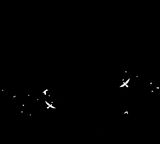
It looks like THIS
now.
6. Added this texture (by ?) on screen 60% opacity. Erase on the faces.
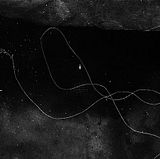
7. And finally added this texture on screen.
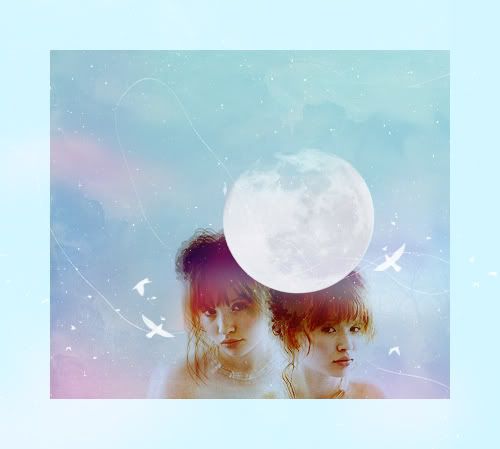
BORDER AND TEXT
1. Select your canvas and go to Edit -> Stroke. I added a 50px white border.
2. Repeat step 1 but add a 1px blue border.
3. I added text using the font 'Freebooter Script'.
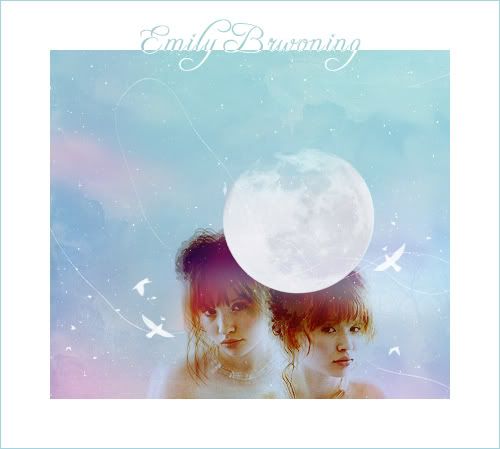
Original post HERE at
expose42
Photo filter, Color balance, Selective color and Levels

BASE
Start with your base. Preferably pictures with a light background. Blend them, sharpen, blur, however you prepare your base. I wanted to create a movement effect. I did this by duplicating my base, and applying the 'fragment filter' on it (filter -> pixelate), then erasing over face etc. My base:

COLORING
1. Fill a layer with the color #3e0000 and change the blend mode to exclusion 100%.
2. Layer - New Adjustment Layer - Photo Filter. Cooling filter (LBB), density 15% and preserve luminosity checked.
3. Layer - New Adjustment Layer - Color Balance.
MIDTONES: 14 30 -15
SHADOWS: 17 0 0
HIGHLIGHTS: 0 0 10
4. Layer - New Adjustment Layer - Selective Color.
YELLOWS: -32 0 100 0
NEUTRALS: 0 0 10 0
5. Layer - New Adjustment Layer - Levels. I only edited the RGB channel.
INPUT LEVELS: 34 1.18 255
OUTPUT LEVELS: 0 255

TEXTURES
1. Take a colorful texture and apply a gaussian blur to it. Or take a huge soft round brush and paint different colors on your canvas. Set this texture on darken 25%.

2. I wanted the background to have a more cloudy effect. I found the following image in my patterns window. I smudged the edges with the smudge tool and set the texture on color burn 100%. Erase over the faces.

It looks like THIS

now.
3. I took this texture by Babliz and set it on screen

It looks like THIS

now.
I didn't want the hair to shine through the moon. I added a new layer underneath the moon texture and painted a blue circle the same size as the moon.

MUCH BETTER

4. I want some more pink in it. Take a soft round brush and paint red blobs on a new layer. Change the blend mode to screen.

5. Added a bird texture on screen.

It looks like THIS

now.
6. Added this texture (by ?) on screen 60% opacity. Erase on the faces.

7. And finally added this texture on screen.


BORDER AND TEXT
1. Select your canvas and go to Edit -> Stroke. I added a 50px white border.
2. Repeat step 1 but add a 1px blue border.
3. I added text using the font 'Freebooter Script'.

Original post HERE at
expose42