Texture tutorial
This time, I am going to show you how to make textures like the ones I made in my previous texture post.
Some examples:
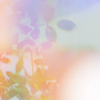
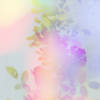
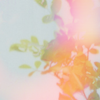
Made in Photoshop CS
Very translatable, and easy!:)
1. Start off with a blank canvas, size doesn't really matter, but say around 400-600px.
Mine is 351x500px (for whatever reason XP ).
2. Find yourself some stock images, about 8-10 of them.
Try to pick images with strong colors, and at least a couple which's red and/or yellow.
The idea here is just to make a pretty and colorful background for the texture.
I chose these ones:


3. So, take your first chosen picture, resize and/or crop it to whatever size your starting canvas is.
Go to Filter-> Blur-> Gaussian Blur, set the radius to about 30px, and click OK.
(You can also use Motion Blur or Radial Blur to make some variations in the picture if you want).
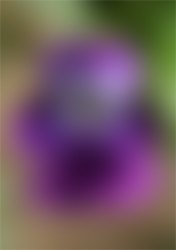
4. Duplicate the blurred image, and set the layer to Screen.
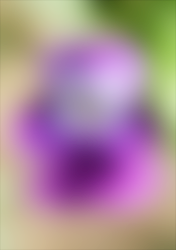
5. Duplicate the blurred image again, and set it to Color Burn.
You have now finished the first picture.
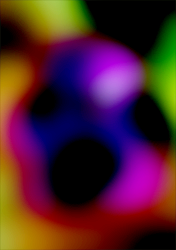
6. Now, do excactly the same to the other stock images you've chosen.
Only instead of doing the whole "Filter-> Blur-> Gaussian Blur" to all of them, you can just click Ctrl+F to repeat the last used filter.
(It's a really nice way to get more effecient in photoshop to learn all the short cuts!)
Here are the pictures so far:


7. So, basically what I do now, is just paste all the images into the starting canvas,
and put the settings to either Lighten or Screen to make a nice background.
I pasted the first picture into our starting canvas.
Then I pasted the next picture on top, put the setting to Lighten, and moved it a little.
If you get some rough edges, just soften them up using a big, soft eraser.
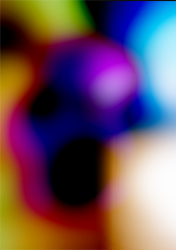
8. Then I pasted the next picture on top, put the setting to Screen, and moved that a little too:
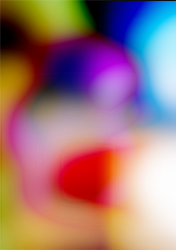
9. Then I pasted the next picture on top, put the setting to Screen, rotated it and moved it:
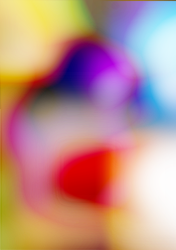
9. Then I pasted the next picture on top, put the setting to Lighten, rotated it and moved it:
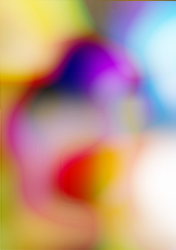
12. Then I pasted the next picture on top, put the setting to Screen, rotated and moved it:
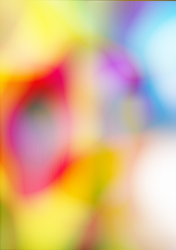
13. I pasted the next picture on top, but now I put the setting to Soft Light to enchance the colors a bit:
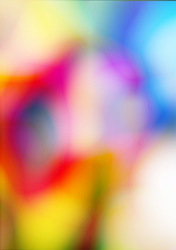
14. Then I pasted the last picture on top, put the setting to Lighten, rotated and moved it.
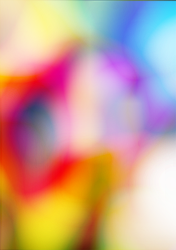
Now the hardest part is done!
15. Now, find yourself some nice stock images of flowers or grass or something.
All the puctures I used in my texture set, are located here in this superb flickr gallery:)
16. I used this and this image first.
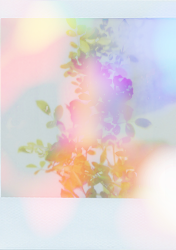
I pasted them both on my colorful background, moved them a little and sat them to lighten:
17. Well, that was basically it folks;D
Just use different flower stocks set to lighten and move them around, and crop them to your liking!:D
As always, I'd love to see your results, and go ahead and ask if I made anything unclear! ;)
PLEASE COMMENT AND ASK QUESTIONS HERE @ MY JOURNAL:)
Some examples:


Made in Photoshop CS
Very translatable, and easy!:)
1. Start off with a blank canvas, size doesn't really matter, but say around 400-600px.
Mine is 351x500px (for whatever reason XP ).
2. Find yourself some stock images, about 8-10 of them.
Try to pick images with strong colors, and at least a couple which's red and/or yellow.
The idea here is just to make a pretty and colorful background for the texture.
I chose these ones:


3. So, take your first chosen picture, resize and/or crop it to whatever size your starting canvas is.
Go to Filter-> Blur-> Gaussian Blur, set the radius to about 30px, and click OK.
(You can also use Motion Blur or Radial Blur to make some variations in the picture if you want).

4. Duplicate the blurred image, and set the layer to Screen.

5. Duplicate the blurred image again, and set it to Color Burn.
You have now finished the first picture.

6. Now, do excactly the same to the other stock images you've chosen.
Only instead of doing the whole "Filter-> Blur-> Gaussian Blur" to all of them, you can just click Ctrl+F to repeat the last used filter.
(It's a really nice way to get more effecient in photoshop to learn all the short cuts!)
Here are the pictures so far:


7. So, basically what I do now, is just paste all the images into the starting canvas,
and put the settings to either Lighten or Screen to make a nice background.
I pasted the first picture into our starting canvas.
Then I pasted the next picture on top, put the setting to Lighten, and moved it a little.
If you get some rough edges, just soften them up using a big, soft eraser.

8. Then I pasted the next picture on top, put the setting to Screen, and moved that a little too:

9. Then I pasted the next picture on top, put the setting to Screen, rotated it and moved it:

9. Then I pasted the next picture on top, put the setting to Lighten, rotated it and moved it:

12. Then I pasted the next picture on top, put the setting to Screen, rotated and moved it:

13. I pasted the next picture on top, but now I put the setting to Soft Light to enchance the colors a bit:

14. Then I pasted the last picture on top, put the setting to Lighten, rotated and moved it.
Now the hardest part is done!

15. Now, find yourself some nice stock images of flowers or grass or something.
All the puctures I used in my texture set, are located here in this superb flickr gallery:)
16. I used this and this image first.
I pasted them both on my colorful background, moved them a little and sat them to lighten:

17. Well, that was basically it folks;D
Just use different flower stocks set to lighten and move them around, and crop them to your liking!:D
As always, I'd love to see your results, and go ahead and ask if I made anything unclear! ;)
PLEASE COMMENT AND ASK QUESTIONS HERE @ MY JOURNAL:)