(no subject)
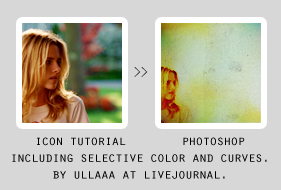
first of all, this is tied to THIS tutorial (by me). i suggest you to read that one, too 'cause we use the same coloring.
so for example, if i write 2b, it means that the layer comes after the layer 2 which is on the another tutorial.
i won't be copying and pasting stuff 'cause this would be really long .___.
this is mainly using textures and layer mask.
(about the textures, if you know any of those makers i'm missing, please tell ^__^)
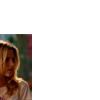
1a. create a new canvas, 100x100px.
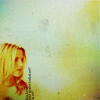
open your picture, crop and resize it to size you want. copy and paste this to the blank canvas. (or duplicate > click the layer on right > duplicate the layer > select the right file on drop down-thingy.)
place it wherever you want.
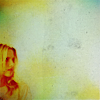
result:
b. create a layer mask to your picture which is on blank canvas. layer > layer mask > reveall all
make sure you've got the layer mask "box" selected (you can see the white border around it.)
choose a brush. then the colors: black erases, white brings it back.
it's useful if you erase too much, you can always get it back : D
result:

c. i duplicate the layer three times.
1. screen 100%
2.screen 100%
3. screen 47%
result:

notice that you don't probably need these, my picture is dark and the coloring/textures makes it darker, so if it is dark after all, duplicate then.
now comes layers 2, 3, 4 from the other tut.
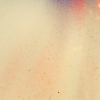
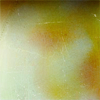
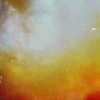
4b. add this texture:
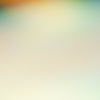
by who?
set to multiply 100%
result:
then comes layers 5-14.
14b.
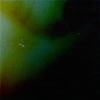
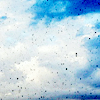
this texture:
by spooky_window
multiply 9%
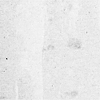
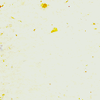
c.
by kiho_chan
color burn 100%
d.

by kiho_chan
darken 32%
e.
by kiho_chan
multiply 19%
f.
by who?
multiply 48%
g.
by piemin
soft light 100%
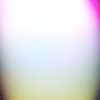
h.
by piemin
screen 100%
(this can look horrible, skip this or rotate the texture that the light part isn't on your picture.)
i.
by treasuresex
multiply 27%
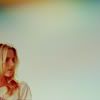
then layer 15.
15b.
by who?
multiply 87%
tadaa, you're done :---D
that was easy.
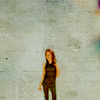
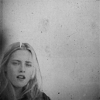
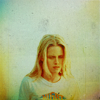
other icons using similar technique:
other textures to use:
by kiho_chan

by chaoticfae
by bea_lost
by tove_91

by who?

by who?

by gothic_mischief

by bambinainnero
download .psd
- questions? just ask : >
- comments make my day!
- i'd love to see your results
- enjoyyy!
original post at my journal