Anime Coloring/Mask Tutorial
Learn how to go from
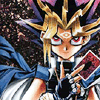
to

in PS 7

First, crop your image to 100x100 pxl, and use Auto Levels/Auto Contrast/Auto Color.
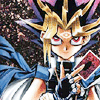
Then, duplicate the base, and set it to screen, 50%.
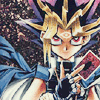
Next, create a new layer, fill it with #1A1A3A and set it to exclusion, 50% opacity.

Now, create a another new layer, fill it with #EEE6CD and set it to multiply, 100%.
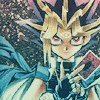
Then, paste this gradient (by gender), and set it to softlight, 80%.
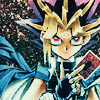
Duplicate the base, move it to the top and set it to softlight, 100%.

Repeat the last step, but set the new layer to softlight, 50%.
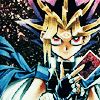
Repeat the step once more, but desaturate the layer, and set it to softlight, 50%.

Here's where it gets a little tricky, since I didn't use a mask brush, but created one from another texture. I took this texture (by gender), and used Auto Levels on it so it looked like this. Then, I destaurated it. Finally, I used Brightness and Contrast, to darken the texture until the dark grey was black (like this) and pasted it onto my layer set. I set it to lighten, 100%

Next, add this light texture (also by gender) and set it to lighten, 100%.

Finally, add your text, and you're done! I used these settings for my text. :)
If you have any questions, feel free to ask. Lemme know what you get out of the tutorial, but please don't copy the icon completely. :D