[picspam] Process of a Zombie
I've had some questions in the past as to what I use/how I create my special effects makeup. I know that there are real artists out there who do this sort of stuff a million times better than me, but this a tutorial/example for those who just wanna spiff up their costumes with that extra bit.
So! Here's me. Attempting to explain my process.
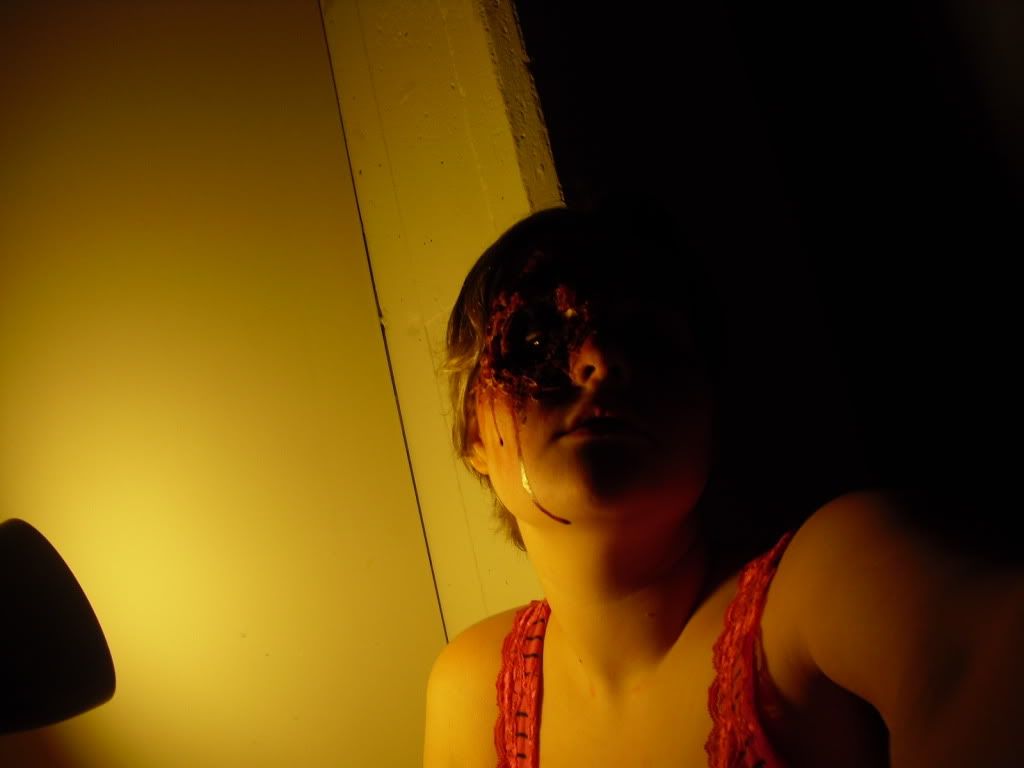
The completed result, with some creepy lighting for effect.
First things first. Your supplies. Professionals use all sorts of crazy stuff but, we're not professionals. So let's figure out the basics.
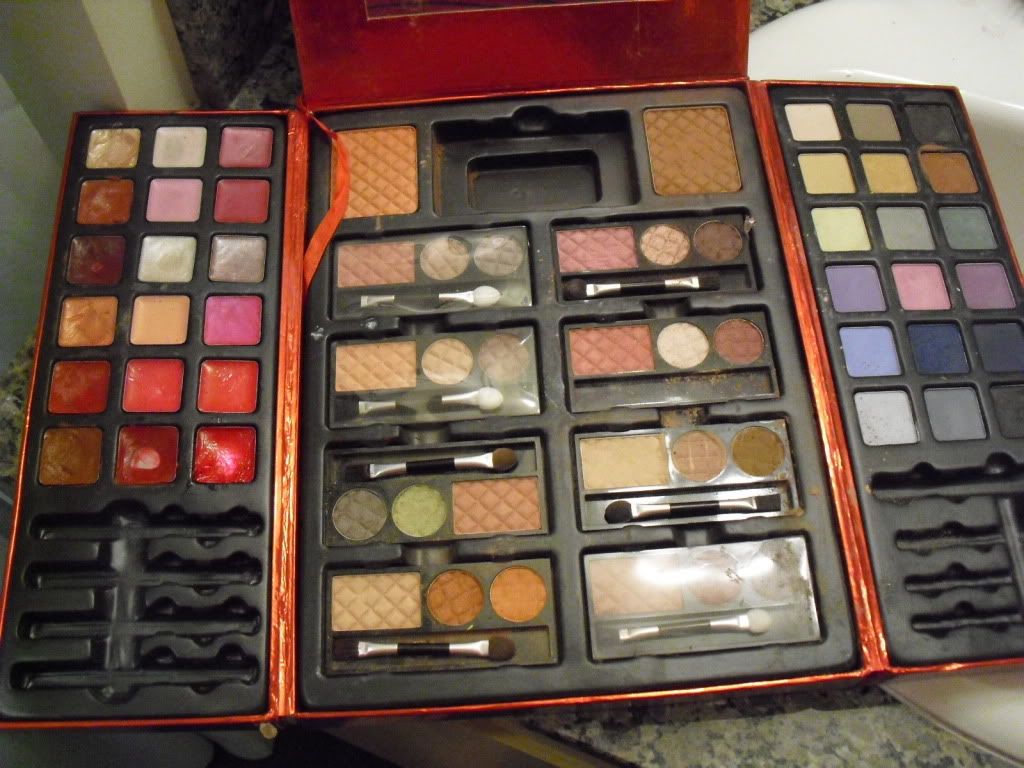
Yup. That is honest to god what I use for my effects. It doesn't always look completely real, but the effects are good enough to complete a costume.
Use any sort of makeups you have lying around. I favor the lip glosses and skin-colored foundations.
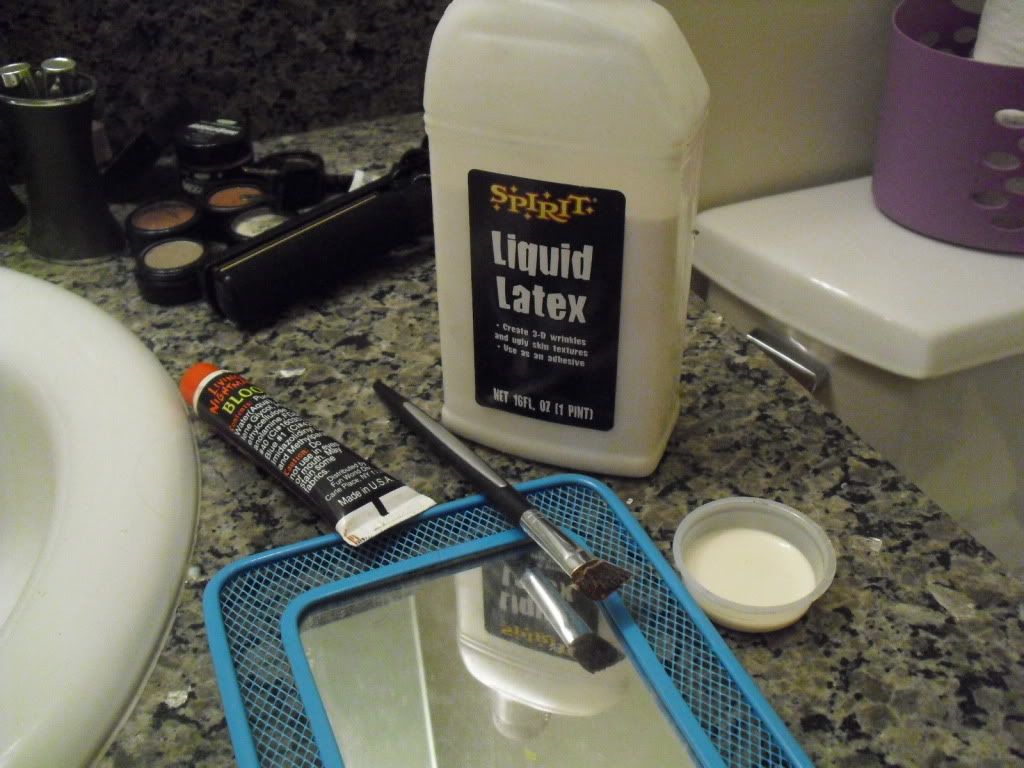
This is where you might have problems. Some liquid latex and fake blood are always a must. If you can't get your hands on liquid latex, grab some glue, water it down just a tad and use that. If you want to create texture with the glue, you'll need to add flour or baby power and smear it in there.
There are tons of fake blood recipes online you can use, but I'm lazy and usually use whatever fake blood I have laying around from Halloween.
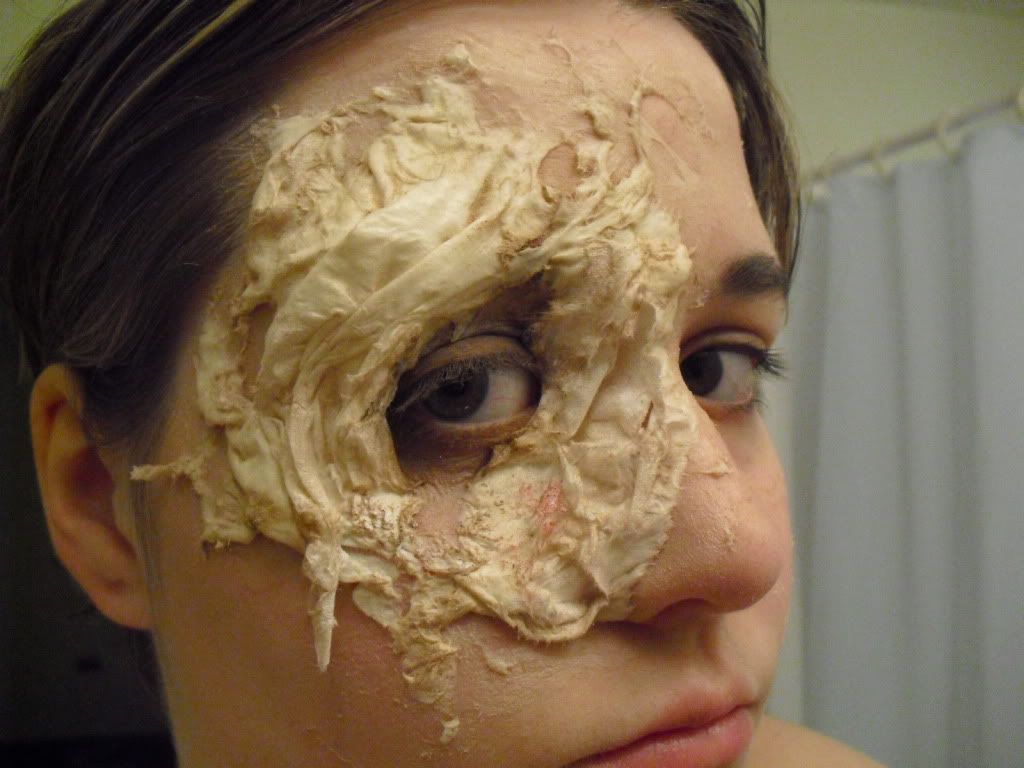
Next, to create the actual 3-D wound, you'll need toilet paper. I prefer the untextured kind, but whatever you have will work fine as long as you pay attention to blending out the texture (having weird flower designs just looks odd).
Apply the toilet paper to the desired area, using the liquid latex/glue around the edges. CAREFUL! Liquid latex can be a bitch to remove! Avoid getting it in the eye/nose/mouth area (even though I did that in my makeups) as much as possible. It will sting your eyes/nose just being close to them. Also, if you have a skin allergy, don't use the liquid latex. Please don't.
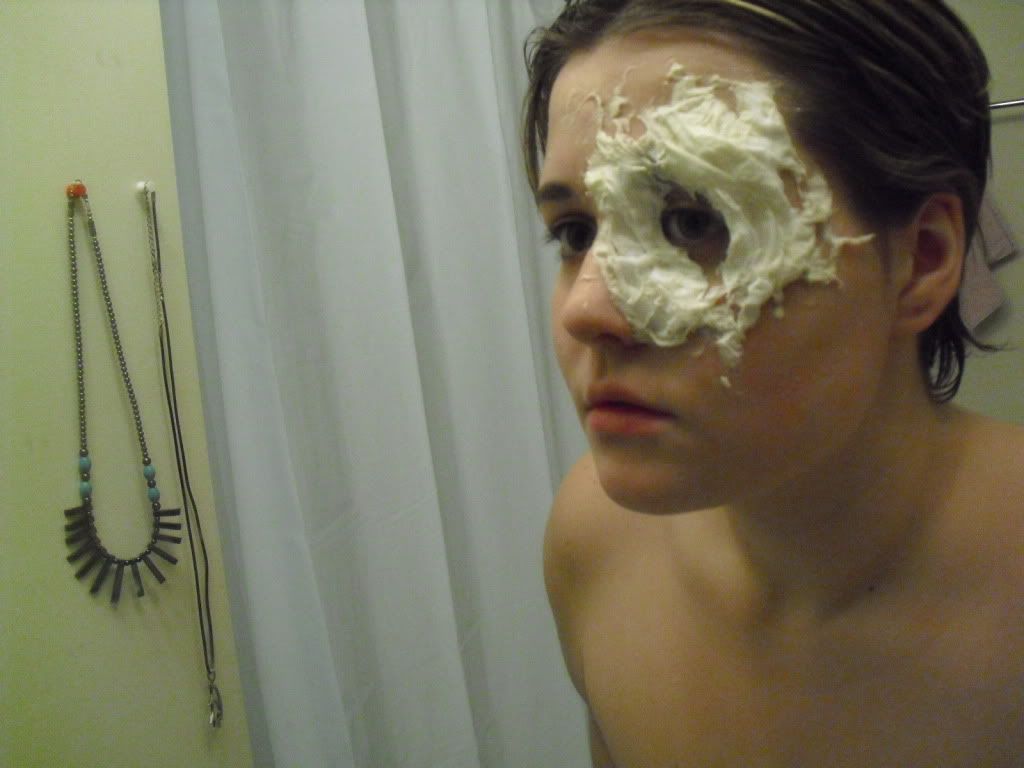
Here's what it looked like once I applied the toilet paper and ripped it open in the middle for my eye.
Creating Rips:
Being creative with this and let it go anywhere! Don't think that there is a really set process. The messier, the better in my opinion! Also, try smudging the liquid latex around as you apply it. It creates really gross textured effects. :]
Next step!
Blending in the area.
Take your foundation/skin colored makeup and just smooth it over the edges. If it's a powder, go around and dash it everywhere. This just makes it easier to blend later on.
Next!
Coloring!
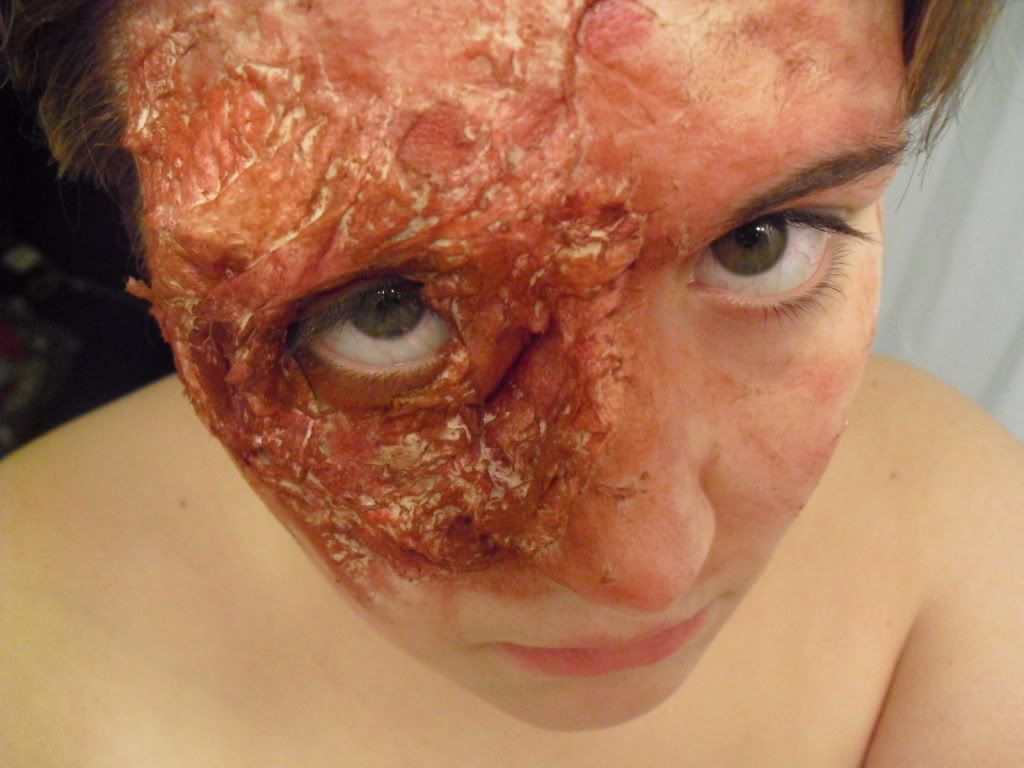
Begin with your coloring process! Use light browns/reds/creams to begin coloring in your face. Again, let this go anywhere! Pay attention to darkening where there are creases, dips and folds in the texture. This helps add some realism.
Next!
Shadowing!
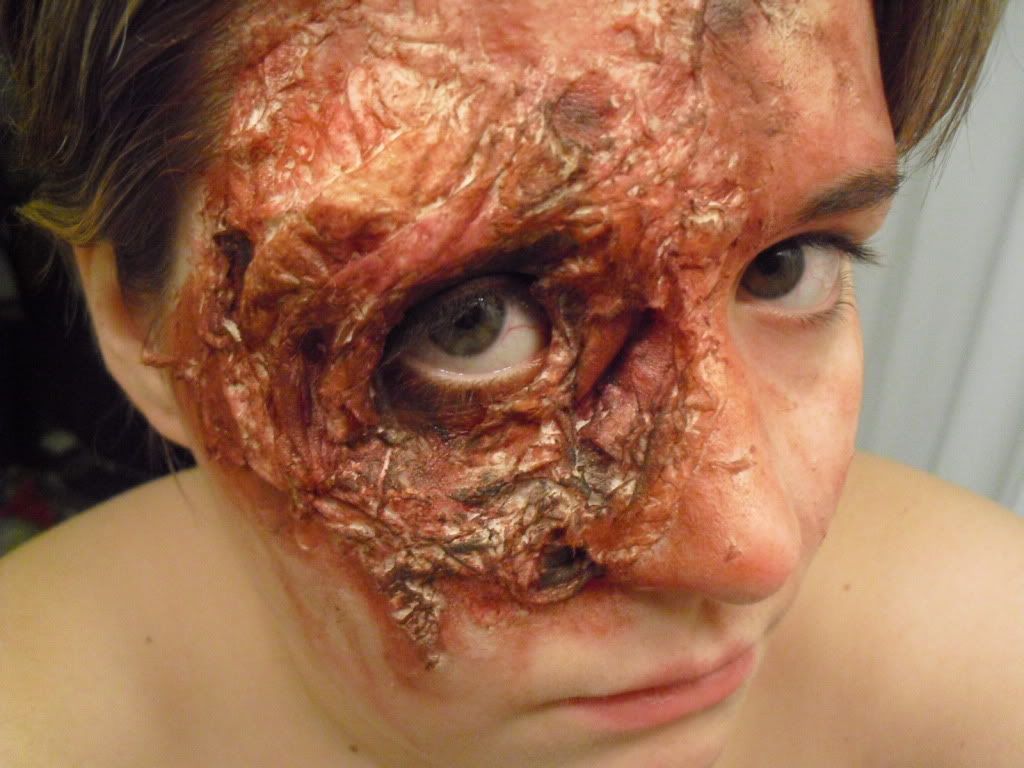
This is a fairly important process. Shadowing with black/dark brown/dark red is vital to making the creation pop and even more realistic. Make sure to hit any 'natural' shadows already created with your coloring skills.
Finally!
Add the blood!
Pay attention to any areas where blood looks right. If you don't want this to be a fresh looking wound, you can skip this step. I personally love adding the blood and never miss the chance to do it. Let it drip with gravity and add little splashes here and there. Don't go toooo overboard (unless that's really what you want!) and you're good to go!
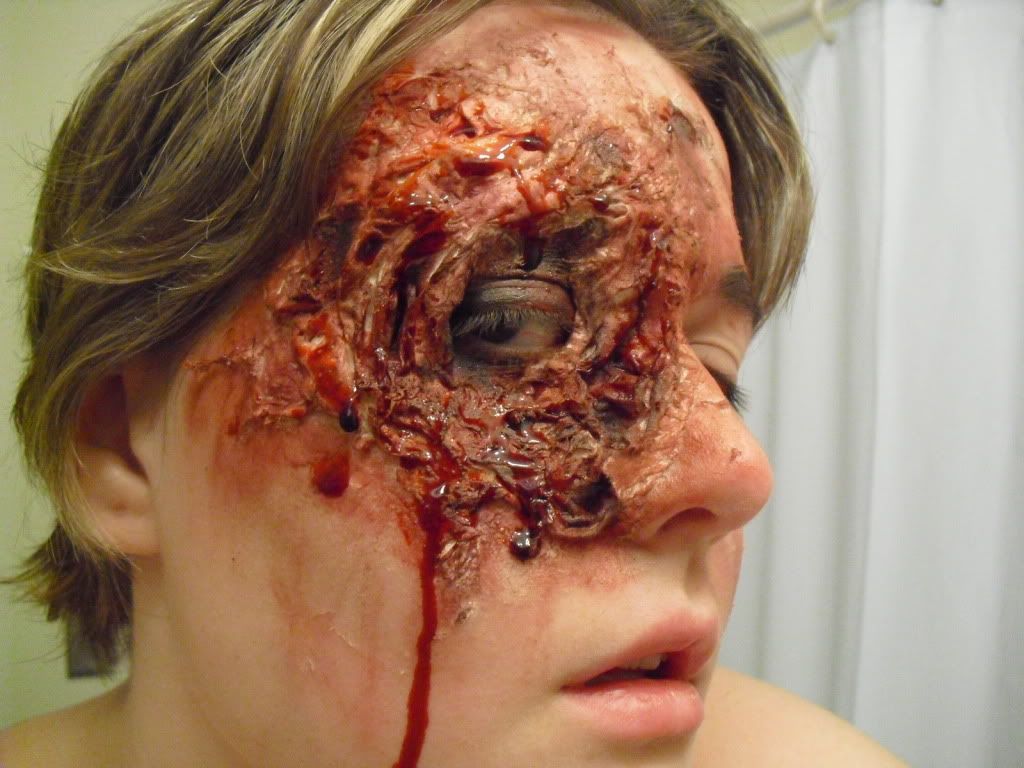
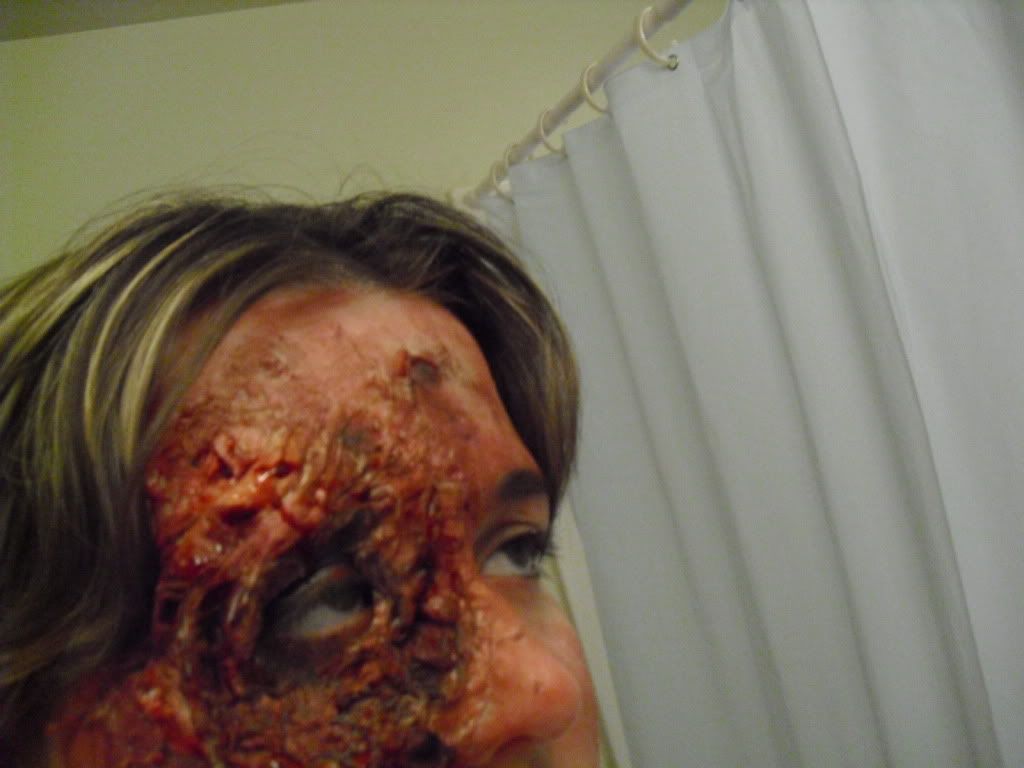
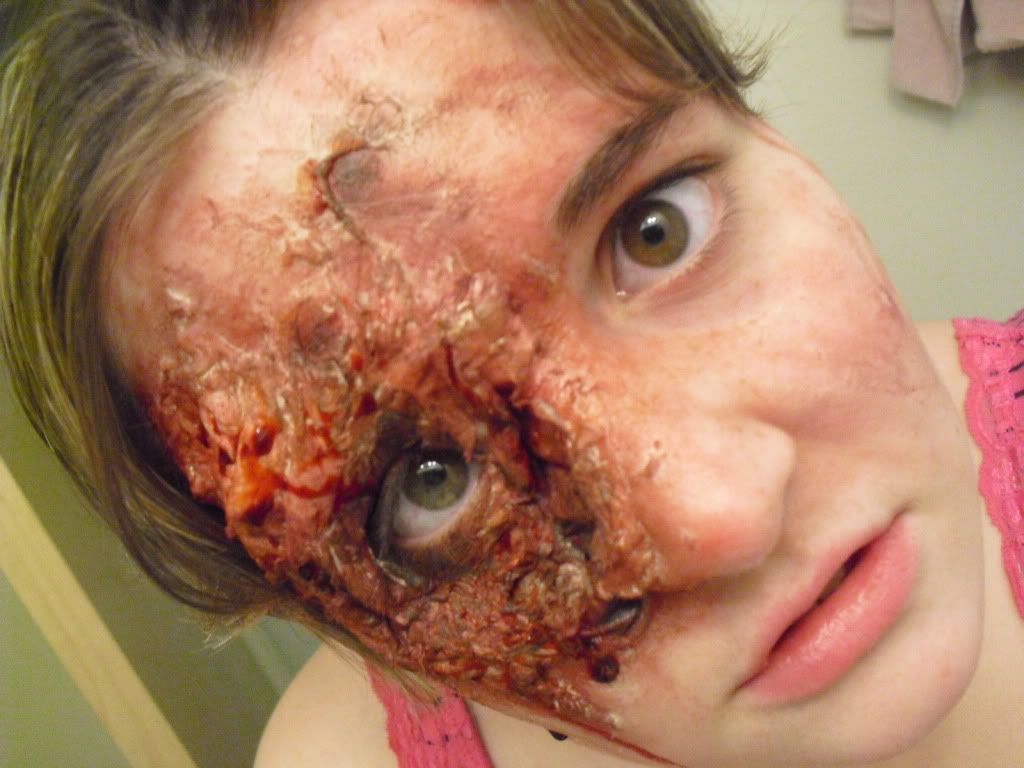
For pictures, play around with different lighting sources/angles and see what you can get. This sort of makeup is meant for the more practical user, so the pictures might not turn out so great! But for working at a haunted house, it works beautifully! In the darker spaces, people see it quickly and are more apt to be freaked out.
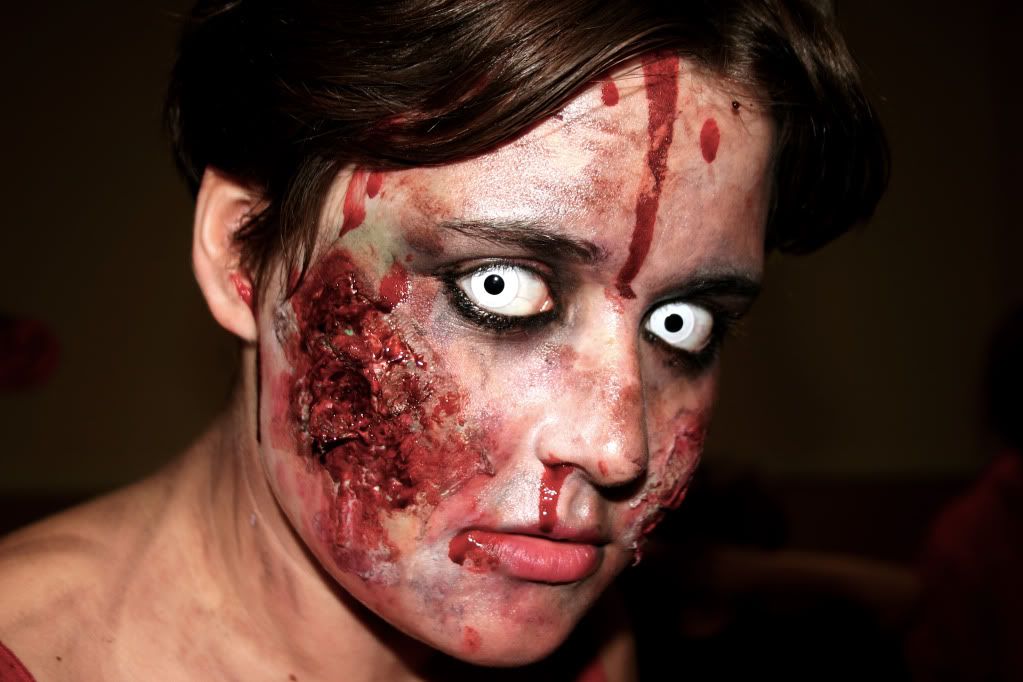
The same techniques (as well as some contacts) were also used to achieve my personal favorite look:
Good luck, be creepy and thanks for reading!
So! Here's me. Attempting to explain my process.
The completed result, with some creepy lighting for effect.

First things first. Your supplies. Professionals use all sorts of crazy stuff but, we're not professionals. So let's figure out the basics.

Yup. That is honest to god what I use for my effects. It doesn't always look completely real, but the effects are good enough to complete a costume.
Use any sort of makeups you have lying around. I favor the lip glosses and skin-colored foundations.

This is where you might have problems. Some liquid latex and fake blood are always a must. If you can't get your hands on liquid latex, grab some glue, water it down just a tad and use that. If you want to create texture with the glue, you'll need to add flour or baby power and smear it in there.
There are tons of fake blood recipes online you can use, but I'm lazy and usually use whatever fake blood I have laying around from Halloween.
Next, to create the actual 3-D wound, you'll need toilet paper. I prefer the untextured kind, but whatever you have will work fine as long as you pay attention to blending out the texture (having weird flower designs just looks odd).
Apply the toilet paper to the desired area, using the liquid latex/glue around the edges. CAREFUL! Liquid latex can be a bitch to remove! Avoid getting it in the eye/nose/mouth area (even though I did that in my makeups) as much as possible. It will sting your eyes/nose just being close to them. Also, if you have a skin allergy, don't use the liquid latex. Please don't.

Here's what it looked like once I applied the toilet paper and ripped it open in the middle for my eye.
Creating Rips:
Being creative with this and let it go anywhere! Don't think that there is a really set process. The messier, the better in my opinion! Also, try smudging the liquid latex around as you apply it. It creates really gross textured effects. :]
Next step!
Blending in the area.
Take your foundation/skin colored makeup and just smooth it over the edges. If it's a powder, go around and dash it everywhere. This just makes it easier to blend later on.

Next!
Coloring!
Begin with your coloring process! Use light browns/reds/creams to begin coloring in your face. Again, let this go anywhere! Pay attention to darkening where there are creases, dips and folds in the texture. This helps add some realism.

Next!
Shadowing!
This is a fairly important process. Shadowing with black/dark brown/dark red is vital to making the creation pop and even more realistic. Make sure to hit any 'natural' shadows already created with your coloring skills.

Finally!
Add the blood!
Pay attention to any areas where blood looks right. If you don't want this to be a fresh looking wound, you can skip this step. I personally love adding the blood and never miss the chance to do it. Let it drip with gravity and add little splashes here and there. Don't go toooo overboard (unless that's really what you want!) and you're good to go!


For pictures, play around with different lighting sources/angles and see what you can get. This sort of makeup is meant for the more practical user, so the pictures might not turn out so great! But for working at a haunted house, it works beautifully! In the darker spaces, people see it quickly and are more apt to be freaked out.
The same techniques (as well as some contacts) were also used to achieve my personal favorite look:

Good luck, be creepy and thanks for reading!