Tutorial #9
I've got extremely simple tutorial for you this time. But I'm bored and have nothing else to do so here you go.
We'll be going from
to
1. We start with this base:
2. New adjustment layer->curves
input: 49
output: 70
RESULT: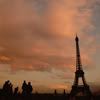
3. Duplicate the curves layer so that you have 2 of them on the top of your base
RESULT:
4. Create a new layer and fill it with #ffcc66. Set this layer to multiply at 20% opacity
RESULT: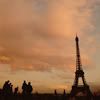
5. New adjustment layer->selctive color
REDS: -100, +35, +40, 0
YELLOWS: -20, -35, -70, 0
NEUTRALS: 20, 5, 10, -20
RESULT: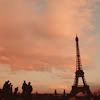
6. New adjustment layer->color balance
MIDTONES: -28, -15, -16
SHADOWS: -13, 0, -16
RESULT: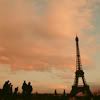
7. Copy backround layer and drag it on top of everything. Go to Filters->Blur->Gaussian blur. Set radius to 1,0 and click 'OK'.
RESULT: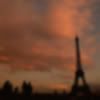
8. Set the blurred layer to soft light 100% opacity
RESULT:
9. New adjustment layer->selective color
REDS: -100, 50, 50, 0
NEUTRALS: 65, -30, -20, 0
RESULT: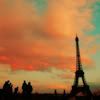
10. New adjustment layer->brightness/contrast
BRIGHTNESS: -15
CONTRAST: 1
RESULT:
11. New adjustment layer->color balance
HIGLIGHTS: 7, 3, 11
MIDTONES: 18, -9, 12
SHADOWS: -18, 10, 15
RESULT:
12. Take this texture by eternalphoenix_ resize it and put it on top of your icon. Set it to lighten at opacity 100%
RESULT: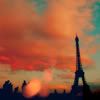
13. Take this:
texture by damnicons and put it on top of your icon. Set it to multiply 100% opacity.
RESULT:
AND YOU'RE DONE!