Tutorial #10
This is a tutorial requested by tanusik_devil. The coloring is almost the same as the one from my previous tutorial, I'm writing it again because this one is a request but if you followed my previous tut then you really don't have to follow this one, because it's very similar. Only effect are different.
We'll be going from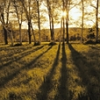
to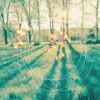
1. We start with this base:
2. Duplicate your base and set it to screen opacity 20% (it depends on a picture if it's very dark set a higher opacity, and if it's not dark at all don't copy the base, you won't need it)
RESULT: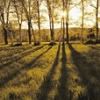
3. New adjustment layer->curves
Input: 49
Output: 70
RESULT: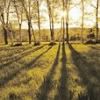
4. Duplicate curves layer
RESULT: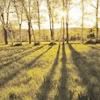
5. Make a new layer, fill it with #eab75f, set this layer to multiply 20% opacity
RESULT: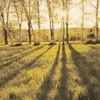
6. New adjustment layer->selctive color
REDS: -100, +35, +40, 0
YELLOWS: -20, -35, -70, 0
NEUTRALS: 20, 5, 10, -20
RESULT: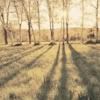
7. New adjustment layer->color balance
MIDTONES: -28, -15, -16
SHADOWS: -13, 0, -16
RESULT: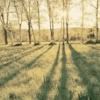
8. New adjustment layer->selective color
REDS: -100, 50, 50, 0
NEUTRALS: 65, -30, -20, 0
RESULT:
9. New adjustment layer->hue/saturation
SATURATION: +6
RESULT:
10. Add some effects. I've added a circle brush by risha_art
RESULT:
11. I've also added a light texture by eternalphoenix_
RESULT:
We'll be going from

to

1. We start with this base:

2. Duplicate your base and set it to screen opacity 20% (it depends on a picture if it's very dark set a higher opacity, and if it's not dark at all don't copy the base, you won't need it)
RESULT:

3. New adjustment layer->curves
Input: 49
Output: 70
RESULT:

4. Duplicate curves layer
RESULT:

5. Make a new layer, fill it with #eab75f, set this layer to multiply 20% opacity
RESULT:

6. New adjustment layer->selctive color
REDS: -100, +35, +40, 0
YELLOWS: -20, -35, -70, 0
NEUTRALS: 20, 5, 10, -20
RESULT:

7. New adjustment layer->color balance
MIDTONES: -28, -15, -16
SHADOWS: -13, 0, -16
RESULT:

8. New adjustment layer->selective color
REDS: -100, 50, 50, 0
NEUTRALS: 65, -30, -20, 0
RESULT:

9. New adjustment layer->hue/saturation
SATURATION: +6
RESULT:

10. Add some effects. I've added a circle brush by risha_art
RESULT:

11. I've also added a light texture by eternalphoenix_
RESULT:
