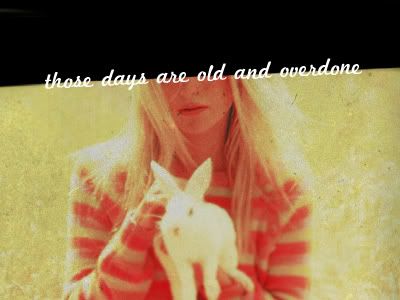
Tutorial #11
Here's another tutorial requested by tanusik_devil. It's a banner this time. It's a very usefull coloring I'm using it like all the time so you can use it however you want: icon, banner, wallpaper it's up to your imagination.
We'll be going from THIS to THIS
1. We start with this base:
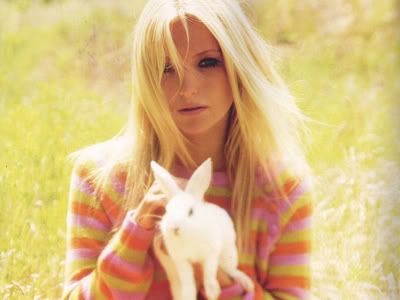
2. Create a new layer and fill it with #fffc00. Set it to soft light 100% opacity.
RESULT: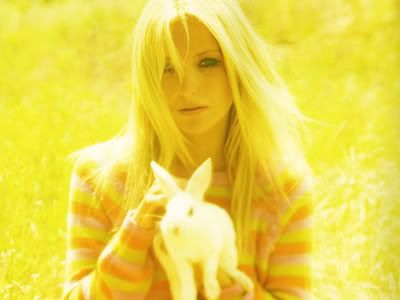
3. New adjustment layer->selective color
REDS: -100, 0, 100, 100
YELLOWS: -25, 0, -20, 0
NEUTRALS: 70, -20, -80, 15
Set this adjustment layer to 60% opacity
RESULT: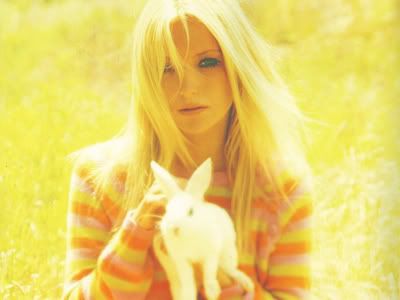
4. New adjustment layer-> selective color
REDS: -100, 100, 100, 100
YELLOWS: 0, 0, -65, 0
NEUTRALS: 0, 0, 0, 15
BLACKS: 0, 0, 0, 20
RESULT: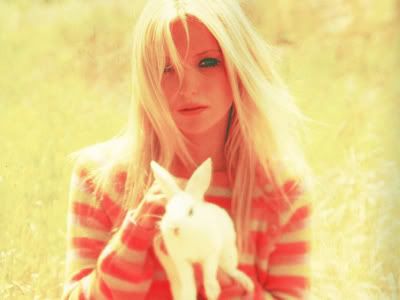
5. New adjustemnt layer-> brightness/contrast
BRIGHTNESS: -5
CONTRAST: 10
RESULT: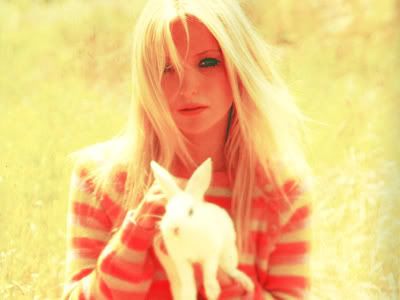
6. Add a texture by pink_1lady and set it to multiply 100%
RESULT: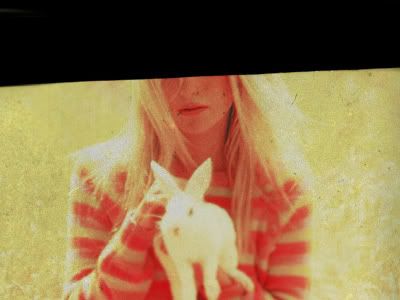
7. Add some text I added: "those days are old and overdone" written with font Marketing Script
RESULT:
We'll be going from THIS to THIS
1. We start with this base:

2. Create a new layer and fill it with #fffc00. Set it to soft light 100% opacity.
RESULT:

3. New adjustment layer->selective color
REDS: -100, 0, 100, 100
YELLOWS: -25, 0, -20, 0
NEUTRALS: 70, -20, -80, 15
Set this adjustment layer to 60% opacity
RESULT:

4. New adjustment layer-> selective color
REDS: -100, 100, 100, 100
YELLOWS: 0, 0, -65, 0
NEUTRALS: 0, 0, 0, 15
BLACKS: 0, 0, 0, 20
RESULT:

5. New adjustemnt layer-> brightness/contrast
BRIGHTNESS: -5
CONTRAST: 10
RESULT:

6. Add a texture by pink_1lady and set it to multiply 100%
RESULT:

7. Add some text I added: "those days are old and overdone" written with font Marketing Script
RESULT:
