~ tutorial: mini-movie
[ mood | 
working]
Mini-movie tutorial requested by idiotez
You will use: Windows Movie Maker, Photoshop 7.1 and ImageReady 7.1
NOTES: My english is not so good and my programs are in portuguese :)
1. We are going to start with the video:
- I dowloaded this video at http://24la.net/
2. At Windows Movie Maker you will cap it, frame by frame:
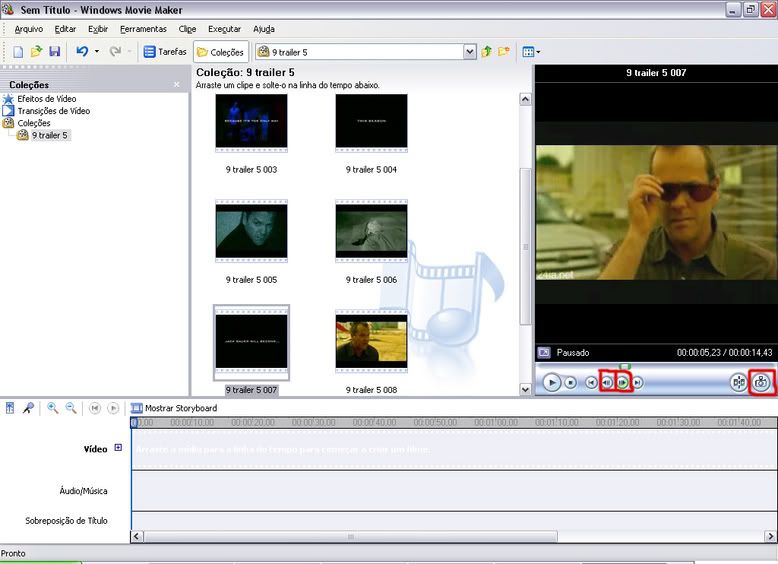
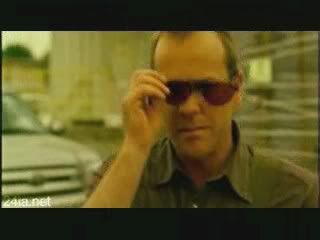
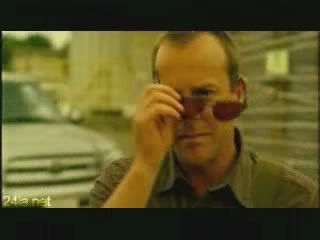
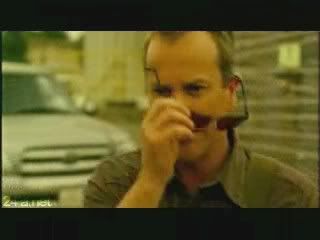
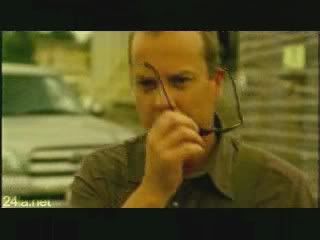
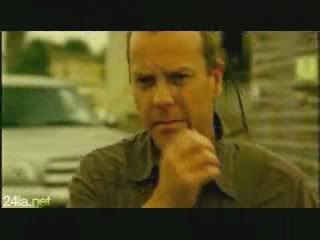
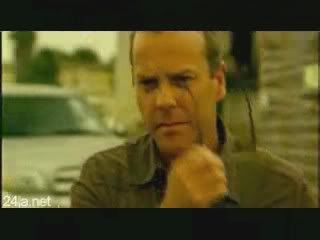
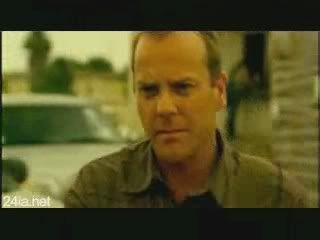
3. Now you’ll open ImageReady 7.1 make sure the Animation palette is visible. If it is not, choose Window > Show Animation to make it visible:
- Cap by cap you will copy and past at ImageReady 7.1:
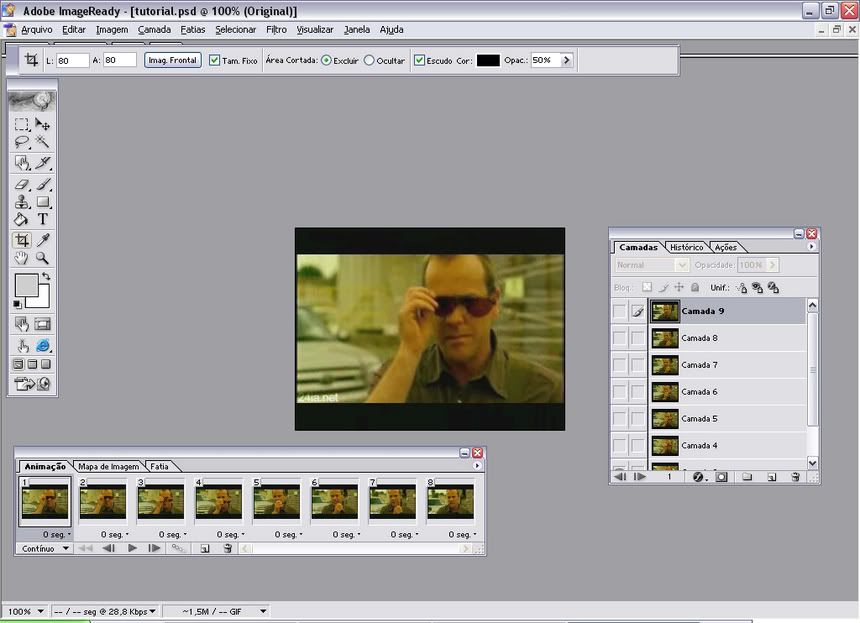
- Now you have this gif:
4. Cropped this gif to 80x80:
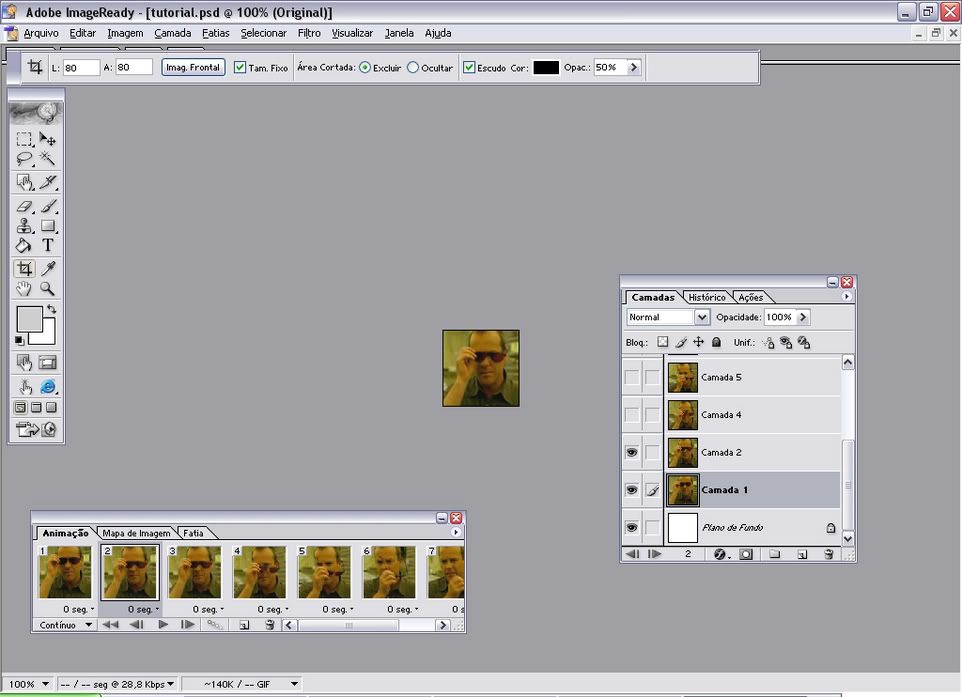
- You will have this gif:

5. Now at PhotoShop make a new image, 100x100 pixels and add this brushe from 77words:

6. One by one in a new image you will select and copy frame by frame from your gif at ImageReady and paste at Photoshop, I add this curve:
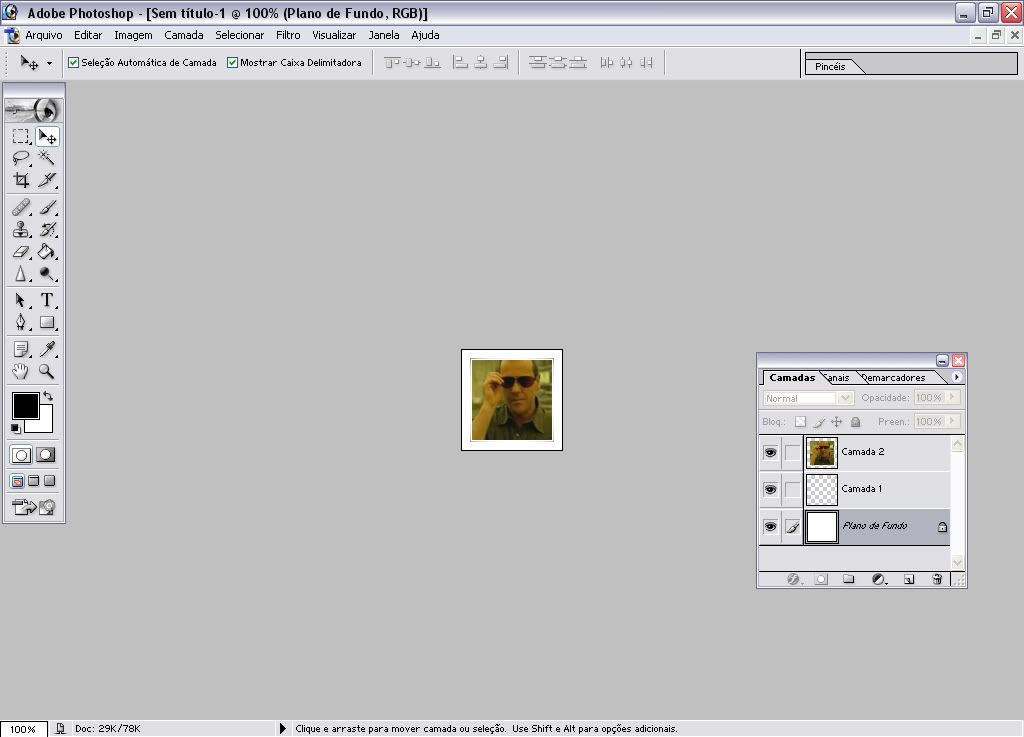
- In the last two images you will set it on screen at 70% and the other at 30% you will have these images:


- If you want you can add a text. In a new image add the border and the text, I add “jack is back” using arial.

8. These are the images:


9. Ok! Now at ImageReady you will put all together:
- Open a new image, 100x100, and you will copy & paste "one by one" the frames you did:
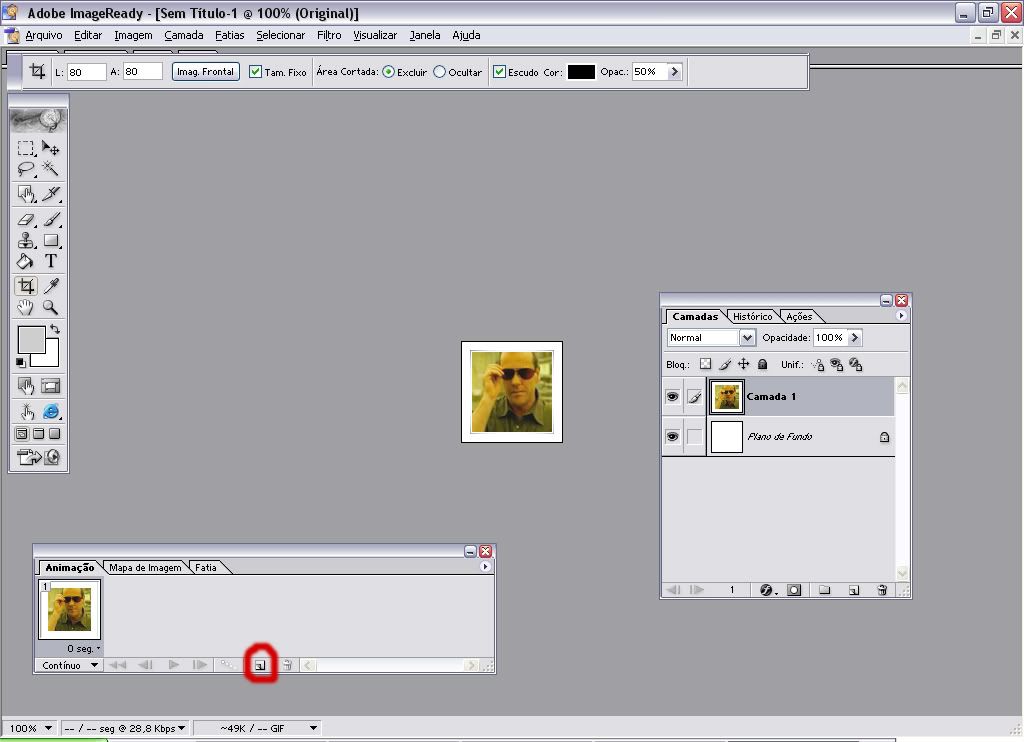
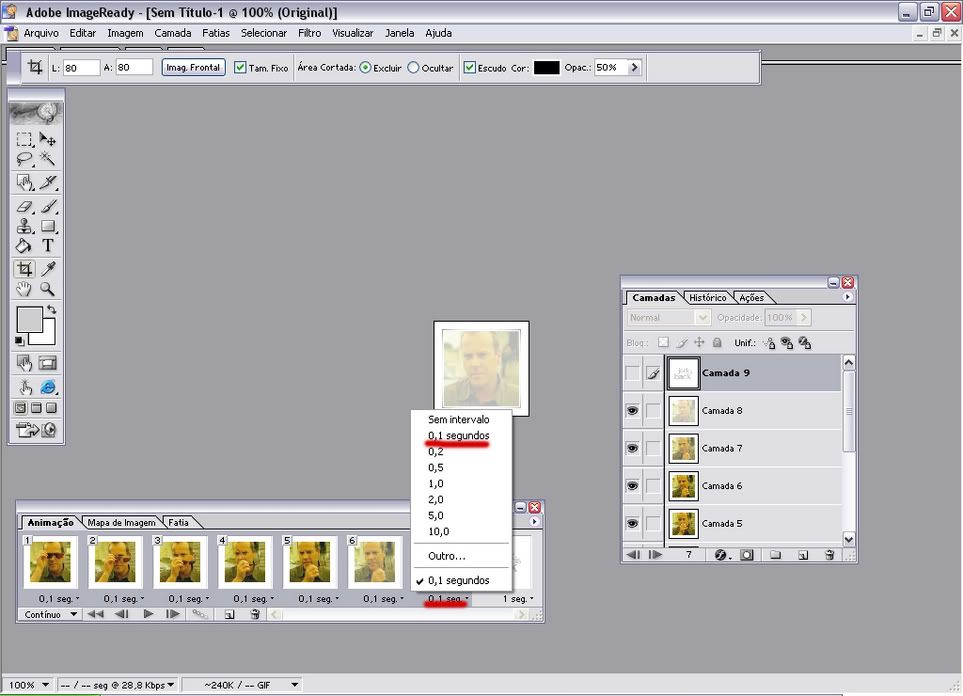
8. After you copy & paste, select all frames, but the text one, and click at “0 sec”, change that for “0,1 sec”:
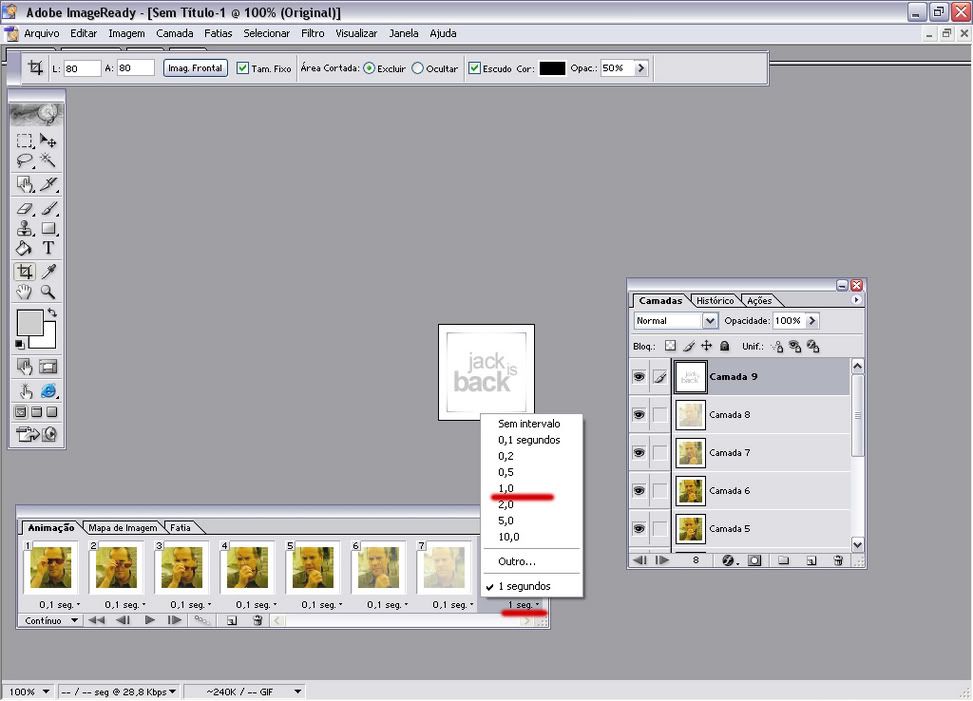
9. Now select the frame text and chose 1,0 sec:
10. Now it’s time to save your mini-movie:
Use File > Save Optimized
- Yeah!! now it’s done! You have your mini-movie icon :)

I hope it’s help you! :)

working]
Mini-movie tutorial requested by idiotez
You will use: Windows Movie Maker, Photoshop 7.1 and ImageReady 7.1
NOTES: My english is not so good and my programs are in portuguese :)
1. We are going to start with the video:
- I dowloaded this video at http://24la.net/
2. At Windows Movie Maker you will cap it, frame by frame:


3. Now you’ll open ImageReady 7.1 make sure the Animation palette is visible. If it is not, choose Window > Show Animation to make it visible:
- Cap by cap you will copy and past at ImageReady 7.1:

- Now you have this gif:

4. Cropped this gif to 80x80:

- You will have this gif:

5. Now at PhotoShop make a new image, 100x100 pixels and add this brushe from 77words:

6. One by one in a new image you will select and copy frame by frame from your gif at ImageReady and paste at Photoshop, I add this curve:

- In the last two images you will set it on screen at 70% and the other at 30% you will have these images:


- If you want you can add a text. In a new image add the border and the text, I add “jack is back” using arial.

8. These are the images:


9. Ok! Now at ImageReady you will put all together:
- Open a new image, 100x100, and you will copy & paste "one by one" the frames you did:

8. After you copy & paste, select all frames, but the text one, and click at “0 sec”, change that for “0,1 sec”:

9. Now select the frame text and chose 1,0 sec:

10. Now it’s time to save your mini-movie:
Use File > Save Optimized
- Yeah!! now it’s done! You have your mini-movie icon :)

I hope it’s help you! :)