Tutorial #3

Here is the full-sized header.
Basic knowledge of Photoshop is required, although I have tried to make this as clear as possible.
Made with Photoshop CS2 but will probably work with other programs as well.
Very image heavy.
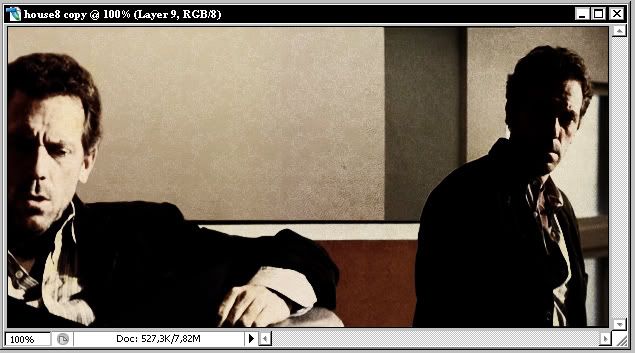
We will start with this screencap from the episode Sports Medicine. Open
a new 600x300 document and paste the picture to it. Resize the picture to fit it and then select a part of the
left side like this:
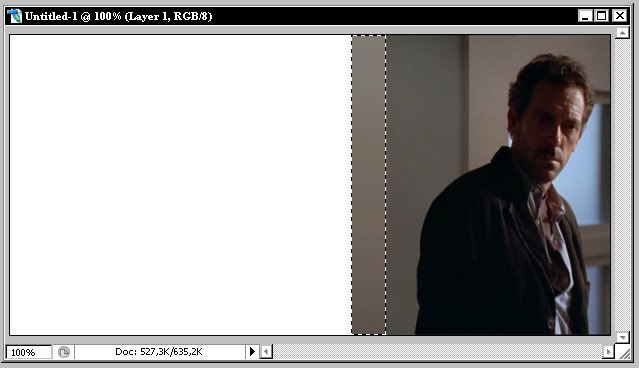
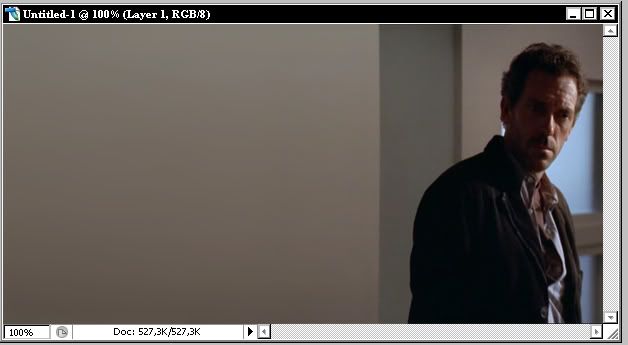
After this click CTRL+T and stretch the selected part all the way to the edge of the picture. Now the picture should look like this:

Reselect the stretched part and blur it to make it look smoother. This is your first base which should look like this:
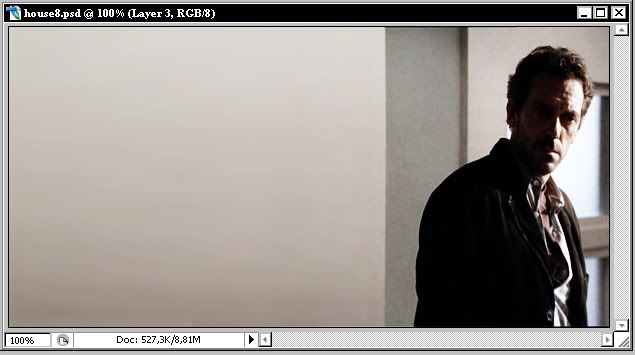
Duplicate the base and set it to screen 100%. Create a new layer, click CTRL+ALT+SHIFT+E to stamp the picture to it and then click CTRL+SHIFT+U to desaturate the picture. Set it to overlay 100%. This is what you should have now:
Next open this screencap from the same episode and copy-paste it to the previous document. Resize it with CTRL+T command. This is the second base.
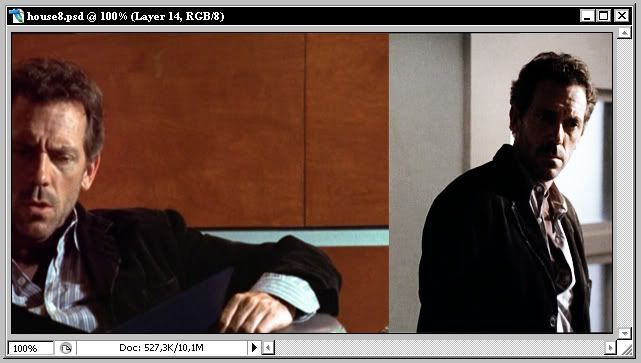
Again, select the right side of the picture and copy-paste the part a few times to continue the picture a little. Merge the bits to the bigger picture and use clone stamp to hide visible edges. You will have gone from
this
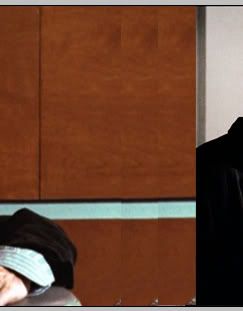
to this

.
The stamping doesn't have to be perfect because next we add a layer mask to this picture.
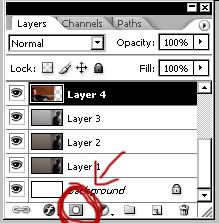
With the picture's layer selected click that button and the layers-menu should look like this:
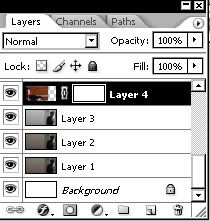
The white parts of the layer mask show the picture like it is and the black parts erase the picture. The profit of using layer masks instead of just erasing is that you can always modify the layer mask by adding white or black whereas erasing is always permanent.
Next I painted black the parts of the layer mask that were above the first base, meaning mainly the wall beside House. I liked the stripe though so I saved it, only painting the places where it went above House in the first base. Take your time with this, use a softer brush to hair so it won't seem unnatural. This is what I got:
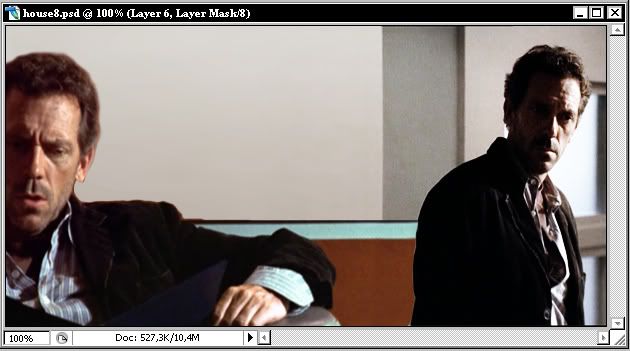
And this is what the layer-mask should look like:

Next duplicate this second base, desaturate it and set it to screen. Duplicate this layer and set it to overlay. Sharpen if you want to. This is what you should have now:
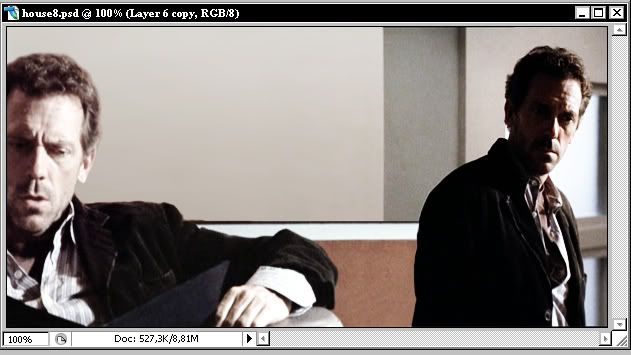
After this I pasted this texture (please tell me if know who has made this! I hate not being able to credit.) to the picture, altered the colors of it (sorry, I haven't saved what I exactly did to it - just experiment with it and see what you get). This is what the texture now looks like:
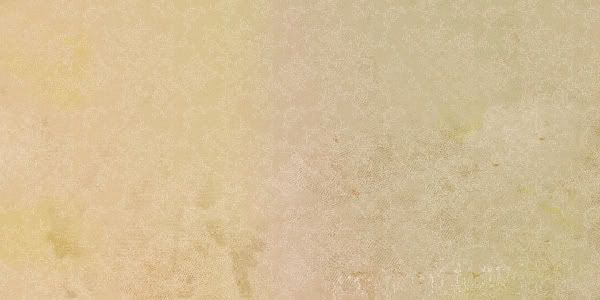
Set it to multiply and you'll get this:
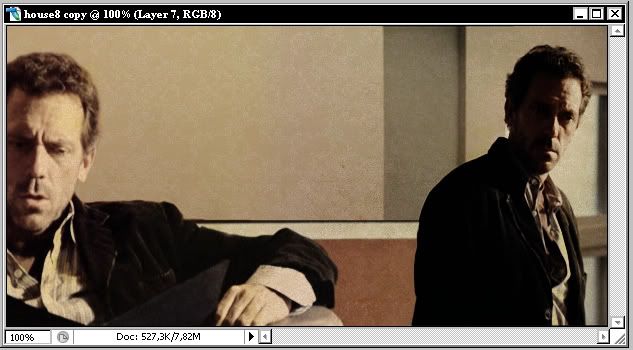
Create a new layer. Make sure that your foreground color is white and go to Select => Color range at the tool bar. Set the fuzziness to 200 and this is what you should see:
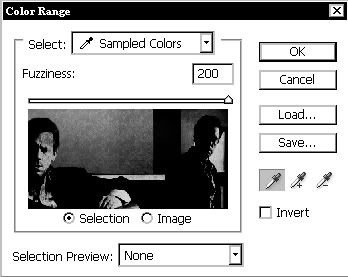
If your foreground is white you won't even have to click anything in the preview. You have now selected all the brightest parts of your picture. Click OK and fill the selection with white. Set this layer to soft light. This is what you have now:
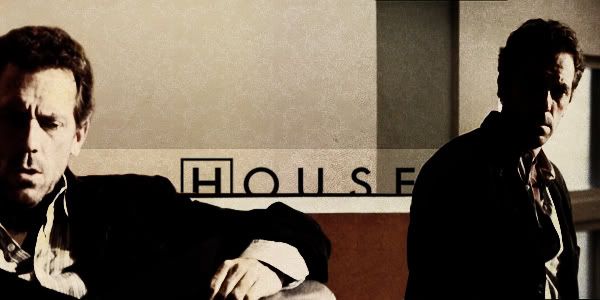
Next paste the logo of the TV series to the picture above the three first layers. Here you can see how the layers
should look like. Paint a larger area of the logo white for artistic effect and you're ready!
Do ask if I have explained some part vaguely. I'd love to see what you have made with this - always remember to experiment!