BASES with Green, Purple, Aqua tutorial + black base photo
I did these tutorials in March, so you don't get full-facial, final looks because my hair was a bunch of crazy, not good, colors while I was fading!
FIRST we are going to talk about base colors and what purpose they serve. You can use a base color to make all, or certain, colors pop or mellow out, depending on your base. I used white in this tutorial, however you can use any color, any shade of base. You can use a base combination to do a multi-toned look using only one pigment.
How do you choose your base?
If you want a more shimmery finish, and your shadow is not glitzy enough, use a base with shimmer and glitz. NYX makes both a matte and shimmery white eye crayon, and I am pretty sure a shadow base.
If you are using multiple colors and want them to pop, use a white base. If you want a more gem-tone, deep color than what you're using, or just want a deep color to be EXTRA deep, use a black base. Grey works great for something in the middle.
For a one-color, multi tonal look, I use a white base with black base in my crease.
When doing a "one tone, multi color" look, I use either a white base, or a base in the same color scheme... for a bright green look, I would probably use a bright green base.
One thing about bases, which is entirely based on preference, I prefer them to be more "sticky"... which NYX jumbos give me... the only bad thing about the stickiness is that you almost need a primer... and need to use it sparingly. I also have been known on occasion to use Kryolan aquacolors as a base. Avoid Halloween grease paints as they are TOO greasy/sticky, and no amount of primer can save you from creasing.
OK so... now that I've covered that. Here is a look tutorial I did using NYX Jumbo Crayon in "Milk"
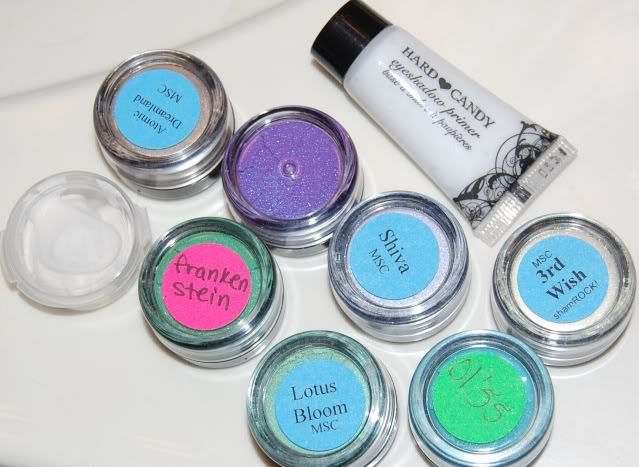
WHAT YOU NEED:
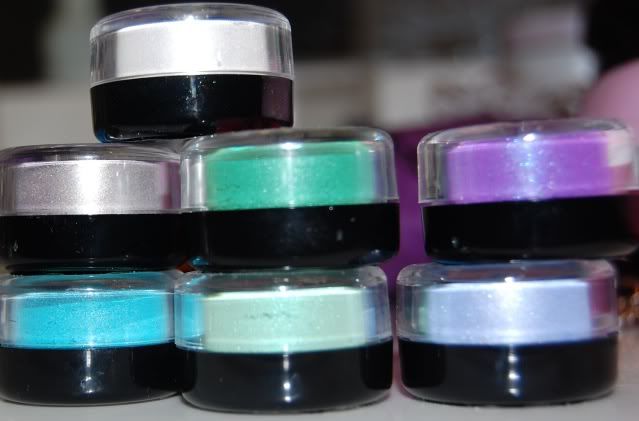
In other words, I used a white with a gold/green tinge, glitzy "old' silver, kelly green, true purple, aqua. pastel green and pastel purple.

Prime your clean naked eyes and let the primer sit for a minute or so.
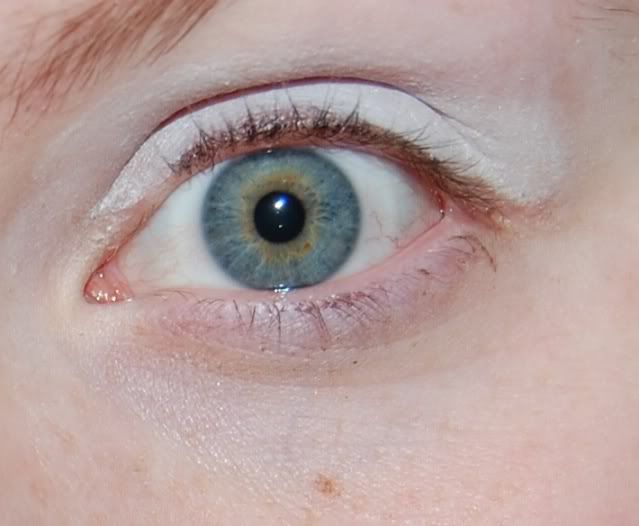
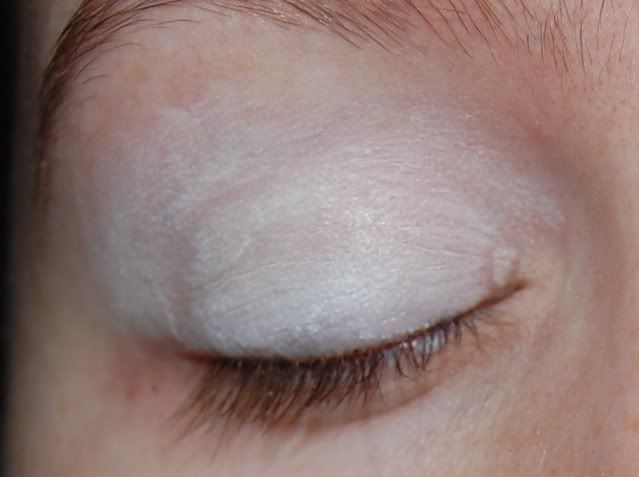
Apply your base, with a finger tip or a brush you wont be using for shadow today, lightly and blend up. it doesn't have to be perfectly even, but somewhat.
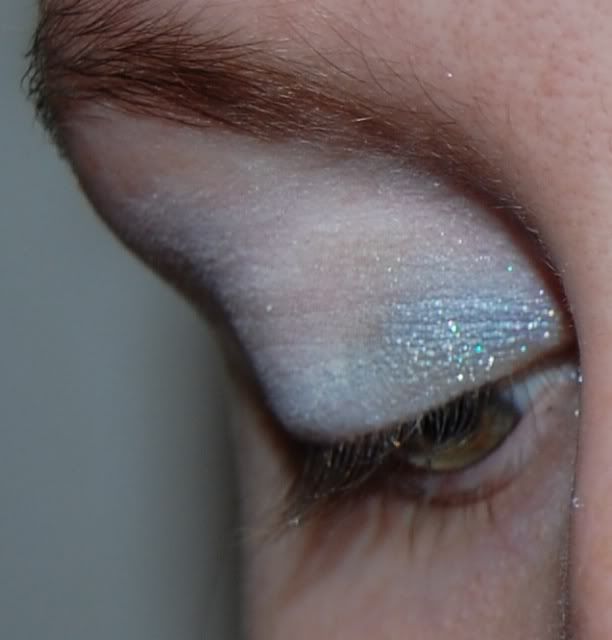
Apply Shiva (light purple) to the inside of your eyelid, blending outwards
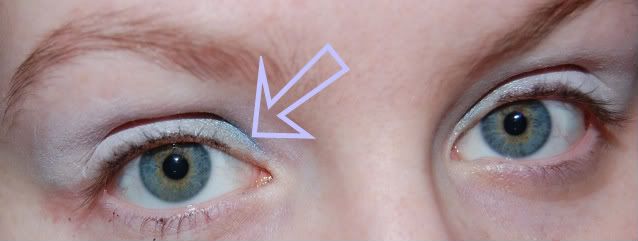
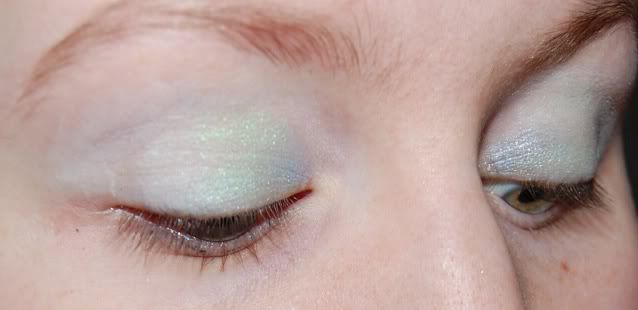
Apply Lotus Bloom to your inner half of your center lid (see photo below), blending out to the outer edge, and into Shiva, as you go.
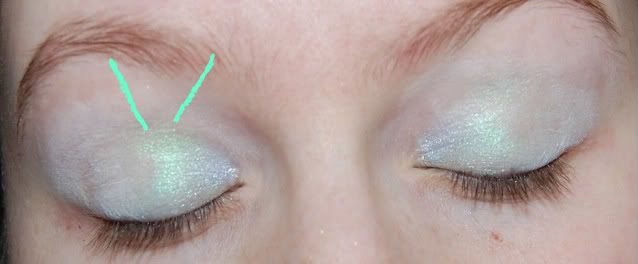
Fill in the rest of your CENTER lid with Frankenstein (Kelly Green) and blend out.
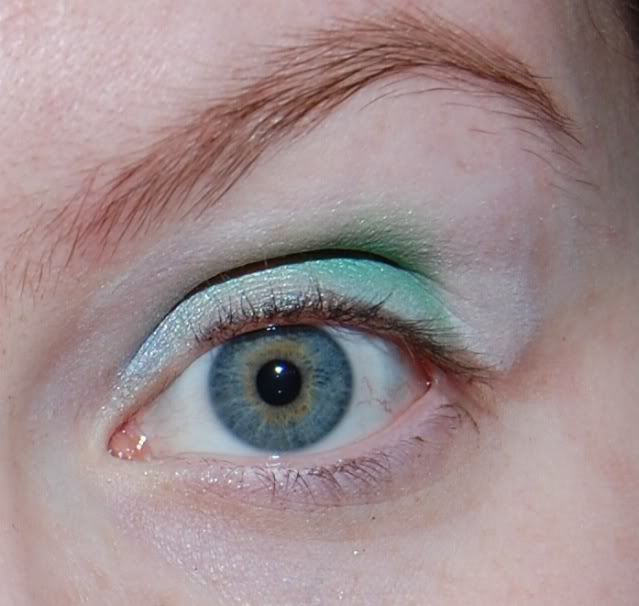
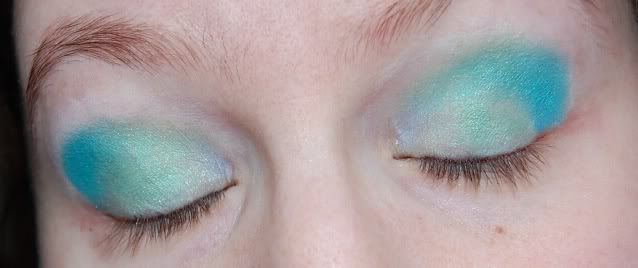
Use Ol'55 (aqua) to fill in the rest of your lid, blend into Frankenstein and through your natural crease.
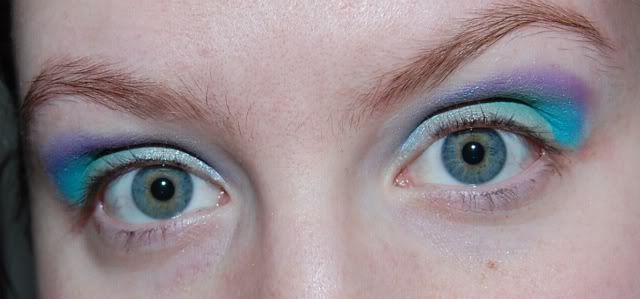
Apply Electric Koolaid (true purple) above all colors, above your natural crease, and just below your brow bone.
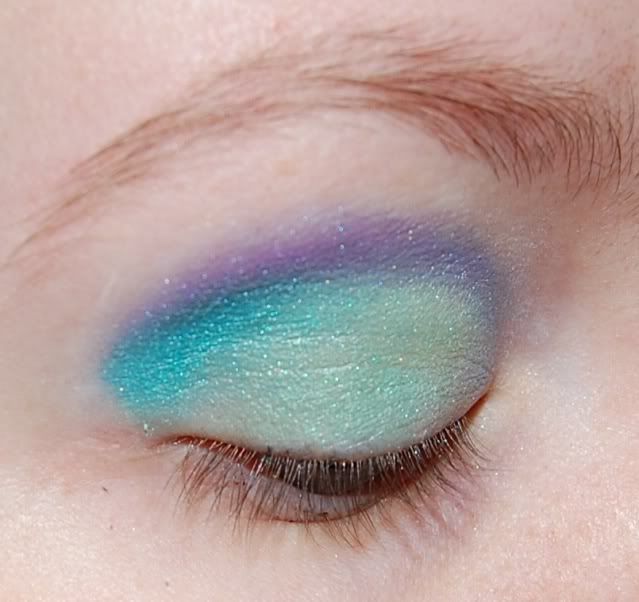
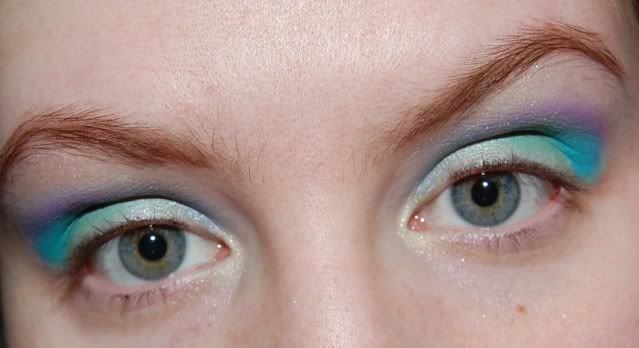
Apply 3rd Wish (white with gold/green) to your inner corner/ducts, Atomic Dreamland (old silver) to your brow bone.
NEXT, liner of choice. If you have followed me from YouTube or FB, you will know my choice is USUALLY winged liner... so no surprise here... but this look is great with liner that just lines the lashes, too!
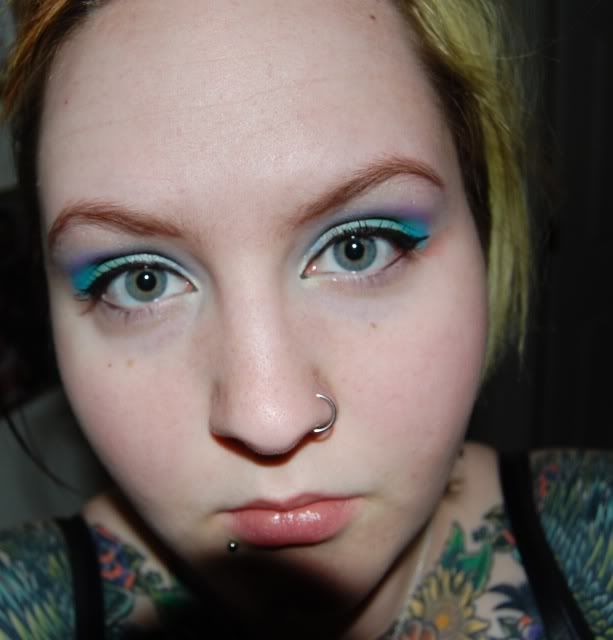
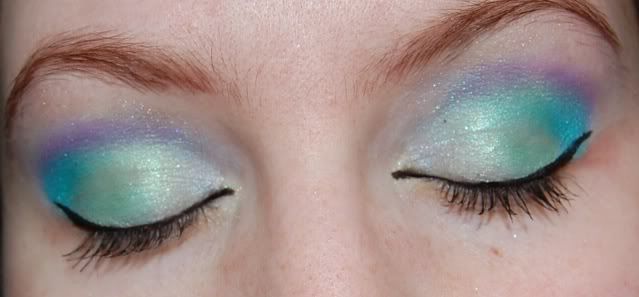
AND for your enjoyment, here is a look I did with a BLACK base.


Xray Spex-> Revenge -> Shiva -> Glitter and Doom -> NON msc deep purple pigment -> Gypsy Punx->Dr Rockso
If you compare Shiva from my inner lid with the white base, to Shiva on black base, you can see that the bases really do give you a whole new makeup collection... Sort of.
FIRST we are going to talk about base colors and what purpose they serve. You can use a base color to make all, or certain, colors pop or mellow out, depending on your base. I used white in this tutorial, however you can use any color, any shade of base. You can use a base combination to do a multi-toned look using only one pigment.
How do you choose your base?
If you want a more shimmery finish, and your shadow is not glitzy enough, use a base with shimmer and glitz. NYX makes both a matte and shimmery white eye crayon, and I am pretty sure a shadow base.
If you are using multiple colors and want them to pop, use a white base. If you want a more gem-tone, deep color than what you're using, or just want a deep color to be EXTRA deep, use a black base. Grey works great for something in the middle.
For a one-color, multi tonal look, I use a white base with black base in my crease.
When doing a "one tone, multi color" look, I use either a white base, or a base in the same color scheme... for a bright green look, I would probably use a bright green base.
One thing about bases, which is entirely based on preference, I prefer them to be more "sticky"... which NYX jumbos give me... the only bad thing about the stickiness is that you almost need a primer... and need to use it sparingly. I also have been known on occasion to use Kryolan aquacolors as a base. Avoid Halloween grease paints as they are TOO greasy/sticky, and no amount of primer can save you from creasing.
OK so... now that I've covered that. Here is a look tutorial I did using NYX Jumbo Crayon in "Milk"

WHAT YOU NEED:
- Primer... I used HC in this look, but I also like UD Primer Potion.
- White base (NYX Jumbo "Milk" which I've de-sticked into my pot)
- MSC colors:

In other words, I used a white with a gold/green tinge, glitzy "old' silver, kelly green, true purple, aqua. pastel green and pastel purple.

Prime your clean naked eyes and let the primer sit for a minute or so.


Apply your base, with a finger tip or a brush you wont be using for shadow today, lightly and blend up. it doesn't have to be perfectly even, but somewhat.

Apply Shiva (light purple) to the inside of your eyelid, blending outwards


Apply Lotus Bloom to your inner half of your center lid (see photo below), blending out to the outer edge, and into Shiva, as you go.

Fill in the rest of your CENTER lid with Frankenstein (Kelly Green) and blend out.


Use Ol'55 (aqua) to fill in the rest of your lid, blend into Frankenstein and through your natural crease.

Apply Electric Koolaid (true purple) above all colors, above your natural crease, and just below your brow bone.


Apply 3rd Wish (white with gold/green) to your inner corner/ducts, Atomic Dreamland (old silver) to your brow bone.
NEXT, liner of choice. If you have followed me from YouTube or FB, you will know my choice is USUALLY winged liner... so no surprise here... but this look is great with liner that just lines the lashes, too!


AND for your enjoyment, here is a look I did with a BLACK base.


Xray Spex-> Revenge -> Shiva -> Glitter and Doom -> NON msc deep purple pigment -> Gypsy Punx->Dr Rockso
If you compare Shiva from my inner lid with the white base, to Shiva on black base, you can see that the bases really do give you a whole new makeup collection... Sort of.