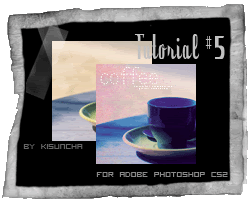
Tutorial#5
Tutorial requested by o_mo_i :)

Okay, let's start :)
1. Take this image and crop it to the size that you need. In our case the base will be like this.
2. Now create new fill layer #9edeff and set it to color burn 100%.
3. Now it's time for coloring. Layer-New Adjustment layer-Selective color. Move to the Neutrals cyan +47, yellow -28.
4. Next Selective color layer. We need to add a bit purple color. Move to Neutrals again. Cyan -57, yellow -18. Now i love the coloring. Btw, i used this coloring on most of my last tea/coffee icons.
5. Add this texture cropped from this one made by peoplemachines and set it to Darken. Do you like what you have? I don't actually. So move this texture under both if selective color layers. Much better :)
6. Now the text. I used "Trace" font and wrote guess what? right, "Coffee" :D at my icon it looked a bit pale so i just copied this layer, and tiny text using this brush.
And ta-da, you're done. Simple isn't it? but nice :)
Layers.
I'd love to see what you have, but please don't copy exatly, remeber, it's just a tutorial.. and good luck :)