#61 - Miyavi Tutorial.
Going from:
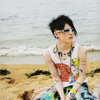
to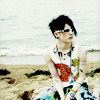
Translatable.
1. Begin with base:

2. Duplicate your base and set the layer to SCREEN (whatever percentage suits your icon):
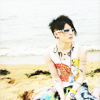
3. Duplicate your base again, drag it to the top, and set the layer to SOFT LIGHT (again, whatever percentage suits):
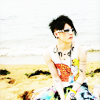
4. Go to Layer>New Adjustment Layer>HUE/SATURATION(/LIGHTNESS), enter in:
MASTER: SATURATION: -100
Set this layer at 50%.
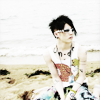
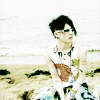
5. Create a new layer filled with #ccfad6 and set the layer to (COLOR) BURN 100%:
>
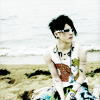
6. Create a new layer filled with #17133a and set the layer SOFT LIGHT 100%:

>
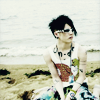
7. Create a new layer filled with #06050e and set the layer to EXCLUSION 100%:

>
8. Go to Layer>New Adjustment Layer>COLOR BALANCE, enter in:
MIDTONES: -16, -9, 5
SHADOWS: -5, -14, -16
NO HIGHLIGHTS, CHECK PRESERVE LUMINOSITY
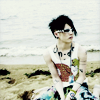
9. Go to Layer>New Adjustment Layer>HUE/SATURATION(/LIGHTNESS), enter in:
MASTER: SATURATION: 17
REDS: SATURATION: 43
(leave all others alone)

And the icon is done. Questions and comments are highly recommended. You can join/watch my community for more updates.
>>>.PSD file<<<
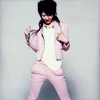
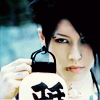
Other examples:


-Kelsey

to

Translatable.
1. Begin with base:

2. Duplicate your base and set the layer to SCREEN (whatever percentage suits your icon):

3. Duplicate your base again, drag it to the top, and set the layer to SOFT LIGHT (again, whatever percentage suits):

4. Go to Layer>New Adjustment Layer>HUE/SATURATION(/LIGHTNESS), enter in:
MASTER: SATURATION: -100
Set this layer at 50%.

5. Create a new layer filled with #ccfad6 and set the layer to (COLOR) BURN 100%:

>

6. Create a new layer filled with #17133a and set the layer SOFT LIGHT 100%:

>

7. Create a new layer filled with #06050e and set the layer to EXCLUSION 100%:

>

8. Go to Layer>New Adjustment Layer>COLOR BALANCE, enter in:
MIDTONES: -16, -9, 5
SHADOWS: -5, -14, -16
NO HIGHLIGHTS, CHECK PRESERVE LUMINOSITY

9. Go to Layer>New Adjustment Layer>HUE/SATURATION(/LIGHTNESS), enter in:
MASTER: SATURATION: 17
REDS: SATURATION: 43
(leave all others alone)

And the icon is done. Questions and comments are highly recommended. You can join/watch my community for more updates.
>>>.PSD file<<<
Other examples:


-Kelsey