TUTORIAL POST
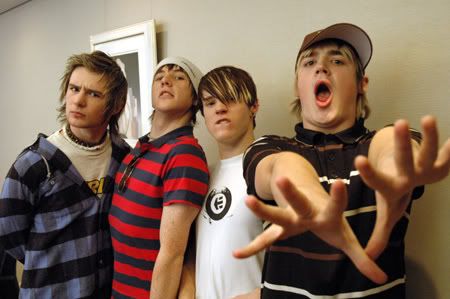
This is a post for 2 coloring tutorial requests.
The first one from
justmilky
From THIS to THIS
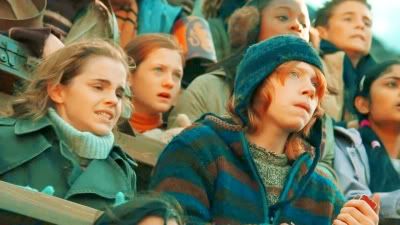
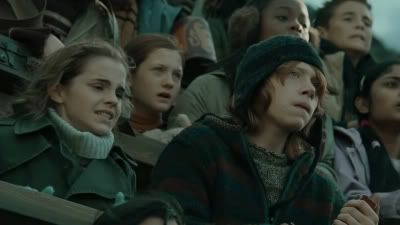
The 2nd one from
itsmysunshine
From THIS to THIS
Both requires:
Photoshop CS3 (or other versions)
Selective Colour
Medium or advanced knowledge of the ps tools
1st tutorial
We are going to achieve this:

1. Open your pic..i choose this of mcfly

2. Duplicate your base an set it to Screen 37%
3. Full fill with this bright yellow color #fffc00 an set it to Softlight 100%
4. Add an selective colour adjusment layer ans set the following:
Reds -100/100/0/100
Yellows -7/0/-25/0
Magentas -100/-100/-100/0
Neutrals 100/-25/-80/30
5. Add another selective colour layer with settings:
Reds -100/100/100/100
Yellows 0/0/-60/0
Neutrals 0/0/0/10
Black 0/0/0/30
6. Now add a brighness and contrast layer with:
Brighness 8
Contrast 9
7. The coloring is now done....now if u want to add some scratch textures and text is the time to do so
The scratch texture set in Screen.
2nd tutorial
How to achieve this coloring

1. Open the pic thats going to be your base. I chose this GoF screencap from harryandginny.org

2. Duplicate your base and set it to Screen 80%
3. Add an adjustment layer/ Levels with
RGB 0/1.31/230
4. Add a hue/saturation layer and set saturation to +25
5. Add a selective colour layer with:
Reds -100/0/100/0
Yellows -100/0/100/0
Greens -59/15/54/0
Cyans 100/0/-61/16
Neutrals 0/0/-3/0
6. Add a color balance layer with:
Midtones -10/-16/-43
Shadows 3/8/20
Highlights 6/-18/-17
7. Add a hue/sat layer with:
Master -5/15/4
8. Add a new levels layer with:
RGB 13/1.06/245
9. And our coloring's done!
Now if you want to make an icon crop it, duplicate your base and sharpen the edges and reduce the opacity if necessary.
Note: every pic is different so dont follow this tutorial step by step...play with the settings and select whats best for your image.
Comments are love!