BANNER TUTORIAL #1
Create this banner in less than 10 steps.
Oh sweet Lord, I'm at it again. In today's bender tutorial, I'm going to show you how to make my current header. Using no curves, and nothing but layer effects and a shiny stick. I'm serious. What's a shiny stick? Read on, young grasshoppa. Done in Photoshop CS, should work in any program that lets you do layers.
O N E
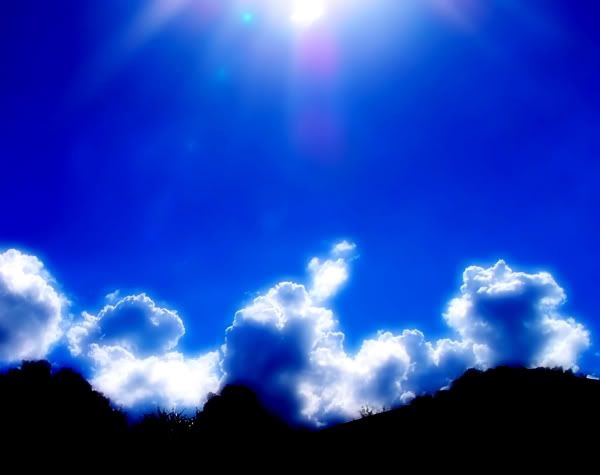
Find a stock image, or use the one I did. Resize it to whatever size you want your banner to be, I decided I want mine to be 600 pixels in width.
T W O
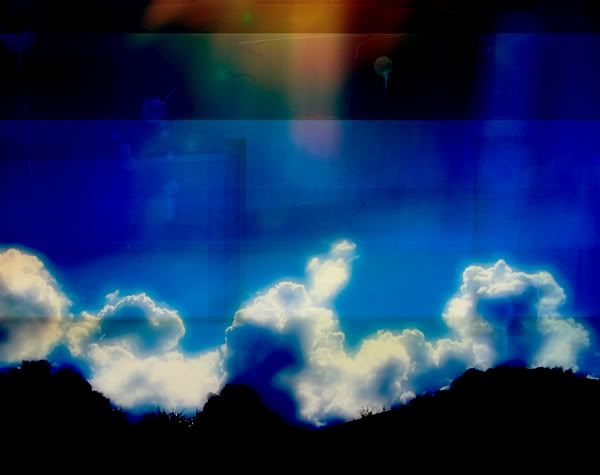
Take this texture by inxsomniax, and resize it to fit your image. Past it as a new layer, and set that layer's blending mode to Linear Burn. Duplicate this later. Set that layer to Soft Light. Duplicate the layer. Set that layer to Multiply.
T H R E E
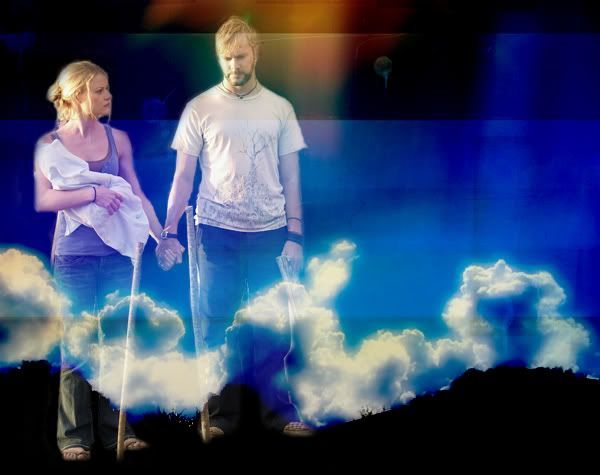
Perhaps you were wondering, "LS! LS! You goddess of all things shiny, you. What did you mean by shiny stick?" You flatter me, you little squishy bundle of love. Here is where the shiny stick comes into play. And what is a shiny stick? A shiny stick is your eraser. GASP! LE SHOCK! Yes. Pick the image you want. In this case, I chose a picture of the fountain of all things cute Charlie and Claire from Lost. They are teh cute, and make my heart hurt. Past your picture as a new layer, and put it where you want it. TAKE YON SHINY STICK, AND ERASE EVERYTHING BUT THEM! This may take a while, and is difficult at first, but completely worth it. Once everything but your subject is erased, set this layer to Screen.
F O U R
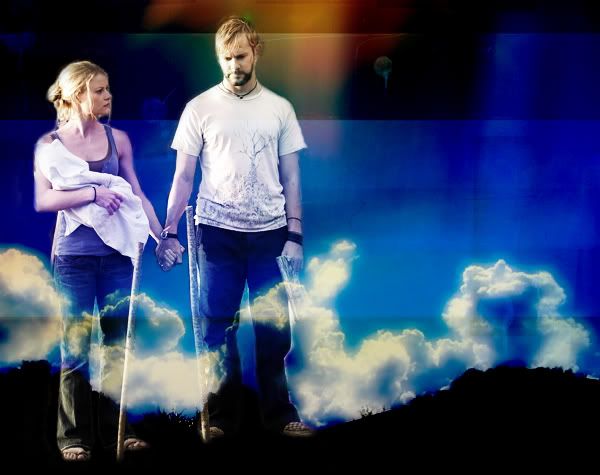
Duplicate the layer of your subject, and change the blend mode to Overlay. You may need to grab your shiny stick again and touch up a few areas, I know I did. Me likey shiny stick.
F I V E
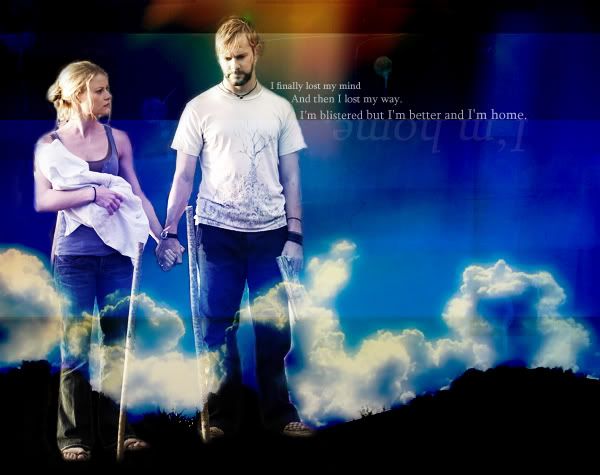
Because I knew where I was going with this (and you do not yet know, HAHA! Unless you scroll. Cheater.), I did my text part now. I did two layers of text, one layer (the bulk of the text), I did at 65% Opacity. This will be different with every image. The second, larger layer, I did at 9% Opacity, and flipped it both vertically and horizontally. Both layers should be done in white, or a very pale yellow. Le simple, no?
S I X
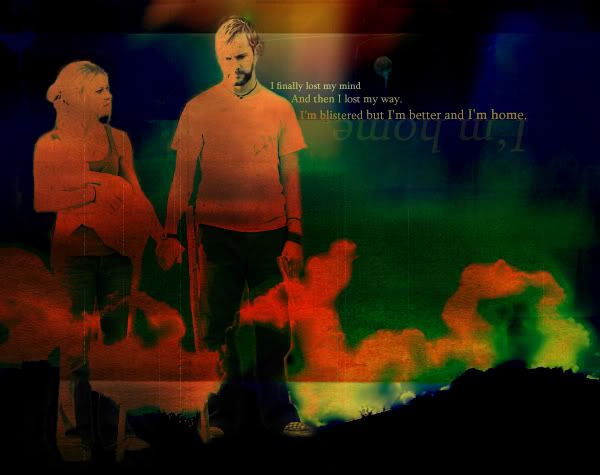
I took this texture from Tre, resized it accordingly, and pasted it as a new layer. I set this layer to Darken. E GADS! THE DIFFERENCE A TEXTURE MAKES! But now Charlie and Claire look weird. What the hell? CALM DOWN, YOU SILLY BITCH. You do not rush greatness. I huff in your direction.
S E V E N
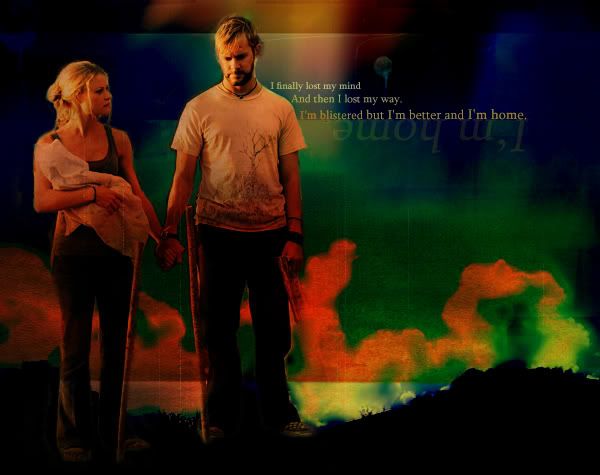
Go back to the layer of your subject (my subject is Charlie and Claire, remember?). Duplicate it, and drag it to the top. Set this layer to Multiply. Duplicate that, and set the new top layer to Soft Light. Now curse yourself for ever doubting me. Do whatever else it is you want to furtherly customize your image (I added a few borders, as well as a tag at the bottom), and you are DONE!
Thanks for reading my third tutorial, and I hope it helped. Feel free to comment, question, and as always, I LOVE seeing what you make with it (even if I don't always have time to comment back >.<). Remember not to create the same image I did - that's not cool, and it'll make me not want to do tuts anymore.
SUPPORT YOUR LOCAL CRACKFIEND! My paid account is running out soon, so I'm always accepting donations;) *cough* I'm going to hell. Or, you can up my street team points, and check out a wonderful singer named Lennon. If you click the banner below, you'll be taken to a website where you can stream her new album, and enter to win a spiffy guitar! Best yet, I get points everytime you click it or enter the contest. ;)

Oh sweet Lord, I'm at it again. In today's bender tutorial, I'm going to show you how to make my current header. Using no curves, and nothing but layer effects and a shiny stick. I'm serious. What's a shiny stick? Read on, young grasshoppa. Done in Photoshop CS, should work in any program that lets you do layers.
O N E
Find a stock image, or use the one I did. Resize it to whatever size you want your banner to be, I decided I want mine to be 600 pixels in width.
T W O
Take this texture by inxsomniax, and resize it to fit your image. Past it as a new layer, and set that layer's blending mode to Linear Burn. Duplicate this later. Set that layer to Soft Light. Duplicate the layer. Set that layer to Multiply.
T H R E E
Perhaps you were wondering, "LS! LS! You goddess of all things shiny, you. What did you mean by shiny stick?" You flatter me, you little squishy bundle of love. Here is where the shiny stick comes into play. And what is a shiny stick? A shiny stick is your eraser. GASP! LE SHOCK! Yes. Pick the image you want. In this case, I chose a picture of the fountain of all things cute Charlie and Claire from Lost. They are teh cute, and make my heart hurt. Past your picture as a new layer, and put it where you want it. TAKE YON SHINY STICK, AND ERASE EVERYTHING BUT THEM! This may take a while, and is difficult at first, but completely worth it. Once everything but your subject is erased, set this layer to Screen.
F O U R
Duplicate the layer of your subject, and change the blend mode to Overlay. You may need to grab your shiny stick again and touch up a few areas, I know I did. Me likey shiny stick.
F I V E
Because I knew where I was going with this (and you do not yet know, HAHA! Unless you scroll. Cheater.), I did my text part now. I did two layers of text, one layer (the bulk of the text), I did at 65% Opacity. This will be different with every image. The second, larger layer, I did at 9% Opacity, and flipped it both vertically and horizontally. Both layers should be done in white, or a very pale yellow. Le simple, no?
S I X
I took this texture from Tre, resized it accordingly, and pasted it as a new layer. I set this layer to Darken. E GADS! THE DIFFERENCE A TEXTURE MAKES! But now Charlie and Claire look weird. What the hell? CALM DOWN, YOU SILLY BITCH. You do not rush greatness. I huff in your direction.
S E V E N
Go back to the layer of your subject (my subject is Charlie and Claire, remember?). Duplicate it, and drag it to the top. Set this layer to Multiply. Duplicate that, and set the new top layer to Soft Light. Now curse yourself for ever doubting me. Do whatever else it is you want to furtherly customize your image (I added a few borders, as well as a tag at the bottom), and you are DONE!
Thanks for reading my third tutorial, and I hope it helped. Feel free to comment, question, and as always, I LOVE seeing what you make with it (even if I don't always have time to comment back >.<). Remember not to create the same image I did - that's not cool, and it'll make me not want to do tuts anymore.
SUPPORT YOUR LOCAL CRACKFIEND! My paid account is running out soon, so I'm always accepting donations;) *cough* I'm going to hell. Or, you can up my street team points, and check out a wonderful singer named Lennon. If you click the banner below, you'll be taken to a website where you can stream her new album, and enter to win a spiffy guitar! Best yet, I get points everytime you click it or enter the contest. ;)
