(no subject)
tutorial: how to make:

(click for larger)
Tutorial made with PS but can be used for any program...obviously.
Very image-heavy.
1) start out with your images this, and this
2) erase the background on both as best as you can, then arrange them next to each other. MAKE SURE THE BACKGROUND IS EARSED ON BOTH OF THEM.

3) Place (CLOUD TEXT) UNDER the image of naomi watts - which will be called NW - (if you have white as the image background, use the magic wand tool with a feather setting of around 12 to delete the white space). ABOVE the NW layer, duplicate the texture and set it to soft light at 60%, erasing the white from her face and body.

4) Now merge all layers so it is one image, make sure the layer name is “background” (this will make the following coloring steps easier)
Duplicate background and set to SCREEN.
Add a layer of #9DA383 set to SOFT LIGHT
Add a layer of #0A254B set to EXCLUSION
Add a layer of #A8ABFB set to SOFT LIGHT
Duplicate the background and move it above the soft light layer just mentioned. Set this to SOFT LIGHT at 60%
Add a layer of #D3D3D3 set to COLOR BURN at 88%
Duplicate the background again, drag it over the color burn and set it to SOFT LIGHT at 80%

5) start a new file IMAGE SIZE 800 X 480. Make the background color #DEDEDE. Paste this on top and set it to MULTIPLY at 100%
6) Paste the finished colored image of NW (that is, the finished product of step 5) and RESIZE it so that it is evenly placed in the center

7) Use the line tool to add some lines to the left
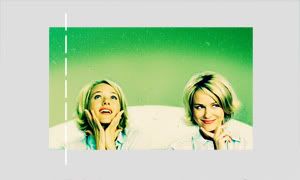
8) Duplicate the background image 4 times. Shrink each image down to a small size (mine were 172 x 103). For each image, change the hue (image -> adjustments -> hue/saturation or ctrl + u) to get a different color on each of the 4 small images. Place the images in a row next to each other.
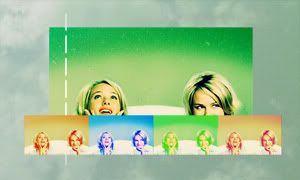
9) Use this and set it to DARKEN. Move it to the right of the larger NW image and erase so all that is showing is the red. (thank you to INXSOMNIAX for the texture) ETA: if you can not view the texture, go to her site here and click on the textures, then newer textures. They're in the first two rows).
10) Use this and set it to SOFT LIGHT. Move it around until it looks nice. (thank you to INXSOMNIAX for the texture)
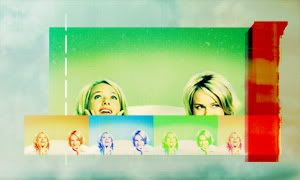
11) Add this, and shrink it down a little and set it to soft light (you may have to erase the background on that image). Move it between the two images.
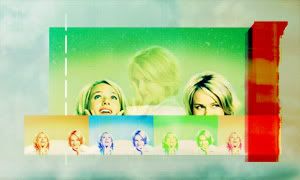
12) Merge all the layers together. You should now have one layer. Duplicate this layer multiple times and resize them to a small size (around 85 x 50) and move all of them to the right of the image until they fill up the whole right side. SET THESE TO COLOR BURN.
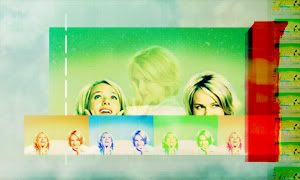
13) Use the same texture as in step 9, except make the red larger and move it to the left, setting it on DARKEN, so that it makes a border.
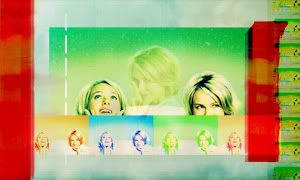
14) Add your text and a random brush or two in any place and then you’re done!
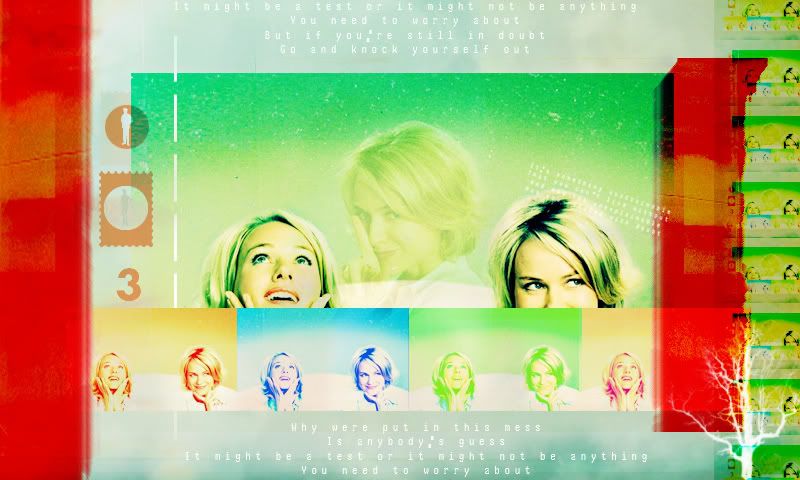
(click for larger)
Tutorial made with PS but can be used for any program...obviously.
Very image-heavy.
1) start out with your images this, and this
2) erase the background on both as best as you can, then arrange them next to each other. MAKE SURE THE BACKGROUND IS EARSED ON BOTH OF THEM.

3) Place (CLOUD TEXT) UNDER the image of naomi watts - which will be called NW - (if you have white as the image background, use the magic wand tool with a feather setting of around 12 to delete the white space). ABOVE the NW layer, duplicate the texture and set it to soft light at 60%, erasing the white from her face and body.

4) Now merge all layers so it is one image, make sure the layer name is “background” (this will make the following coloring steps easier)
Duplicate background and set to SCREEN.
Add a layer of #9DA383 set to SOFT LIGHT
Add a layer of #0A254B set to EXCLUSION
Add a layer of #A8ABFB set to SOFT LIGHT
Duplicate the background and move it above the soft light layer just mentioned. Set this to SOFT LIGHT at 60%
Add a layer of #D3D3D3 set to COLOR BURN at 88%
Duplicate the background again, drag it over the color burn and set it to SOFT LIGHT at 80%

5) start a new file IMAGE SIZE 800 X 480. Make the background color #DEDEDE. Paste this on top and set it to MULTIPLY at 100%
6) Paste the finished colored image of NW (that is, the finished product of step 5) and RESIZE it so that it is evenly placed in the center

7) Use the line tool to add some lines to the left

8) Duplicate the background image 4 times. Shrink each image down to a small size (mine were 172 x 103). For each image, change the hue (image -> adjustments -> hue/saturation or ctrl + u) to get a different color on each of the 4 small images. Place the images in a row next to each other.

9) Use this and set it to DARKEN. Move it to the right of the larger NW image and erase so all that is showing is the red. (thank you to INXSOMNIAX for the texture) ETA: if you can not view the texture, go to her site here and click on the textures, then newer textures. They're in the first two rows).
10) Use this and set it to SOFT LIGHT. Move it around until it looks nice. (thank you to INXSOMNIAX for the texture)

11) Add this, and shrink it down a little and set it to soft light (you may have to erase the background on that image). Move it between the two images.

12) Merge all the layers together. You should now have one layer. Duplicate this layer multiple times and resize them to a small size (around 85 x 50) and move all of them to the right of the image until they fill up the whole right side. SET THESE TO COLOR BURN.

13) Use the same texture as in step 9, except make the red larger and move it to the left, setting it on DARKEN, so that it makes a border.

14) Add your text and a random brush or two in any place and then you’re done!