Coloring tutorial #1
How to go from this » 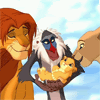
To this »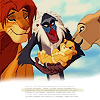
I used Photoshop CS for this icon, but I’m sure it is translatable.
Step one:
Crop your base. I used this cap by
peacefully.
Sharpen, auto color and screen the base if necessary. This depends on your picture.

Step two:
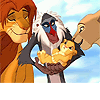
Select the entire image and move it up or create a white rectangle at the bottom.

»
Step three:
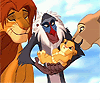
Create a new layer and fill it with a light blue, 0A197D. Set this to soft light at 21%

»
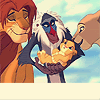
Step four:
Create a new layer and fill it with a dark blue, 020829. Set this to exclusion at 100%

»
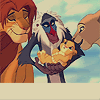
Step five:
Create a new layer and fill it with a dark brown, 5C4716. Set this to multiply at 20%

»
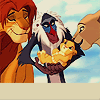
Step six:
Duplicate the base and place it at the top. Set this to soft light at 100%

»
Step seven:
Create a new layer and select the paintbrush tool. Go over the rectangle and the bottom of the cap, until you get something like this:
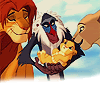
Note: You may need to set this layer to filter > blur > gaussian blur.
Now, add tiny text and anything else if you want or leave it as it is.
This will not work exactly with every cap, so experiment. I’d love to see what you come up with :)

To this »

I used Photoshop CS for this icon, but I’m sure it is translatable.
Step one:
Crop your base. I used this cap by

peacefully.
Sharpen, auto color and screen the base if necessary. This depends on your picture.

Step two:
Select the entire image and move it up or create a white rectangle at the bottom.

»

Step three:
Create a new layer and fill it with a light blue, 0A197D. Set this to soft light at 21%

»

Step four:
Create a new layer and fill it with a dark blue, 020829. Set this to exclusion at 100%

»

Step five:
Create a new layer and fill it with a dark brown, 5C4716. Set this to multiply at 20%

»

Step six:
Duplicate the base and place it at the top. Set this to soft light at 100%

»

Step seven:
Create a new layer and select the paintbrush tool. Go over the rectangle and the bottom of the cap, until you get something like this:

Note: You may need to set this layer to filter > blur > gaussian blur.
Now, add tiny text and anything else if you want or leave it as it is.
This will not work exactly with every cap, so experiment. I’d love to see what you come up with :)