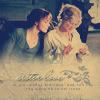
Tutorial # 3

Made with PS CS1. Guess the selective colour layer can be easily replaced using levels.
As requested by my fellow kttcoder and LJ friend,
sunrise_sets . Hope you find it useful and have fun with your spanking new CS3!!!
I couldn't recreate exactly the same icon, you know how messy my files are, had to guess which layers had been turned on and off, lol.
1- Fix image. Crop, erase undesired parts, copy and set to screen as many times as needed, etc.
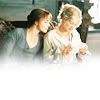
2- Selective colour layer. It will make the faces appear less orange, so now they have rosy cheeks =)
Reds
cyan + 100
yellow -13
Yellows
yellow -100
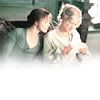
3- Add a paper texture from
dusty_memories, from this set . Set to linear burn 26% opacity
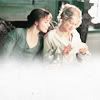
4- Add a peach coloured texture by
dusty_memories, same set as before. Set to multiply 100%
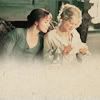
5- Add another paper texture by
dusty_memories (yup, she has great stuff!), set to linear burn, 40%
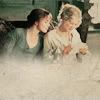
6- Brightness contrast layer. Brightness -10
Contrast +27
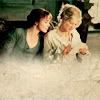
7- New layer. Fill with #13163F (that is, a shade of navy blue). Set to exclusion. Copy layer 4 times
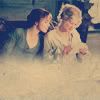
8- Add text, brushes, whatever you think looks cool =)
