Tutorial #05
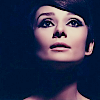
Go from this to 
using PSP 9!
(probably translatable for other versions of PSP)
*A high quality image would show best results*
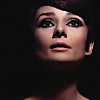
#1- Crop the image and sharpen with the unsharp mask. Adjust >> Sharpness >> Unsharp Mask. And set it to these settings. (I also just normally sharpened it again, but that depends on the image you're using.)
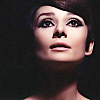
#2- Duplicate the base image set the layer to Screen 100%.

>>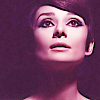
#3 Add #fa94e6 and set to Soft Light 100%.

>>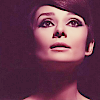
#4 Add another layer, #ede2c7 and set to Multiply 80%.

>>
#5- Add another layer, #43e9f3 and set to Burn 50%.

>>
#6- Duplicate the pink soft light layer, bring it to the top and keep at Soft Light 100%
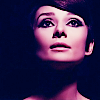
#7- Finally, duplicate your base image and drag to the top. Then set that layer to Soft Light 100%. Then, merge the layers together. Layers >> Merge >> Merge All (flatten).
Final result-
I added font (Printed Dash, size 40) and I'm done.
Layers:
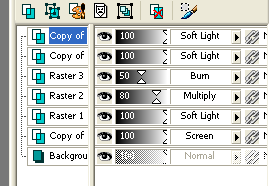
Remember, you can always mess around with the opacity, colors or order.
Make sure for best quality results, save as file .png.
Other Examples:
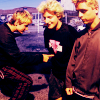
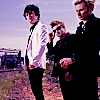
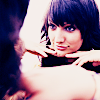
Any questions, etc.? Just comment and I'll be glad to help you. I would love to see some of your end results.
For more tutorials, icons, etc., JOIN.

using PSP 9!
(probably translatable for other versions of PSP)
*A high quality image would show best results*

#1- Crop the image and sharpen with the unsharp mask. Adjust >> Sharpness >> Unsharp Mask. And set it to these settings. (I also just normally sharpened it again, but that depends on the image you're using.)

#2- Duplicate the base image set the layer to Screen 100%.

>>

#3 Add #fa94e6 and set to Soft Light 100%.

>>

#4 Add another layer, #ede2c7 and set to Multiply 80%.

>>

#5- Add another layer, #43e9f3 and set to Burn 50%.

>>

#6- Duplicate the pink soft light layer, bring it to the top and keep at Soft Light 100%

#7- Finally, duplicate your base image and drag to the top. Then set that layer to Soft Light 100%. Then, merge the layers together. Layers >> Merge >> Merge All (flatten).
Final result-

I added font (Printed Dash, size 40) and I'm done.
Layers:

Remember, you can always mess around with the opacity, colors or order.
Make sure for best quality results, save as file .png.
Other Examples:


Any questions, etc.? Just comment and I'll be glad to help you. I would love to see some of your end results.
For more tutorials, icons, etc., JOIN.