r4che1
in
mymessings
(no subject)
From 
to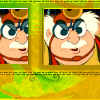
Original icon posted here
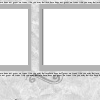
First to make the border of the icon. Start with this image set to darken. (sorry, i dont remember who made it - if you know, please tell me so i can credit them).
Use the magic wand to delete the areas in the windows of the frame.
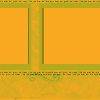
Make a new layer below the border layer and will it with orange (#f9a91f).
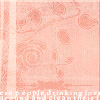
Paste this texture as a new layer at the between the two layers set to overlay.
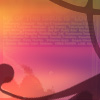
Paste this texture as a new layer below your last one set to burn.
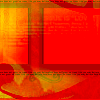
It should look something like this.
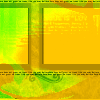
Create a new adjustment layer: Hue/Saturation/Brightness. Move the slider until you find a colour combination you like. In this case, it was 47. Lastly, make a mask layer for everything so far to delete the windows (or merge all the layers and delete the windows).

Now to prepare the image to go in the windows. As a new file brighten up the image.
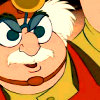
New Adjustment Layer: Colour balance. For Midtones: -60, 10, 30
New Adjustment Layer: Hue/Saturation/Lightness. Saturation: 20
New Adjustment Layer: Brightness/Contrast Brightness:15, Contrast 45
New Layer filled with sky blue (#afbbf1) set to burn.

Copy and resize the image to place it behind the windows until you're happy with it.
Other examples made using this tute:
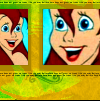
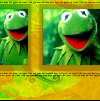
If you have any questions feel free to ask and if you use i'd love to see your results!
to
Original icon posted here
First to make the border of the icon. Start with this image set to darken. (sorry, i dont remember who made it - if you know, please tell me so i can credit them).
Use the magic wand to delete the areas in the windows of the frame.
Make a new layer below the border layer and will it with orange (#f9a91f).
Paste this texture as a new layer at the between the two layers set to overlay.
Paste this texture as a new layer below your last one set to burn.
It should look something like this.
Create a new adjustment layer: Hue/Saturation/Brightness. Move the slider until you find a colour combination you like. In this case, it was 47. Lastly, make a mask layer for everything so far to delete the windows (or merge all the layers and delete the windows).
Now to prepare the image to go in the windows. As a new file brighten up the image.
New Adjustment Layer: Colour balance. For Midtones: -60, 10, 30
New Adjustment Layer: Hue/Saturation/Lightness. Saturation: 20
New Adjustment Layer: Brightness/Contrast Brightness:15, Contrast 45
New Layer filled with sky blue (#afbbf1) set to burn.
Copy and resize the image to place it behind the windows until you're happy with it.
Other examples made using this tute:
If you have any questions feel free to ask and if you use i'd love to see your results!