PSP X using curves
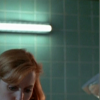
>>

1. Crop/resize your base.

2. Duplicate your base, and set it to screen at about 40% (it depends on your base). Sharpen the duplicate, and then merge all layers.
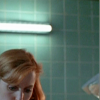
3. Dupliacte your base, and go to Adjust >> Hue and Saturation >> Hue/Saturation/Lightness. Set saturation at about 30, and leave the other settings alone.
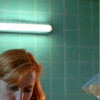
4. Now we need to add a new curves adjustments layer. Set it to these settings:
RGB - Input: 0, Output: 49.
Red - Input: 0, Output: 5
Green - Input: 0, Output: 55
Blue - Input: 61, Output 0
Set this layer to soft light 100%, and duplicate once.
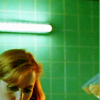
5. Now we need another curves layer. This time, set them to:
RGB - Input: 0, Output: 0
Red - Input: 21, Output: 49
Green - Input: 20, Output: 5
Blue - Input: 19, Output: 0
Set this layer to colour at about 70%.
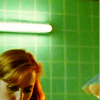
6. Almost finished now. Add a small purple blob... thing in a new layer. It just adds a bit more colour to part of your icon. Set this layer to screen.

>>
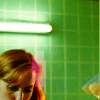
7. Add a small text brush, and you're done! :)
