New tutorial.
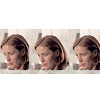
>>

1. Start with a dark base. (This is so you can see where to place the images underneath the white poleroid layer).

2. Paste a poleroid texture as a new layer.
3. Paste a repeated image onto the dark base, underneath the poleroid texture.

4. Duplicate the base and set to soft light at about 15%.
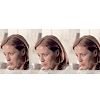
5. Add a new adjustments curves layer, and set to:
RGB: Input - 0, Output - 49
Red: Input - 128, Output - 0
Green: Input - 58, Output - 0
Blue: Input - 0, Output - 32
Set the layer to Soft light at about 65%.
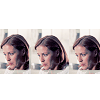
6. Add another adjustments curves layer, and set to:
RGB: Input - 0, Output - 0
Red: Input - 21, Ouput - 49
Green: Input - 20, Output - 5
Blue: Input - 19, Output - 0
Set this layer to colour at about 65%.
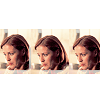
7. Now add a new dark blue layer set on exclusion. I'm using #000040.

8. Add another new layer, this time a pinky, salmony colour. I'm using #ff8080. Set this layer to soft light at about 65%.

9. Add some text above the poleroid layer, and you're done!
