new tutorial.
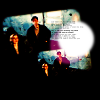
1. Start off with a black base.
2. Use the selection tool on 'rounded rectangle' and feathered by about 2. select a small rectangle of your chosen image.
Copy and paste it on a new layer of your black base in a posision you like.
Now resize the original selection you made to make it smaller. Copy and paste the new selection somewhere on your black base.
It should look something like this:
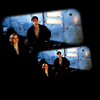
3. Duplicate the new layer, and set it to screen at about 70% (although it depends on your base of course).
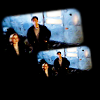
4. Now we need a new adjustments curves layer.
RGB: Input - 0, Output - 0
Red: Input - 21, Output - 49
Green: Input - 20, Output - 5
Blue: Input - 19, Output - 0
Set this layer to 'Colour'.
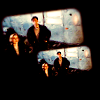
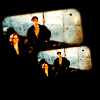
5. We need another curves layer. Yup. Okay, set it to:
RGB: Input - 0, Output - 49
Red: Input - 0, Output - 5
Green: Input - 0, Output - 55
Blue: Input - 61, Output 0
Set this layer to 'Soft light'.
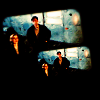
6. Yes. another curves layer. yay.
RGB: Input - 0, Output - 49
Red: Input - 128, Output - 0
Green: Input - 58, Output - 0
Blue: Input - 0, Output - 32
Set this layer to 'Multiply'.
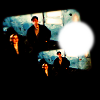
7. Now select a small circle from a white base using the circular selction tool feathered by about 2.
Add a new layer to your icon base, and paste this circle somewhere on your icon.
8. Now select a similar sized circle, this time in a bright colour, and paste in a new layer just off centre of where you pasted the first circle.
Set this layer to 'Screen'.
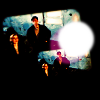
9. Now add a small text brush, and you're done! Yay.
