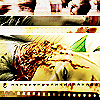
(no subject)
Tutorial #3.
Teh easy one, I may say *g*
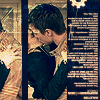
We'll learn how to go from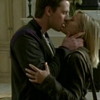
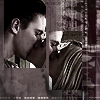
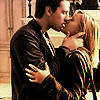
to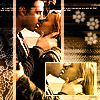
Find a cap, crop it, teh usual.

Duplicate layer. Filter->Sharpen->Sharpen (I sharpened it twice for better effect)
Image->Adjustements->Desaturate (Ctrl+Shift+U)
Set layer on screen, merge down.
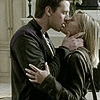
Now, the usual again. Blur tool and smooth their faces.

Now, I duplicate layer and desturate it, settin it on soft light.
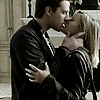
Now, to fun and colouring.
I take this
gradient by crumblingwalls and set it on Color Dogge, opacity 70%
Merge down.
Now, I take this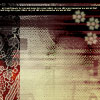
texture by colorfilter and paste it as a new layer.
I lower the Opacity of the layer so I can see what’s underneath and select the part I want visible, using Rectangular Marquee Tool. Copy, Paste as the top layer.
Now back again to the background layer, I select the second part I want visible. Copy, Paste, Top. Wee.
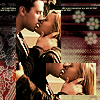
I place stroke on the two pictures on top, using #DBBF9D colour and 3px on the bigger one and 1px on the little square.
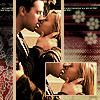
Now, I duplicate the texture, set it on Soft Light and place it as a top layer.
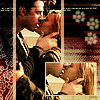
Gradient by crumblingwalls again, this one
Set it to hue.
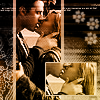
Merge Down.
Image->Adjustements->Brighteness/Contrast. My settings are +10, +10.

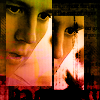
Voila.
Other icons made in similar way, all sharable, along with the one done above *g*


Teh easy one, I may say *g*
We'll learn how to go from

to

Find a cap, crop it, teh usual.

Duplicate layer. Filter->Sharpen->Sharpen (I sharpened it twice for better effect)
Image->Adjustements->Desaturate (Ctrl+Shift+U)
Set layer on screen, merge down.

Now, the usual again. Blur tool and smooth their faces.

Now, I duplicate layer and desturate it, settin it on soft light.

Now, to fun and colouring.
I take this

gradient by crumblingwalls and set it on Color Dogge, opacity 70%
Merge down.

Now, I take this

texture by colorfilter and paste it as a new layer.
I lower the Opacity of the layer so I can see what’s underneath and select the part I want visible, using Rectangular Marquee Tool. Copy, Paste as the top layer.
Now back again to the background layer, I select the second part I want visible. Copy, Paste, Top. Wee.

I place stroke on the two pictures on top, using #DBBF9D colour and 3px on the bigger one and 1px on the little square.

Now, I duplicate the texture, set it on Soft Light and place it as a top layer.

Gradient by crumblingwalls again, this one

Set it to hue.

Merge Down.
Image->Adjustements->Brighteness/Contrast. My settings are +10, +10.

Voila.
Other icons made in similar way, all sharable, along with the one done above *g*
