Coloring tutorial in six steps.
This is my first tutorial, so don’t kill meh or anything, plz.
We're doing this coloring;
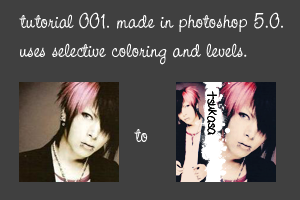
Before we start an important note; Remember that every picture is different and this exact coloring might not work on every picture. To avoid this you might want to play with the opacity and such. And now to the point...
1. Crop your image. Sharpen if needed.

2. Duplicate your picture and set it to screen 50%.
3. Create a Levels layer. Layer - New - Adjustment layer - Levels. Put the opacity to 50%.
Input Levels: 80, 1.00, 255
Output Levels: 0, 255

4. Create a layer. Layer - New - Layer. And fill it with #0E2D4A. Set the layer to Exclusion and put the opacity to 50%.

------>
5. Create again a new layer. Layer - New - Layer. Fill this layer #CDCDCD. Set it to Color Burn and put the opacity to 50%.

------>
6. Create a Selective Color layer. Layer - New - Adjustment layer - Selective Color.
Reds: -100, +100, +100, -20
Yellows: -100, 0, -10, 0
Neutrals: +20, 0, -25, 0.

7. Then you can do with the picture whatever you want - add textures, brushes or text.
8. And you’re done.
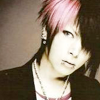
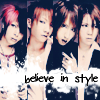
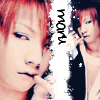
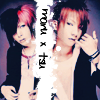
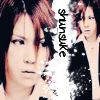
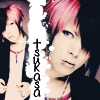
Other icons that were made with this coloring;

Comments are love. ♥
I’d of course like to see your results.
No stealing.
CREDIT if you're gonna use one of my icons !
We're doing this coloring;
Before we start an important note; Remember that every picture is different and this exact coloring might not work on every picture. To avoid this you might want to play with the opacity and such. And now to the point...
1. Crop your image. Sharpen if needed.
2. Duplicate your picture and set it to screen 50%.
3. Create a Levels layer. Layer - New - Adjustment layer - Levels. Put the opacity to 50%.
Input Levels: 80, 1.00, 255
Output Levels: 0, 255
4. Create a layer. Layer - New - Layer. And fill it with #0E2D4A. Set the layer to Exclusion and put the opacity to 50%.
------>
5. Create again a new layer. Layer - New - Layer. Fill this layer #CDCDCD. Set it to Color Burn and put the opacity to 50%.
------>
6. Create a Selective Color layer. Layer - New - Adjustment layer - Selective Color.
Reds: -100, +100, +100, -20
Yellows: -100, 0, -10, 0
Neutrals: +20, 0, -25, 0.
7. Then you can do with the picture whatever you want - add textures, brushes or text.
8. And you’re done.
Other icons that were made with this coloring;
Comments are love. ♥
I’d of course like to see your results.
No stealing.
CREDIT if you're gonna use one of my icons !