Tutorial no.2: Spike and Dru
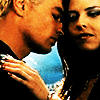
Okay this is my first Tutorial, yay! Me, anyway I'm going to show you how to make an icon/base like this:

From this picture: here.
First I went to [Image - Image Size] and made it 400x285 so now it looks like this:
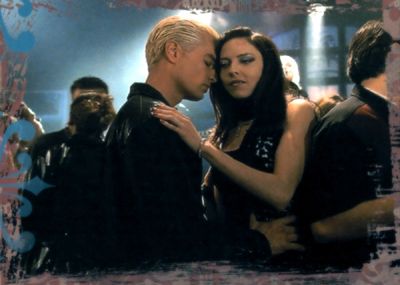
Then I copy and pasted that picture onto a new 100x100 file and moved it around till it's at an angle I like:

Then I go to [Filter - Sharpen] so now it looks like this:
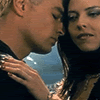
Then I decided I wanted to lighten it up but just a little bit so I went to [Image - Adjust - Curves] and made it just a tiny bit lighter then it looked like this:
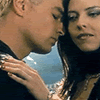
Nice so far but really boring, so I went to [Layer - New - Layer Adjustment] then set the Opacity - 100% and Set the Mode to Overlay and made it look like this:
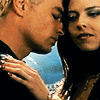
So now the icon starting to get a bit more feel and I move onto the last step, I once again go to [Layer - New - Layer Adjustment] and once again set the mode to Overlay and the Opacity to 100% -Through take note, that depending on the quality of the picture your using you may want to set the opacity to an lower level - Ok so now you have this:

An finished icon/base and if you didn't know how to do this already, another Photoshop skill.
Seeing this is my first try at an Tutorial I expect that I have missed something or written this in a way that people cannot understand so I apologize in advance and feel free to reply to point out my errors, so therefore I know what not to do and what to do next time I write an tutorial.