Tutorial no. 10
I made this icon for btvsats_girls and I really like it so I decided to do a tutorial on it. I came second by the way *does a little dance* Lol.
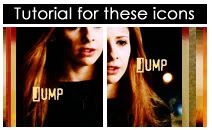
x Wow, so this is my 10th tutorial ... and I still don't consider myself very good at them, lol. So any mistakes I make you'll have to excuse and anything I missed tell me about.
x I use PS 5.5 but I figure it will work in others programs to.
x I wrote this with the idea thought that you know the basics, example, I say desaturate the layer I don't tell you how to desaturate it. But I don't mind if you ask some questions, some questions not ask me to go over the tutorial all over again and explain everything :)
x Textures used are from colorfilter so if you use them credit colorfilter not me.
x Please don't make this exact icon and feel free to show me what you've done, I'd like to see :)
I used this image at this size, don't crop or anything yet:

Now duplicate the image and screen x4 - on layer 4 [last screened layer] gaussian blur it at radius: 2.3 px then desaturate that layer as well - then go back to the bottom/original layer and duplicate it before bringing it back to the top and overlay it.
And the image should now look like this, flatten the image now:

Now resize, crop it, whatever [the black border is to show you the white]:

Now my icon already has the white but say your icons like this:

Then you simply cut it yourself, you want to cut about this much but really your choice, do whatever you think will look best:
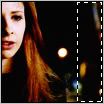
So now to the textures, I used these three:
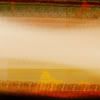
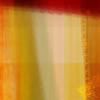
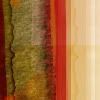
Cut a line from each, mine were about this size but hey, your picture use whatever size suits it:
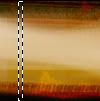
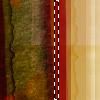
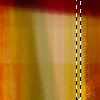
So copy and paste all your strips from your texture onto your icon, mine look like this when all my strips have have put on:

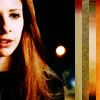
Then add your text, I used the Alias font, the color at #FCE196:


And now the icons finished:
