Lighting Textures & Brushes
Well everyone, it's been quite some time since I've written a tutorial, but I really enjoyed the way this icon turned out, so I figured I' throw it out there. Will be posting it for my Ed challenge at iconfiend100 once I get another good sized batch ready. Well, without further ado-
Going from this picture...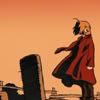
to this picture...
in Photoshop 6
To begin with, this capture came from neko_chelle and can be found here. It's from the series Fullmetal Alchemist and is of the character Edward Elric.
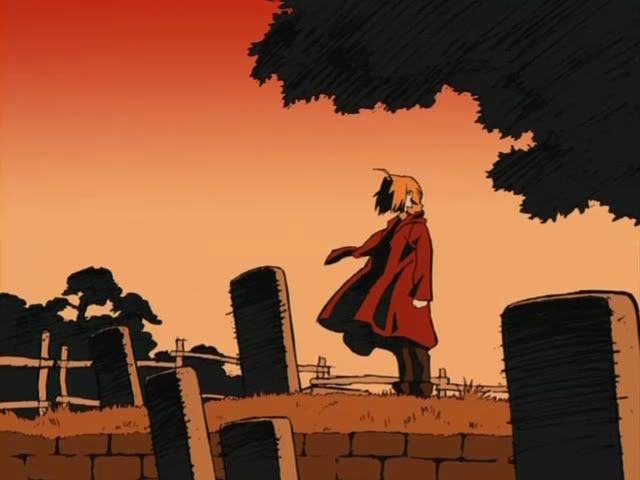
I cropped the image, nothing new here...

When I was creating this icon, I used a lot of trial and error, tweaking things until I liked the way they worked. However, in my opinion, it's easiest to describe things in a linear method, so I'm just going to start from the bottom and start laying things on. Ok? Ok.
Using this brush, which I unfortunately have no idea where it came from (if you do, please step forward. I would love to credit the creator), I aplied it to a new layer using the color white (#ffffff). I then set that layer to overlay %100

I then duplicated the background layer twice and set them both to overlay. They go on top of the white sparkle thing-ie.


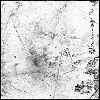
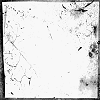
Next, I used this lighting texture from gender. It's actually been rotated from it's origional position, and is set on soft light %100


Another lighting texture from gender. It's also set on soft light %100.


This lighting texture is from a larger one made by inxsomniax. It's set on soft light %100.


Last two brushes, both by meleada. The color I used was black (#000000) and they're also set on soft light %100 (suprise, suprise).

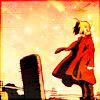
And that's the completed icon. I considered text on there. Something like 'mother' since he's looking at her grave, but meh... Here's a .gif of the transformation.

Going from this picture...

to this picture...

in Photoshop 6
To begin with, this capture came from neko_chelle and can be found here. It's from the series Fullmetal Alchemist and is of the character Edward Elric.

I cropped the image, nothing new here...

When I was creating this icon, I used a lot of trial and error, tweaking things until I liked the way they worked. However, in my opinion, it's easiest to describe things in a linear method, so I'm just going to start from the bottom and start laying things on. Ok? Ok.
Using this brush, which I unfortunately have no idea where it came from (if you do, please step forward. I would love to credit the creator), I aplied it to a new layer using the color white (#ffffff). I then set that layer to overlay %100


I then duplicated the background layer twice and set them both to overlay. They go on top of the white sparkle thing-ie.


Next, I used this lighting texture from gender. It's actually been rotated from it's origional position, and is set on soft light %100


Another lighting texture from gender. It's also set on soft light %100.


This lighting texture is from a larger one made by inxsomniax. It's set on soft light %100.


Last two brushes, both by meleada. The color I used was black (#000000) and they're also set on soft light %100 (suprise, suprise).


And that's the completed icon. I considered text on there. Something like 'mother' since he's looking at her grave, but meh... Here's a .gif of the transformation.
