Text Methods No. 01
Tutorial for basic text backers (a.k.a. stuff that makes your text show up better). Made in Photoshop 6, but should translate easily to other programs.
We begin with our very basic 100x100px canvas. At this point, you would probably have an image on it already.
01. Basic Box. Not too flashy, but it gets the job done.
New layer -> Rectangle Tool -> Drag Box To Desired Size -> Release Mouse & Presto!
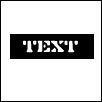
02. Basic Box w/ tilt. Make your box as explained in 01. Hit Ctrl-T & tilt as desired.
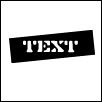
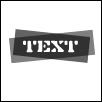
03. Basic Box w/ tilt and transparencey. Follow 02's step, then just drop the opacity on the layer.
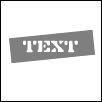
04. Multiple Boxes! Step 03 Done twice, each at different angles & opacities.
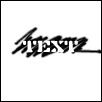
05. Scribble. Pick a color. Using a pretty small hard brush (or large, or soft, or both... whatever floats your boat) simply scribble. Make it big enough to cover the text. Then drag the text on top.
06. Pre-existing brush. This one belongs to ohpaintbrush. You guys know how brushes work right?
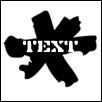
07. Standard Photoshop Grunge. Yes, this brush is default to photoshop. I used spatter 27. To make it look right, make sure you don't hold down the brush and drag. You kind of want to stamp. Like 05, make sure you cover the text area.
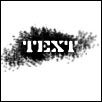
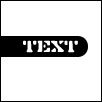
08. Rounded Rectangle Tool. Just like 01 except you're using the rounded rectangle.
So, yeah. A very basic tutorial, but I hope it helps shed some light on preventing bad icon text.