Light Texture Tutorial
How to Make a Simple Light Texture
Requested by flambeau on NarniaWeb.
1. Start by opening up a new 100x100 image. Also, before you start, you should have the layers dialogue and the brushes dialogue open (Windows>Dockable Dialogues>Layers or Brushes).
2. Use the bucket fill tool to fill your background with black (000000).
3. Create a new transparent layer. (Layer>New Layer>Transparency).
4. Now change your foreground colour to the one you would like to use as the basis for your light. Bright, vibrant colours work best. I am going to use hot pink: ff00cc.
5. Select your brush tool. Pick a round and very fuzzy brush (meaning one with a very low hardness level. You can see a brush’s hardness by clicking on the ‘brush editor’ at the bottom of your brushes dialogue) Pick one that’s about 100x100 in size.
6. Make sure all your brush settings are normal. Use this brush anywhere on your transparent layer. Leave this layer set to Normal at 100% opacity.
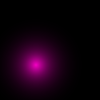
7. Now make another transparent layer and change your foreground colour again.
Seeing as you will be using at least (I would guess) 3 different colours on every texture, you may want to consider a colour scheme at this point. You may want to keep all colours the same but in different hues, like I did in the first texture below, where I used all purples. Or, you may want to keep all the colours in the same family, as I did in the second, where all the colours were warm colours. Or you can just pick whatever colours you want and not follow a pattern at all, as I did in the last example.
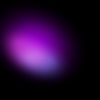
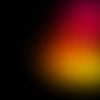
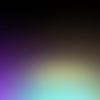
Now that you have your one base colour, there are many things you could do. There are so many different ways to continue that I will just list some options. Obviously, making these textures takes practice, a lot of trial and error, and a whole lot more experimentation. You can use a combination of these techniques.
*Always start as outlined in step 7 above, with a new transparent layer and changing the foreground colour.
A. Using another fuzzy round brush, make any blob of colour near the dot you made on your first layer. Change the layer mode how ever you’d like to help it blend in with the first layer. Some examples:
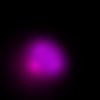
> new layer set to ‘Hard Light’ >
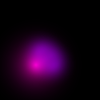
B. Using a large fuzzy brush, put a large dot over the ones you’ve already made. Once again change the layer mode however you’d like. This layer would probably work best set to ‘Screen’ at 100% opacity.
Combined with the first layer >
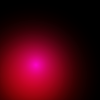
C. Continue making blobs of colour on new layers and trying out different layer modes. Like I said before, it takes a lot of trial and error. Here, I repeated #1 and made a blue blob, setting it to ‘Screen’.
Added to the first layer >
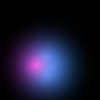
D. Another thing you could do on a transparent layer would be to make another dot like you did to start with. (With this it may help to use a brush with a higher hardness level than you used on your first layer):
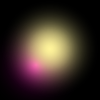
Now, you can use the scale tool (make sure that the ‘keep aspect’ box is NOT checked) to change the shape:
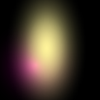
If you want, now you can also use the rotate tool:
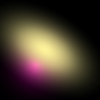
Now change the layer mode and maybe fiddle with the opacity:
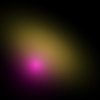
< Set to ‘Hard Light’ at 54% opacity.
Basically, you can use a combination of these. Remember there is way more to do than I could possibly write here. Be creative and remember it’s very important to make sure all the layers work well together. If one doesn’t fit, it’s okay to delete it and start a new one.
Here are some examples of combinations of the four layers I’ve made in this tut:
Layer 1 + Layer C + Layer D =
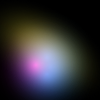
Layer 1 + Layer A + Layer B + Layer C =
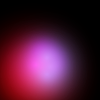
Layer 1 + Layer B + Layer D =
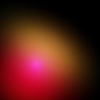
All layers =
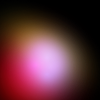
Once you’ve got all your layers how you want them, flatten you image. If it there are parts that you’d like to be blended together better, use the blur tool on your flattened image. For example, if I were using the third example above, I wouldn’t like it that the pink dot stands out so much, so I would blur it.
Well there you are. I hope it wasn’t too long or confusing for you! Feedback would be great if there are any parts I should clarify or change.
Thanks!