Patrick Swirl Tutorial
Today we will be going from this 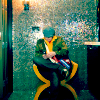
to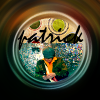
. Using PSPX. Though I think it may be translatable to other programs.
Others made using it.
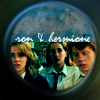
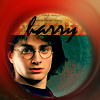
We will be starting today with a picture of Patrick Stump of Fall Out Boy. Croped and colored to get this. This works best with pictures and bases were the subject is in the middle of the base.

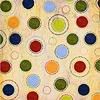
Then pick of a pattern that you would like to use to go with your picture and paste it behind the picture layer. I choose this one by
tragic_icons
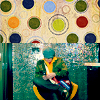
Take the picture layer (I cropped off some of the top) and arrange it to the middle so you get something like this. Then merge the layers.
Find a nice swirl pattern you want and paste it as the top layer. Now duplicate both layers so it should look something like this. I got my swirl pattern from
4600
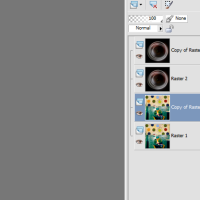
Take your top picture layer and go to Adjust>Blur>Radical Blur and blur it. I used a strength of 50%. It should look something like this.
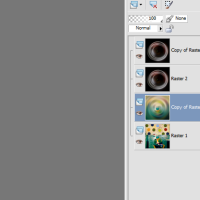
Take the top copy of the swirl and the newly swirled picture layer and cut of an idenical circle in each. It should look something like this.
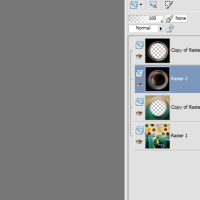
Now take each of your newly cut layers and set them to Soft Light 100% and Blur>Average. Your icon should look something like this.
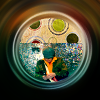
Now add some text and whatever you choose and you have a finished icon like this.

Hope this was somewhat helpful. I would love to see your icons if you use it.

to

. Using PSPX. Though I think it may be translatable to other programs.
Others made using it.


We will be starting today with a picture of Patrick Stump of Fall Out Boy. Croped and colored to get this. This works best with pictures and bases were the subject is in the middle of the base.

Then pick of a pattern that you would like to use to go with your picture and paste it behind the picture layer. I choose this one by
tragic_icons

Take the picture layer (I cropped off some of the top) and arrange it to the middle so you get something like this. Then merge the layers.

Find a nice swirl pattern you want and paste it as the top layer. Now duplicate both layers so it should look something like this. I got my swirl pattern from
4600

Take your top picture layer and go to Adjust>Blur>Radical Blur and blur it. I used a strength of 50%. It should look something like this.

Take the top copy of the swirl and the newly swirled picture layer and cut of an idenical circle in each. It should look something like this.

Now take each of your newly cut layers and set them to Soft Light 100% and Blur>Average. Your icon should look something like this.

Now add some text and whatever you choose and you have a finished icon like this.

Hope this was somewhat helpful. I would love to see your icons if you use it.