Sakura Tutorial
How to go from this to 
in 6 easy steps
Using Photoshop CS2 but fully translatble
Skill level: Easy
(My first tutorial *fidgets*)
Step 1:
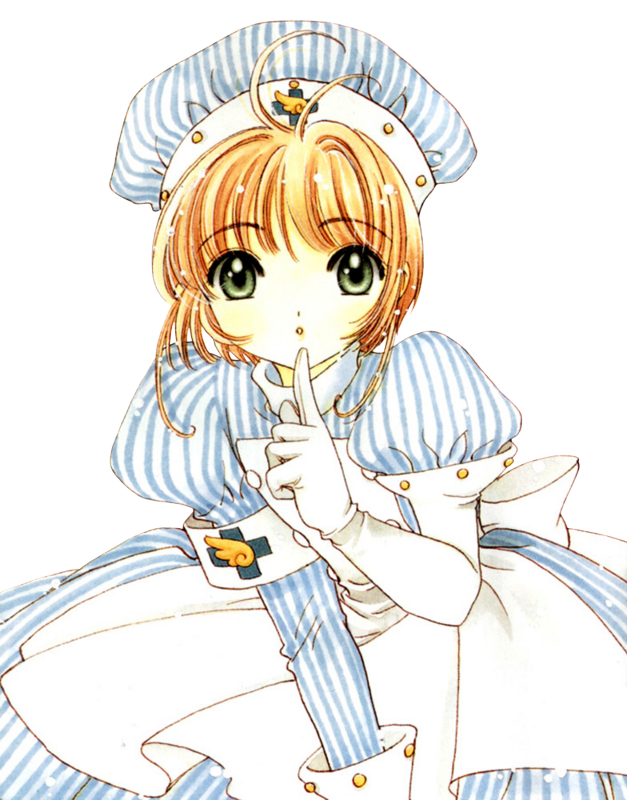
Choose your base. I choose this render from celestial-star-net. Crop it to your liking using the free-transform option.

<-- I decided to use this.
Remember to press the Shift-button while tranforming. This will keep the image in it's original dementions.
Now at this stage you might want to clean up your base, using Auto-levels/Auto-contrast, but this render was good already, so I didn't bother.
Step 2:
Make a background. I this gradient. (I don't know who made it. If you know please tell me, so I can give proper credit ^__^) Drag it to the bottom of your layers-pallet.

Step 3:
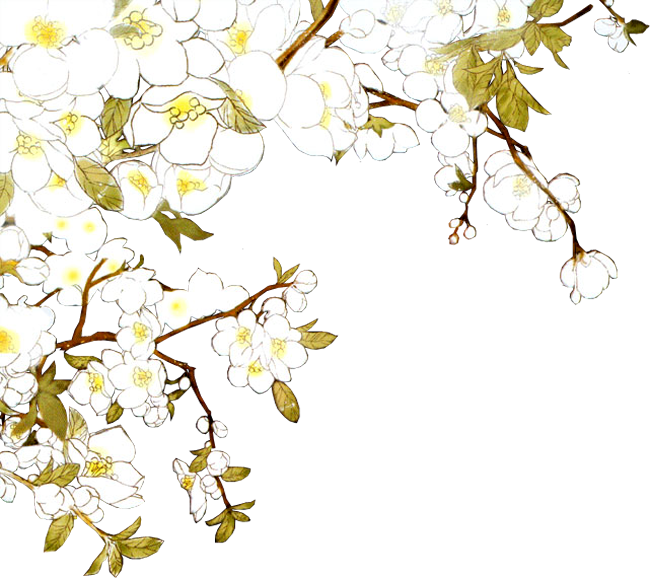
I thought the right side looked a bit empty. So I took this render I found on google, cropped it and placed it on top of the background.

<-- looks better, right?
Step 4:
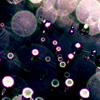
Take this texture by myrasis and put it on top of the other layers. Set blending mode to screen at an oppacity of 80%. Then erase the light that are blocking Sakura's face.

Step 5
I thought the background looked a bit pale so I used this texture by myrasis . I set it to overlay at 100%, but what works for this image might not work for your image, so play arround with the settings ^_^
Put it on top of your background layer, under the layer with the blossom.

Step 6:
Create a new layer. Press Ctrl+A and go to edit>stroke. Set it to 2 pixels and use a white color.

After that create your own border on top of the stroke. I used a dotted border brush

And you're done. Or not ^_^ You could always put some text on it, or something like that. Be creative ^__^
------------
Since it's my first tutorial ever, I'm wondering if it made any sense XD Feed-back would be wonderful!
in 6 easy steps
Using Photoshop CS2 but fully translatble
Skill level: Easy
(My first tutorial *fidgets*)
Step 1:
Choose your base. I choose this render from celestial-star-net. Crop it to your liking using the free-transform option.
<-- I decided to use this.
Remember to press the Shift-button while tranforming. This will keep the image in it's original dementions.
Now at this stage you might want to clean up your base, using Auto-levels/Auto-contrast, but this render was good already, so I didn't bother.
Step 2:
Make a background. I this gradient. (I don't know who made it. If you know please tell me, so I can give proper credit ^__^) Drag it to the bottom of your layers-pallet.
Step 3:
I thought the right side looked a bit empty. So I took this render I found on google, cropped it and placed it on top of the background.
<-- looks better, right?
Step 4:
Take this texture by myrasis and put it on top of the other layers. Set blending mode to screen at an oppacity of 80%. Then erase the light that are blocking Sakura's face.
Step 5
I thought the background looked a bit pale so I used this texture by myrasis . I set it to overlay at 100%, but what works for this image might not work for your image, so play arround with the settings ^_^
Put it on top of your background layer, under the layer with the blossom.
Step 6:
Create a new layer. Press Ctrl+A and go to edit>stroke. Set it to 2 pixels and use a white color.
After that create your own border on top of the stroke. I used a dotted border brush
And you're done. Or not ^_^ You could always put some text on it, or something like that. Be creative ^__^
------------
Since it's my first tutorial ever, I'm wondering if it made any sense XD Feed-back would be wonderful!