[R] 001 | Tutorial - Refia

to
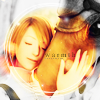
o1.

First, crop your base accordingly. It'd be good to get the brightness of your base up to the level of this one so that your overall result will be close to mine.
o2.
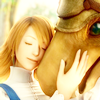
Okay, now we'll be working on getting the image brighter. Duplicate your base and set it to 100% Screen
o3.
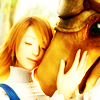
Duplicate your base again and set it to 100% Overlay
o4.
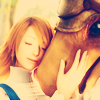
Now for the fun part? xD A color fill layer of #003663 set to 100% Exclusion.
o5.
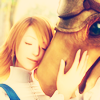
Duplicate your base and set it to 50% Screen
o6.
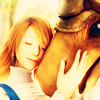
Duplicate your base again and set it to 100% Soft Light. *o*
o7.
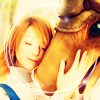
Now we're going to take this brush (it's so pretty! *o*) by conspiracyicons and set it to 100% Screen. You might have to move it around/erase parts of the brush depending on your icon.
o8.
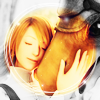
Take #000000 and set it to 100% Saturation. Erase the part of the icon that you want the color to show up on.
o9.
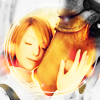
Now for some shinies! :] Put this light texture by awmpdotnet at 100% Hard Light. I had to flip mine around, by the way.
1o.

And finally, put any extras you'd like. Text, brushes, etc. On this particular icon, I put the text "w a r m t h" (one space in between each letter) in Times New Roman at 5pt and some tiny text underneath.
Other icons made with this technique:



• Credit
• ♥

Resources