Tutorial # 6
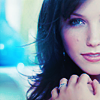
From this 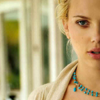
to this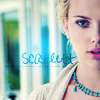
to this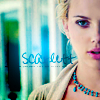
- Made in ps7
- Less than 5 steps
- Uses selective coloring and Curves.
1) Crop your image and duplicate it (you don't have to, i do it out of habit)
2) Go to layer> new adjustment layer> selective color and put in these settings: Diagram
Reds
C : -100
M : 0
Y : -43
B : 0
Neutrals
C : +67
M : -6
Y : -38
B : +2
3)Go to Layer> new adjustment layer> Curves and put in these settings: Diagram
RGB
point one = 122,139
Point two = 88, 90
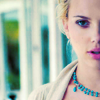
4) Add this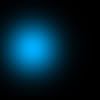
and set it to screen 100% (but depending on your icon play around with the opacity.)
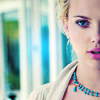
5) Zoom in on the icon. Blur her skin (strength 50%) and brighten the eyes using the dodge tool (range: midtones. Exposure: 80%). Add text (Pea Amy*Rica Script, size 12, #000304 47%) And Tiny text brush by darkhorizonx Unsharp mask 60%-100%

Other examples:
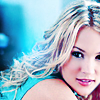
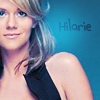
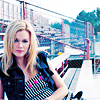
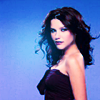
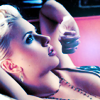
You can either leave it like that or add this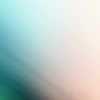
by desiderio and set it to colorburn 100% (again play around with the opacity depending on your icon)

Other examples:
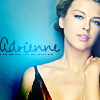
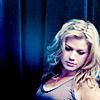
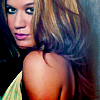
The layer palette should look like this ;

Dude!
Please comment and credit if you take any
Please don't hotlink
If you do use the tut I'd love to see your result ;)
And lastly..Enjoy!

to this

to this

- Made in ps7
- Less than 5 steps
- Uses selective coloring and Curves.
1) Crop your image and duplicate it (you don't have to, i do it out of habit)
2) Go to layer> new adjustment layer> selective color and put in these settings: Diagram
Reds
C : -100
M : 0
Y : -43
B : 0
Neutrals
C : +67
M : -6
Y : -38
B : +2

3)Go to Layer> new adjustment layer> Curves and put in these settings: Diagram
RGB
point one = 122,139
Point two = 88, 90

4) Add this

and set it to screen 100% (but depending on your icon play around with the opacity.)

5) Zoom in on the icon. Blur her skin (strength 50%) and brighten the eyes using the dodge tool (range: midtones. Exposure: 80%). Add text (Pea Amy*Rica Script, size 12, #000304 47%) And Tiny text brush by darkhorizonx Unsharp mask 60%-100%

Other examples:


You can either leave it like that or add this

by desiderio and set it to colorburn 100% (again play around with the opacity depending on your icon)

Other examples:


The layer palette should look like this ;

Dude!
Please comment and credit if you take any
Please don't hotlink
If you do use the tut I'd love to see your result ;)
And lastly..Enjoy!