As promised
My first icon tutorial!
We're going from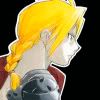
to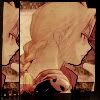
and also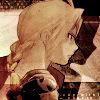
In Photoshop CS 2
1. OK, first we have our base from this picture of Edward Elric from FullMetal Alchemist:

2. Then I put this texture by colorfilter
onto a new layer and set it to multiply at 100%, giving me this
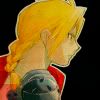
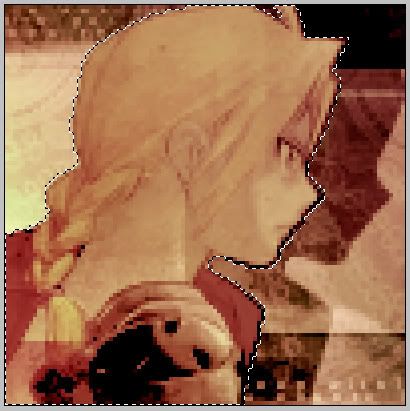
3. I then used the Magic Wand tool to select the black background, then pressed ctrl+shift+i to select the inverse, which would be Ed himself. That looks like this:
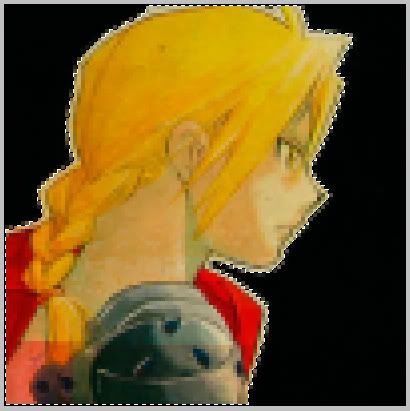
But there's still that line border around him, so I go to Select > Modify > Contract and put in 1, which moves the selection in past the border. Much better. There's still some parts selected though that I don't want to be, so I went ahead and used the Lasso tool, and while pressing Alt, got rid of them. My final selection looks like this:
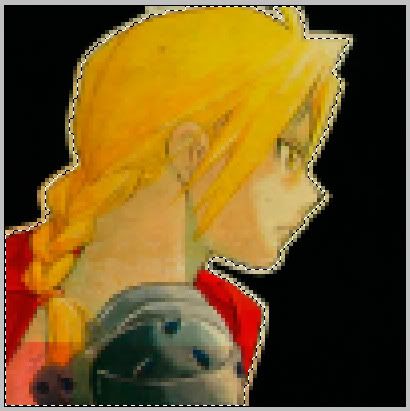
That's more like it. And to save me from doing all that again if I want to use Ed's frame again, I go to Select > Save Selection and just left the name blank cause I'm lazy like that.
Then I did ctrl+shift+i again to invert to selection to the background. Now we're ready for the next step.
4. Next I put this texture, again by colorfilter
onto a new layer, set at Normal 100%, giving me this
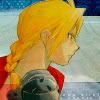
Because I still had the background selected, the texture only pasted into that part instead of the whole image. Good for adding backgrounds and such into icons.
5. Then I put this texture, yet again by colorfilter (love her/his textures)
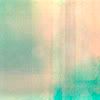
on a new layer, set at Color Burn 100%, which gives me this
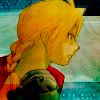
6. I decided to try out a technique that I've been wanting to use, where you remove the color on the icon except for 1 or 2 parts. It looks really nice. So I made a new layer and filled it with black and set it to Color, which turned the icon black and white. I erased the part covering Ed's hair, which gave me this
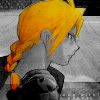
But I thought that looked too bold, so I turned the opacity down to 65%:
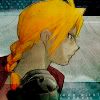
That actually looks pretty cool, but I'm going to keep going.
7. Next I put on this gradient (on a new layer of course)

and set it to Vivid Light at 69%
And then this gradient (also on a new layer)

at Saturation at 83%, giving me this:
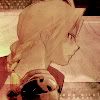
8. I decided to put in a little something extra, so I went to Select > Load Selection and selected Alpha 1 (because I didn't put in a name for it) for Channel, which brings back the selection of Ed I saved. Yippee. I moved the selection to the right a little bit, because I'm going to try and make a kind of shadow behind Ed. I made a new layer and filled the selection with Black, and set to Overlay 100%. But obviously part of the shadow is still covering Ed, so I again loaded the selection I saved and hit Delete to delete the part that covered Ed.
And this is what we come up with:
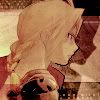
9. That looks good, but again I wanted to do something extra. I selected a part of Ed's face, went to Edit > Copy Merged and press ctrl+v to paste. I moved it over to the left
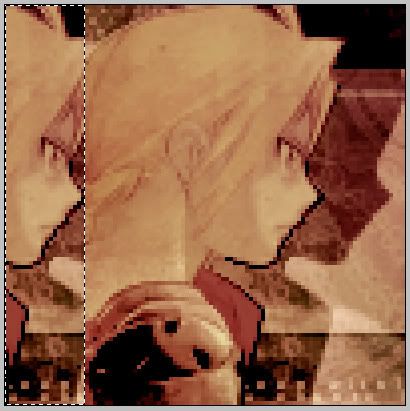
10. But now the back of Ed is covered, so I went to my Layers palette and selected all of the layers except the new one with the snippet of his face
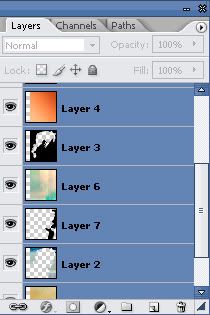
and moved them all over a bit
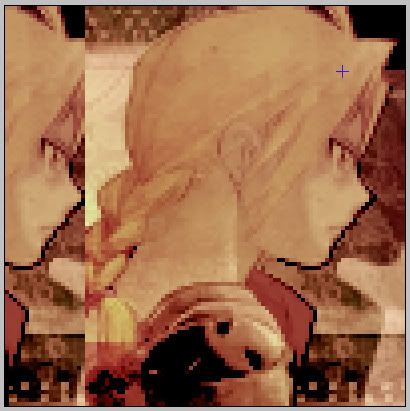
much better
11. I wanted to add a border, so I put on this one by gegenschein and added the line in the middle myself as a separater for the 2 images.

Final Result:

EXTRA
If you decide you don't want the image on the left anymore, that's fine and easy to take care of. Just delete or hide the layer (by clicking the little Eye icon by it in the Layers palette). I also hid the Border layer, because I won't be needing that anymore. Then just select all of the remaining layers and move them back over.

Then what I did is Layer > Flatten Image. I duplicated it and set the new layer to Overlay 100%
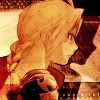
That looks good, but to experiment I desaturated the new layer by pressing ctrl+shift+u and got this

And there we go, I'm pretty satisfied with the result.
The End
Hope you liked and found it useful and hopefully somewhat easy to understand ^_^
As for my icons.. well, I haven't really been making any lately :P I have some in storage that I made but never posted, so I'm waiting until I make some more to post them. Maybe I can this weekend.
Happy Holidays everyone! ♥
We're going from
to
and also
In Photoshop CS 2
1. OK, first we have our base from this picture of Edward Elric from FullMetal Alchemist:
2. Then I put this texture by colorfilter
onto a new layer and set it to multiply at 100%, giving me this
3. I then used the Magic Wand tool to select the black background, then pressed ctrl+shift+i to select the inverse, which would be Ed himself. That looks like this:
But there's still that line border around him, so I go to Select > Modify > Contract and put in 1, which moves the selection in past the border. Much better. There's still some parts selected though that I don't want to be, so I went ahead and used the Lasso tool, and while pressing Alt, got rid of them. My final selection looks like this:
That's more like it. And to save me from doing all that again if I want to use Ed's frame again, I go to Select > Save Selection and just left the name blank cause I'm lazy like that.
Then I did ctrl+shift+i again to invert to selection to the background. Now we're ready for the next step.
4. Next I put this texture, again by colorfilter
onto a new layer, set at Normal 100%, giving me this
Because I still had the background selected, the texture only pasted into that part instead of the whole image. Good for adding backgrounds and such into icons.
5. Then I put this texture, yet again by colorfilter (love her/his textures)
on a new layer, set at Color Burn 100%, which gives me this
6. I decided to try out a technique that I've been wanting to use, where you remove the color on the icon except for 1 or 2 parts. It looks really nice. So I made a new layer and filled it with black and set it to Color, which turned the icon black and white. I erased the part covering Ed's hair, which gave me this
But I thought that looked too bold, so I turned the opacity down to 65%:
That actually looks pretty cool, but I'm going to keep going.
7. Next I put on this gradient (on a new layer of course)
and set it to Vivid Light at 69%
And then this gradient (also on a new layer)
at Saturation at 83%, giving me this:
8. I decided to put in a little something extra, so I went to Select > Load Selection and selected Alpha 1 (because I didn't put in a name for it) for Channel, which brings back the selection of Ed I saved. Yippee. I moved the selection to the right a little bit, because I'm going to try and make a kind of shadow behind Ed. I made a new layer and filled the selection with Black, and set to Overlay 100%. But obviously part of the shadow is still covering Ed, so I again loaded the selection I saved and hit Delete to delete the part that covered Ed.
And this is what we come up with:
9. That looks good, but again I wanted to do something extra. I selected a part of Ed's face, went to Edit > Copy Merged and press ctrl+v to paste. I moved it over to the left
10. But now the back of Ed is covered, so I went to my Layers palette and selected all of the layers except the new one with the snippet of his face
and moved them all over a bit
much better
11. I wanted to add a border, so I put on this one by gegenschein and added the line in the middle myself as a separater for the 2 images.
Final Result:
EXTRA
If you decide you don't want the image on the left anymore, that's fine and easy to take care of. Just delete or hide the layer (by clicking the little Eye icon by it in the Layers palette). I also hid the Border layer, because I won't be needing that anymore. Then just select all of the remaining layers and move them back over.
Then what I did is Layer > Flatten Image. I duplicated it and set the new layer to Overlay 100%
That looks good, but to experiment I desaturated the new layer by pressing ctrl+shift+u and got this
And there we go, I'm pretty satisfied with the result.
The End
Hope you liked and found it useful and hopefully somewhat easy to understand ^_^
As for my icons.. well, I haven't really been making any lately :P I have some in storage that I made but never posted, so I'm waiting until I make some more to post them. Maybe I can this weekend.
Happy Holidays everyone! ♥