.06
Tutorial!
Go from THIS to THIS using PS7.
Information:
Fairly Image Heavy.
Knowledge of Pen Tool is very helpful.
Made in Adobe Photoshop 7.0
1. Start with this image of Claire Danes.
2. Using your pen tool ( see this tutorial for how-to tips), cut out Claire Danes.

3. Move your picture onto a new canvas/new layer, 600w X 400h, black background. Desaturate her.

4. Adjust the contrast of the Claire Danes image. Make it +20.
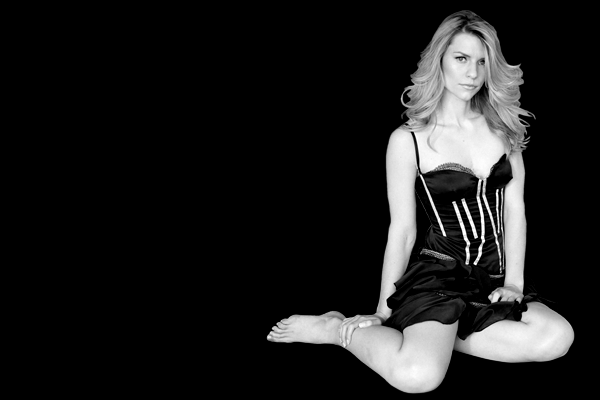
5. Right click the layer and select "blending options." Under stroke, add a 3px white stroke to the image. Click OK.
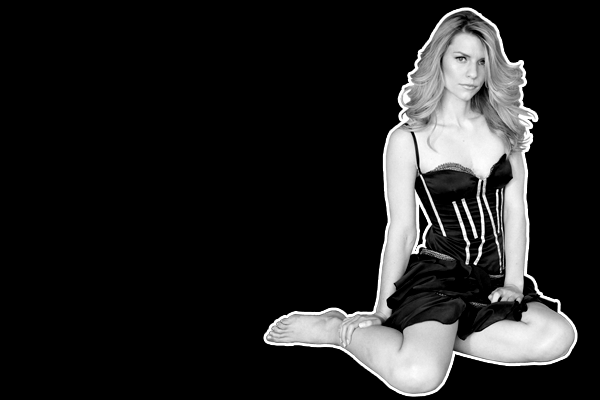
6. New Layer. Add this texture by Colorfilter as the top layer. Set it to screen.
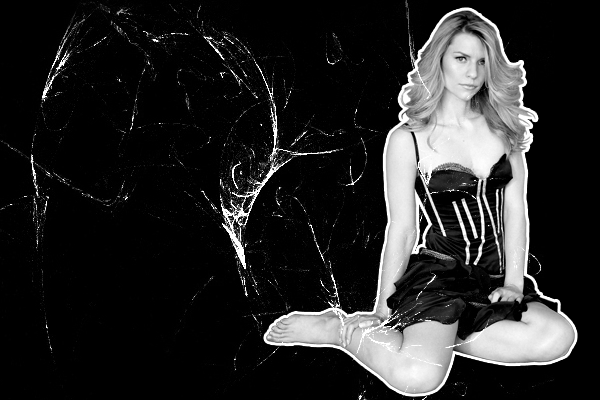
7. New Layer. Add this texture by Contagiouz.org (i resized it a touch) just above your black background. Set it to Hard Light.
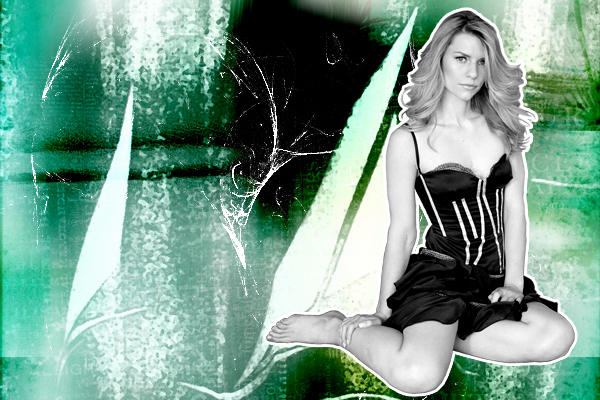
8. Now, since I don't like the green color, I go to image > adjustments > hue/saturation. I changed the hue to negative 163.

9. Next, to make Claire Danes pop more, I duplicated the layer she's on and set it to soft light.

10. Now I took my burn tool and ran it over the now red texture, just to make it a tad darker.

11. Next I added this brush by shim_shim just below the Claire Danes layer.
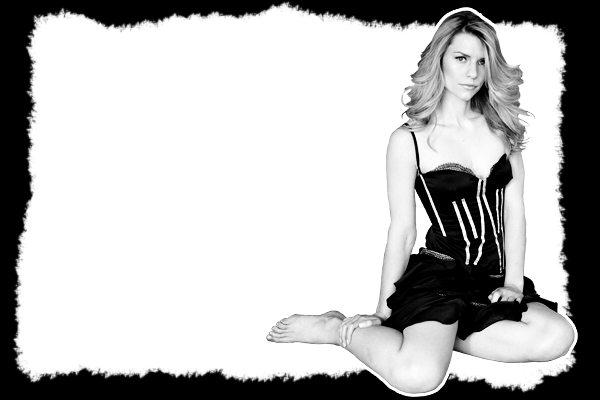
12. Set to multiply.
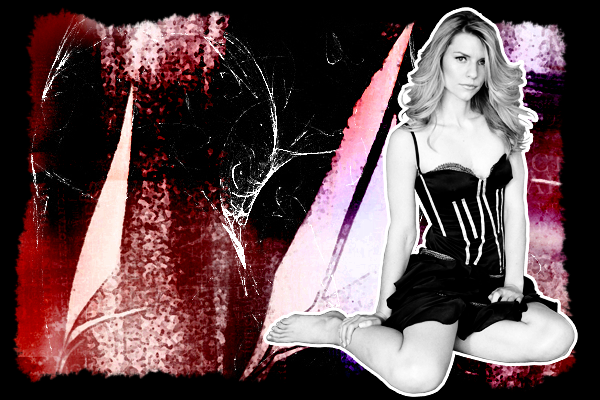
13. Finally, I added text. I put lyrics from Marilyn Manson's song "I put a spell on you" (in the font Boopee). I added a drop shadow to both lines (settings: opacity 100%; distance 2px; size 2px)

And that's it!
*i accidentally moved the scratch texture below Claire Danes and saved it, so for some of the layers it's below. Sorry! I'mmmm dumb.
Please, don't follow this directly. This is meant to show you how to achieve similar effects. Try it! Also, I'd love to see what you make.
Feel free to ask any questions - I know I didn't go into a lot of detail. :]
Go from THIS to THIS using PS7.
Information:
Fairly Image Heavy.
Knowledge of Pen Tool is very helpful.
Made in Adobe Photoshop 7.0
1. Start with this image of Claire Danes.
2. Using your pen tool ( see this tutorial for how-to tips), cut out Claire Danes.

3. Move your picture onto a new canvas/new layer, 600w X 400h, black background. Desaturate her.

4. Adjust the contrast of the Claire Danes image. Make it +20.

5. Right click the layer and select "blending options." Under stroke, add a 3px white stroke to the image. Click OK.

6. New Layer. Add this texture by Colorfilter as the top layer. Set it to screen.

7. New Layer. Add this texture by Contagiouz.org (i resized it a touch) just above your black background. Set it to Hard Light.

8. Now, since I don't like the green color, I go to image > adjustments > hue/saturation. I changed the hue to negative 163.

9. Next, to make Claire Danes pop more, I duplicated the layer she's on and set it to soft light.

10. Now I took my burn tool and ran it over the now red texture, just to make it a tad darker.

11. Next I added this brush by shim_shim just below the Claire Danes layer.

12. Set to multiply.

13. Finally, I added text. I put lyrics from Marilyn Manson's song "I put a spell on you" (in the font Boopee). I added a drop shadow to both lines (settings: opacity 100%; distance 2px; size 2px)

And that's it!
*i accidentally moved the scratch texture below Claire Danes and saved it, so for some of the layers it's below. Sorry! I'mmmm dumb.
Please, don't follow this directly. This is meant to show you how to achieve similar effects. Try it! Also, I'd love to see what you make.
Feel free to ask any questions - I know I didn't go into a lot of detail. :]