The Absolute Moron's Guide To ... Making a piece of burnt parchment
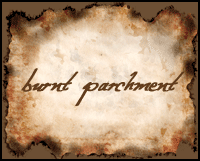
This is an intermediate tutorial, you will need to know how to load & replace brushes, how to use the eraser tool, and how to play with the Brightness/Contrast and Hue/Saturation. This tutorial was done in Adobe Photoshop 7.0 and uses the program's default brushes.
I have used this technique when making several headers and FO banners, samples can be found here and here.
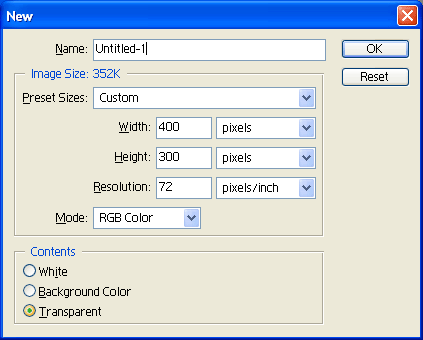
1. Click on File, then click on New. From there input 400 for the width and 300 for the height. For the contents, select the TRANSPARENT option.
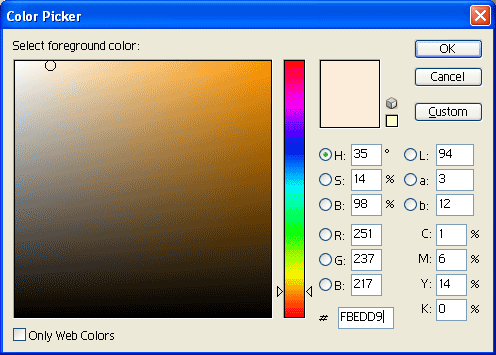
2. On your Toolbar, click on the foreground color. We'll now pick the base color for the parchment. For this excercise I'm using color code #FBEDD9. While we are at it, select a medium hued brown for the background color. I used color code #854E00.
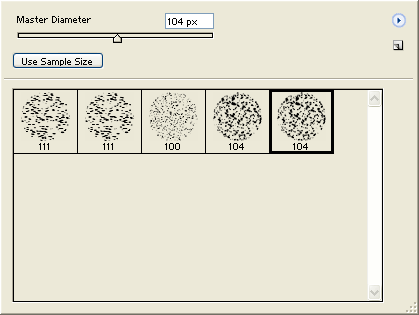
3. Again go back to your Toolbar and click on the Brush tool. From there load the THICK HEAVY BRUSHES. Select the last brush, it is called ROUGH ROUND BRISTLE. Do not change the size, leave it at 104. Leave the mode on normal and the opacity on 100%.
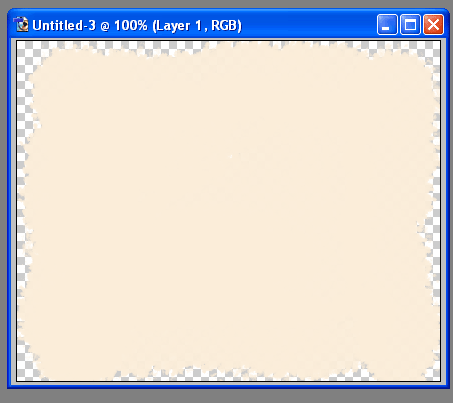
4. Go back to your image and using horizontal strokes with your mouse, fill in the sides. Using vertical strokes, fill in the top and bottom and then the middle. Do not worry about making it perfect. It's not supposed to look perfect. Please be sure to that you leave a transparent border around the image. Don't get the brush all the way to the edge. A hint, it helps if you have the window sized bigger than the canvas area.
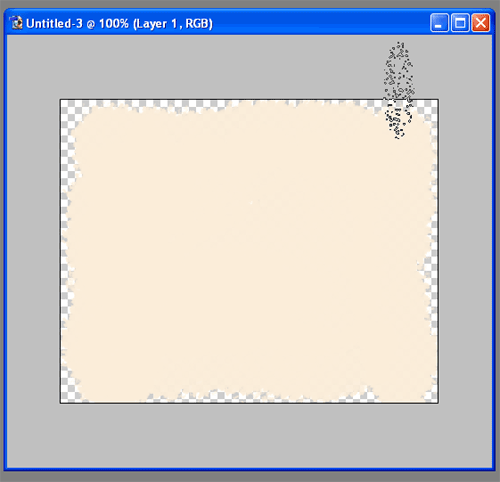
5. Now we are going to add some burned away spots to the parchment. On your toolbar click on the Eraser tool. Change the shape to the Rough Flat Bristle brush. Leave the mode on brush and the opacity at 100%. This brush works best for the top and bottom edges. Go in and add your spots, you can also use this brush if you got too close to the edges in Instruction #4. Do not worry if it isn't even or doesn't look perfect, remember it's not supposed to.

6. Load your SPECIAL EFFECTS BRUSHES. Instead of replacing them, append the selection so that you have both your THICK HEAVY BRUSHES and SPECIAL EFFECTS BRUSHES.
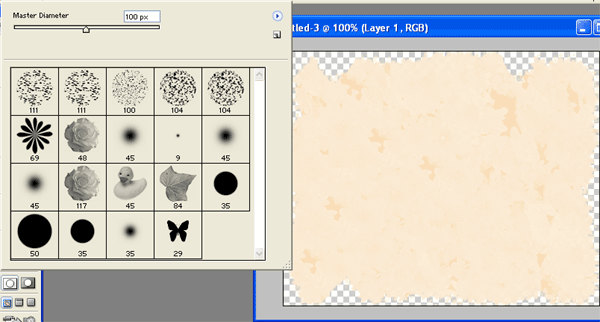
7. Now we will add texture to the parchment. On your toolbar select the burn tool and then select the Scattered Flower Mums brush. Size it at 100 and leave the range on shadows and the exposure at 100%. Using the same color as the parchment background, go over every inch of your parchment.
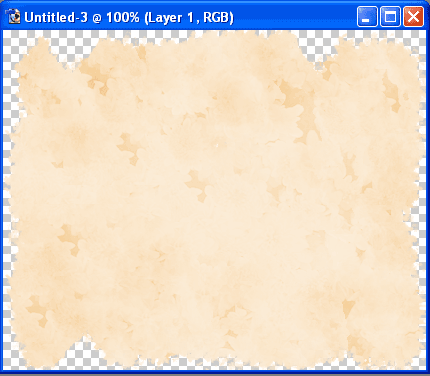
8. Select the Scattered Roses brush, leave the range at shadows and the exposure at 100%. Go once around the edges or twice depending on how you think it looks. For this excercise I only went around once.
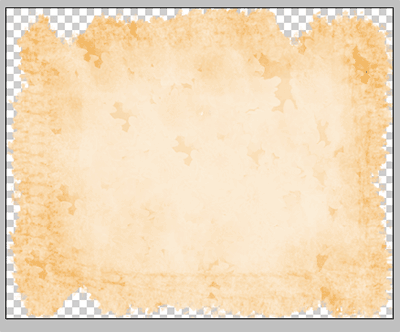
9. Let's burn it! Load the FAUX FINISH BRUSHES and switch the darker brown color to the foreground. Still using the burn tool, select the Sea Sponge brush and go once around the edge of the parchment. Using the burn tool again select the Plastic Wrap brush sized at 90 go three times around the edge of the parchment, keeping close to the edge.
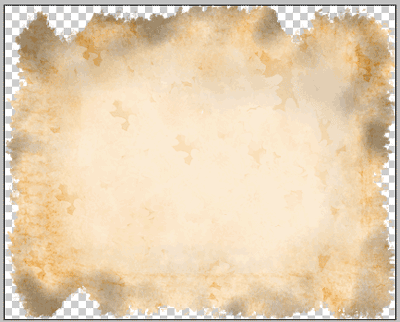
10. Using the burn tool and the Drippy Watercolor brush with the range set at Highlights and an explosure of 4% and the size set at 50, go once around the edge. Try to get the brush only on the edges. It is okay if your brush is halfway on the canvas. We don't want this effect everywhere on the parchment. With the burn brush settings the same select the Pete Crystals brush, size it at 75 and go around the inside edge of the parchment. Go back to the Drippy Watercolor brush with the range still on highlights but the exposure at 100% and go around the edges.
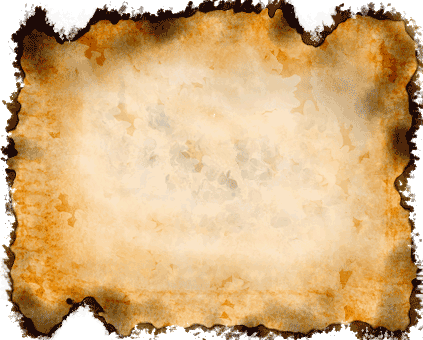
11. Go to the brushes menu and load the ASSORTED BRUSHES. Click on the burn tool with the range set on shadows and the exposure set at 100% then click on the Texture 6 brush and set the size at 50. Go around the edges ten times. Do not use the same path for each stroke, change it up a bit. For good measure, go around the center of the parchment once.
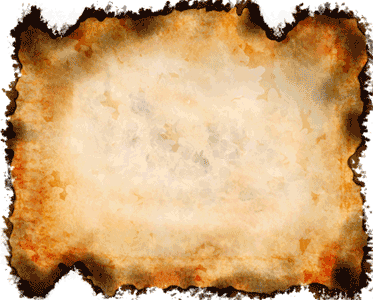
12. Now select Texture 2 with the range set on midtones and the exposure set at 100%. Go in and use the brush on select areas to add interest. Repeat the process with Texture 6.
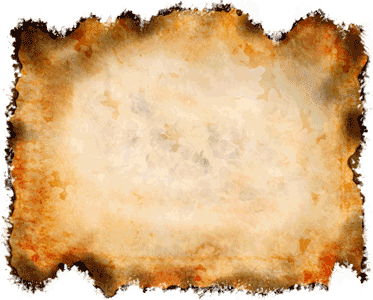
13. Using the eraser tool, very carefully erase any areas that you think don't mesh well with the rest of the image like areas that have too much of the burn effect.
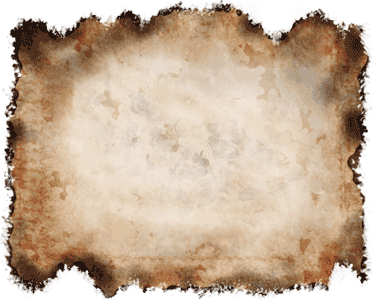
14. Let's take some of the red out, shall we? Click on Image, then click on Adjustments, then click on Hue/Saturation. Put the Hue at -3 and the Saturation at -45.
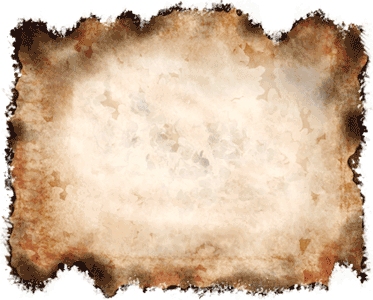
15. Click on Image, then click on Admustments and then click on Brightness/Contrast. Set both the Brightness and the contrast to 10.
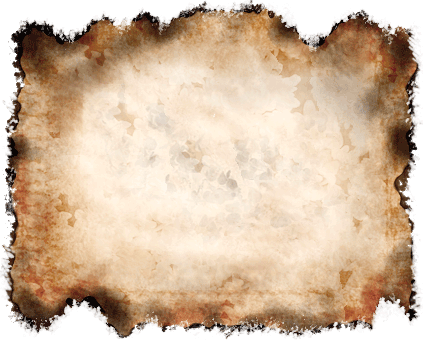
This is what your final image should look like. I recommend saving the file as either a PNG, PNG-8 or a GIF to preserve transparency for use on future projects.
Notes!
a. Yes, the image is a little big. I made it a little bit bigger than what I normally use because it is easier to resize this image bigger or smaller. It is more difficult to get a clear image when you resize bigger if your original image is small.
b. Your image will be different than this tutorial. Don't worry about it, it's not supposed to look perfect.
c. This tutorial isn't really as hard as it is time consuming. Once you've gotten the hang of it, try experimenting with different brushes and techniques. I'd love to see what you make.
d. If you have any questions, don't hesitate to ask.