Tutorial # 02 - Sora (PSP7+)
This is my second tutorial. Let me know what you guys think!
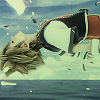
Before
After


01. Use whatever image you want, and crop it however you want. I chose Sora of KH fame.

02. Duplicate the Background Layer and set it to Multiply @ 100%.

03. Next go to Layers > New Adjustment Layer > Hue/Saturation/Lightness. Change Saturation to -100 and set the new layer to screen:

04. Next, I add this green gradient made by colortone. Set it to Multiply @ 100%.

-->
This is what your layers should look like right now:
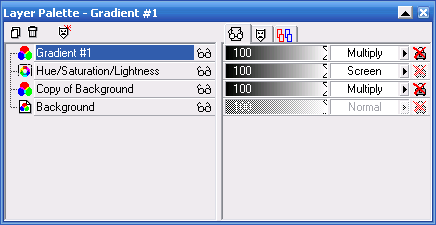
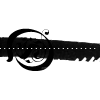
05. Make a new Raster Layer on top of the gradient layer and rename it Brush #1. Use this brush made by arisubox in the color white (#FFFFFF).
-->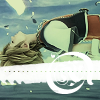
Then drag the brush #1 layer under the gradient layer.

-->
Here is what your layers should look like:
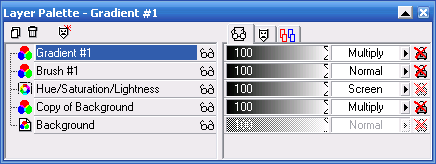
06. Next I added this brush made by bittenicons in the color #54766D. Make sure to erase the 1 px border before you flatten the image. Once that's done, duplicate the layer.

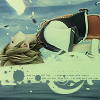
-->
07. And the last step is to just add text!

Hope you guys liked that tutorial, and I'd love to see what you make!
Before
After


01. Use whatever image you want, and crop it however you want. I chose Sora of KH fame.

02. Duplicate the Background Layer and set it to Multiply @ 100%.

03. Next go to Layers > New Adjustment Layer > Hue/Saturation/Lightness. Change Saturation to -100 and set the new layer to screen:

04. Next, I add this green gradient made by colortone. Set it to Multiply @ 100%.

-->

This is what your layers should look like right now:

05. Make a new Raster Layer on top of the gradient layer and rename it Brush #1. Use this brush made by arisubox in the color white (#FFFFFF).

-->

Then drag the brush #1 layer under the gradient layer.

-->

Here is what your layers should look like:

06. Next I added this brush made by bittenicons in the color #54766D. Make sure to erase the 1 px border before you flatten the image. Once that's done, duplicate the layer.

-->

07. And the last step is to just add text!

Hope you guys liked that tutorial, and I'd love to see what you make!