(no subject)
glowy icon tutorial, as requested by lit_glitter!
now, i don't do tutorials very often, so hopefully this is understandable!
go from:
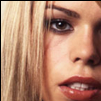
to
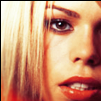
and ignore the black border at the top and left of the icon ... apparently i just suck at screencapping D:
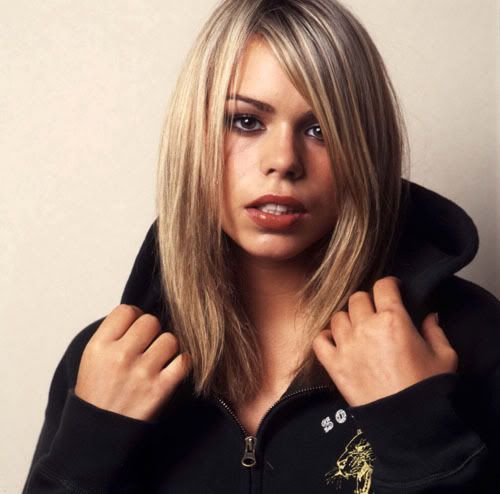
01) start with your base, cropped to where you want it.

02) copy the base, and set it to "soft light" on your copied layer.

03) merge the layers, copy, set to "multiply" on your copied layer.
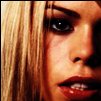
04) erase everything you DON'T want dark ... things like the facial features, etc. this multiply layer just adds depth with shadow, so places like the base of the hair are where you want that darkness.
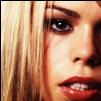
05) merge the layers, copy, set to "screen" on your copied layer.
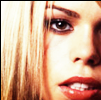
06) erase everything you DON'T want light ... leave the brightness around the cheeks/forehead/eyes, but erase around where you put your shadows earlier.

07) merge the layers, copy, and go "filters-blur more" on your copied layer.
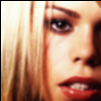
08) erase everything you don't want blurred. this added bluriness on the edges of your image creates even more depth. (i only left it blurry right around the bottom of her hair ... if you blur more, the image retains even more depth, like in this icon.

THIS IS WHERE THE 'GLOW' PART OF THE TUTORIAL ENDS. the rest is mostly colouring :D
09) create a new layer, and add a texture similar to this one. PLEASE DON'T STEAL IT AND SPREAD IT AROUND ... it's a photo a friend of mine took for class.
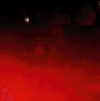
10) set the texture layer to "lighten".
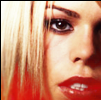
11) erase anything you don't want coloured in that way ...
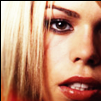
12) next, i added some selective colouring layers, on top of a layer filled with #FFD200 and set to "soft light":
first selective colouring layer:
REDS:
cyan -100 magenta 0 yellow +100
YELLOWS:
cyan -100 magenta 0 yellow +100
CYANS:
cyan -100 magenta -100 yellow +100
NEUTRALS:
cyan +20 magenta 0 yellow -45
second selective colouring layer:
REDS:
cyan -100 magenta 0 yellow +100
YELLOWS:
cyan +100 magenta 0 yellow -80
CYANS:
cyan +100 magenta -100 yellow -100
NEUTRALS:
cyan +35 magenta 0 yellow -25
13) set BOTH selective colour layers to 45%, and your #FFD200 soft light layer to 25%.

OTHER ICONS MADE USING THIS TECHNIQUE:
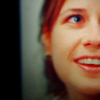
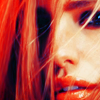
made in photoshop CS.
now, i don't do tutorials very often, so hopefully this is understandable!
go from:

to

and ignore the black border at the top and left of the icon ... apparently i just suck at screencapping D:

01) start with your base, cropped to where you want it.

02) copy the base, and set it to "soft light" on your copied layer.

03) merge the layers, copy, set to "multiply" on your copied layer.

04) erase everything you DON'T want dark ... things like the facial features, etc. this multiply layer just adds depth with shadow, so places like the base of the hair are where you want that darkness.

05) merge the layers, copy, set to "screen" on your copied layer.

06) erase everything you DON'T want light ... leave the brightness around the cheeks/forehead/eyes, but erase around where you put your shadows earlier.

07) merge the layers, copy, and go "filters-blur more" on your copied layer.

08) erase everything you don't want blurred. this added bluriness on the edges of your image creates even more depth. (i only left it blurry right around the bottom of her hair ... if you blur more, the image retains even more depth, like in this icon.

THIS IS WHERE THE 'GLOW' PART OF THE TUTORIAL ENDS. the rest is mostly colouring :D
09) create a new layer, and add a texture similar to this one. PLEASE DON'T STEAL IT AND SPREAD IT AROUND ... it's a photo a friend of mine took for class.

10) set the texture layer to "lighten".

11) erase anything you don't want coloured in that way ...

12) next, i added some selective colouring layers, on top of a layer filled with #FFD200 and set to "soft light":
first selective colouring layer:
REDS:
cyan -100 magenta 0 yellow +100
YELLOWS:
cyan -100 magenta 0 yellow +100
CYANS:
cyan -100 magenta -100 yellow +100
NEUTRALS:
cyan +20 magenta 0 yellow -45
second selective colouring layer:
REDS:
cyan -100 magenta 0 yellow +100
YELLOWS:
cyan +100 magenta 0 yellow -80
CYANS:
cyan +100 magenta -100 yellow -100
NEUTRALS:
cyan +35 magenta 0 yellow -25
13) set BOTH selective colour layers to 45%, and your #FFD200 soft light layer to 25%.

OTHER ICONS MADE USING THIS TECHNIQUE:


made in photoshop CS.