3rd Tutorial - Mukahi Gakuto
*counts* 3rd tutorial! Featuring the oh-so-lovely Mukahi Gakuto of Prince of Tennis!
Go from this: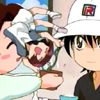
...
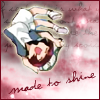
...to this!
Made in Photoshop 6.0, should be translatable. It's only 9 steps, and the steps are quite easy!
This tutorial is probably best with something that you want the background to be cut out. Otherwise, it might look weird ;)
Step One:
Take your base image....in this case, I chose this image (Courtesy of Ore-sama.net)...
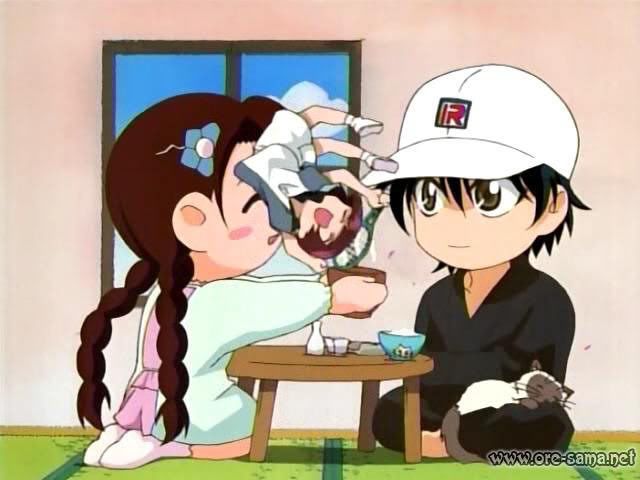
...and crop it down 100x100!

Step Two:
Now...the main focus of this icon is on Gakuto (the weird, jumpy redhead), so we must get rid of the distracting background. So...take your Polygonal Lasso Tool:
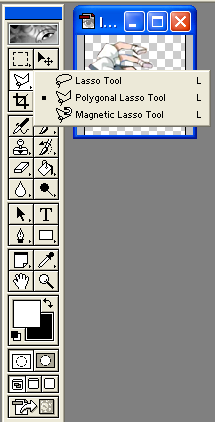
(it's my way of getting rid of backgrounds....even though you can only draw straight lines, it is MUCH cleaner than that Magic Wand!)
and get rid of the background.
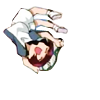
That leaves us with this:

(I know, there are still some unnecessary lines, but that'll be fixed!)
Step Three:
The quality really needs to be fixed! So...duplicate your base layer, and set that to Soft Light 75% (You may have to adjust the opacity to your liking)
Step Four:
I'm going to "outline" Gakuto so he looks neater. Give it some Outer Glow...
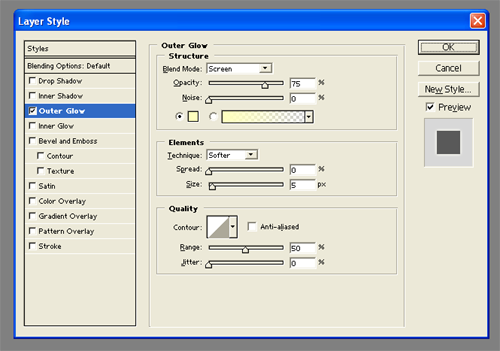
...and leave it at its default settings.
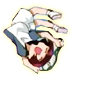
You can't really see much of a difference, but you'll see it later, trust me!
Step Five:
Take this (edited by me) texture: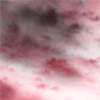
by cdg, and place it behind Gakuto. It's our background!
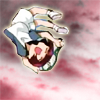
Step Six:
Take this (again, edited by me) texture: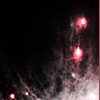
by Unknown (if you know who made this, please tell me!) and set it on Screen 100%
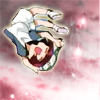
Step Seven:
Text time, yo! Now, I'll tell you how to get a "background-text effect".
I typed in the lyrics in the font Violation, 10pt in the color #000000, otherwise known as a pure black:
"If certainty is what you make of this
I certainly won't make believe
The calm before the storm is running strong
I just hear my voice, I just hear my voice "
(The lyrics are from the song "When Bad News Gets Worse" by Lucky Boys Confusion)
I put that layer of text behind the Light Texture and the Gakuto layer, so now, it looks like this:
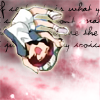
BUT, WAIT, that's not what we want! We want a "background-text effect". SO, to solve this problem, I set the text layer on Soft Light 75%

Yay!
Step Eight:
Ok, now for the REAL TEXT. Type in "made to shine" in Violation, 12pt in the color #720A1C. Now, take your rotating tool...
and rotate it!

(I know there's a border...I forgot to save the step, so I just took the finished icon. It's not much of a difference ^^)
Step Nine:
We're VERY close to done! BUT, I'll show you the layer order in case you got confused:
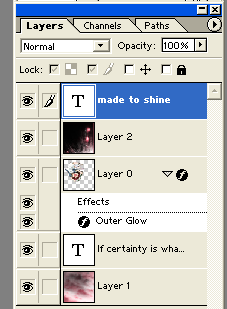
Ok, merge your layers together (Ctrl+Shift+E) and add a 1px border in the same color as your text.

YATTTAAAA!!!! We're DONE!!! Feedback? Results? Comments? Comment here, I'd love to hear them!
Another icon made with this effect:

Go from this:

...

...to this!
Made in Photoshop 6.0, should be translatable. It's only 9 steps, and the steps are quite easy!
This tutorial is probably best with something that you want the background to be cut out. Otherwise, it might look weird ;)
Step One:
Take your base image....in this case, I chose this image (Courtesy of Ore-sama.net)...

...and crop it down 100x100!

Step Two:
Now...the main focus of this icon is on Gakuto (the weird, jumpy redhead), so we must get rid of the distracting background. So...take your Polygonal Lasso Tool:

(it's my way of getting rid of backgrounds....even though you can only draw straight lines, it is MUCH cleaner than that Magic Wand!)
and get rid of the background.
That leaves us with this:

(I know, there are still some unnecessary lines, but that'll be fixed!)
Step Three:
The quality really needs to be fixed! So...duplicate your base layer, and set that to Soft Light 75% (You may have to adjust the opacity to your liking)

Step Four:
I'm going to "outline" Gakuto so he looks neater. Give it some Outer Glow...

...and leave it at its default settings.

You can't really see much of a difference, but you'll see it later, trust me!
Step Five:
Take this (edited by me) texture:

by cdg, and place it behind Gakuto. It's our background!

Step Six:
Take this (again, edited by me) texture:

by Unknown (if you know who made this, please tell me!) and set it on Screen 100%

Step Seven:
Text time, yo! Now, I'll tell you how to get a "background-text effect".
I typed in the lyrics in the font Violation, 10pt in the color #000000, otherwise known as a pure black:
"If certainty is what you make of this
I certainly won't make believe
The calm before the storm is running strong
I just hear my voice, I just hear my voice "
(The lyrics are from the song "When Bad News Gets Worse" by Lucky Boys Confusion)
I put that layer of text behind the Light Texture and the Gakuto layer, so now, it looks like this:

BUT, WAIT, that's not what we want! We want a "background-text effect". SO, to solve this problem, I set the text layer on Soft Light 75%

Yay!
Step Eight:
Ok, now for the REAL TEXT. Type in "made to shine" in Violation, 12pt in the color #720A1C. Now, take your rotating tool...
and rotate it!

(I know there's a border...I forgot to save the step, so I just took the finished icon. It's not much of a difference ^^)
Step Nine:
We're VERY close to done! BUT, I'll show you the layer order in case you got confused:

Ok, merge your layers together (Ctrl+Shift+E) and add a 1px border in the same color as your text.

YATTTAAAA!!!! We're DONE!!! Feedback? Results? Comments? Comment here, I'd love to hear them!
Another icon made with this effect:
