Quick Colouring Tutorial!!
For my buddy Kevin!
This is a quick colouring tutorial on how to do flats for my buddy Kevin.
Part 1: Lifting the lineart
This is pretty basic but I'll include it too. For my linearts I prefer to work in bitmap mode, because that gives me less headache when cleaning them up. I try not to work any lower than 600 dpi, although that has a tenancy to lag up my computer.
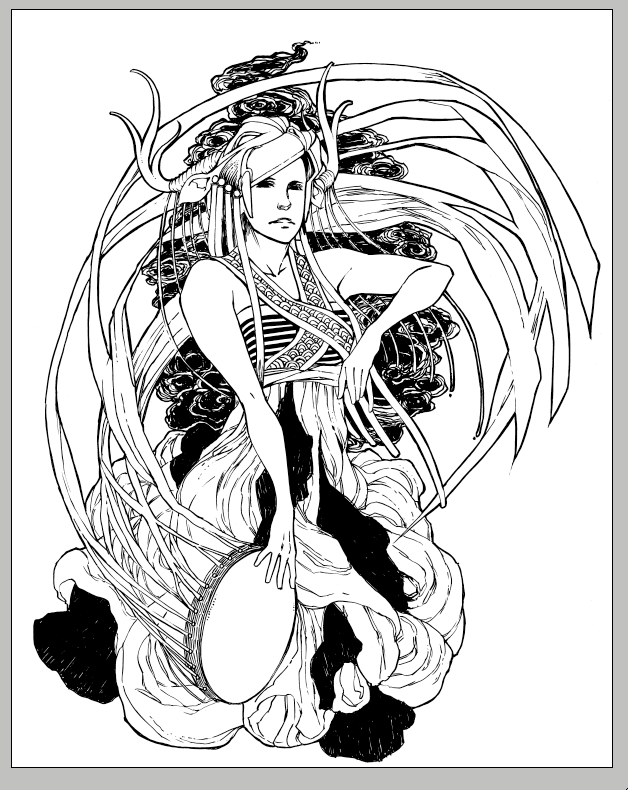
Here is a lineart I have lying around. After scanning it, I converted it to greyscale, then to bitmap mode.
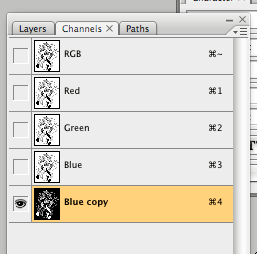
Convert this back to RGB and go to the "channels" palette. Copy the "Blue" channel, and invert it (ctrl + I or cmd + I)
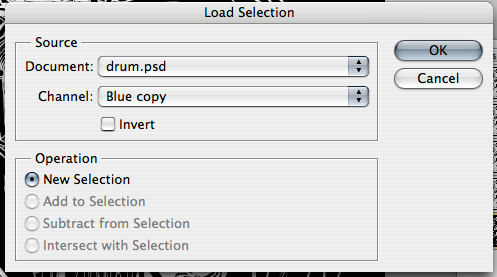
Now go to Selection > Load Selection, and choose "Blue Copy".
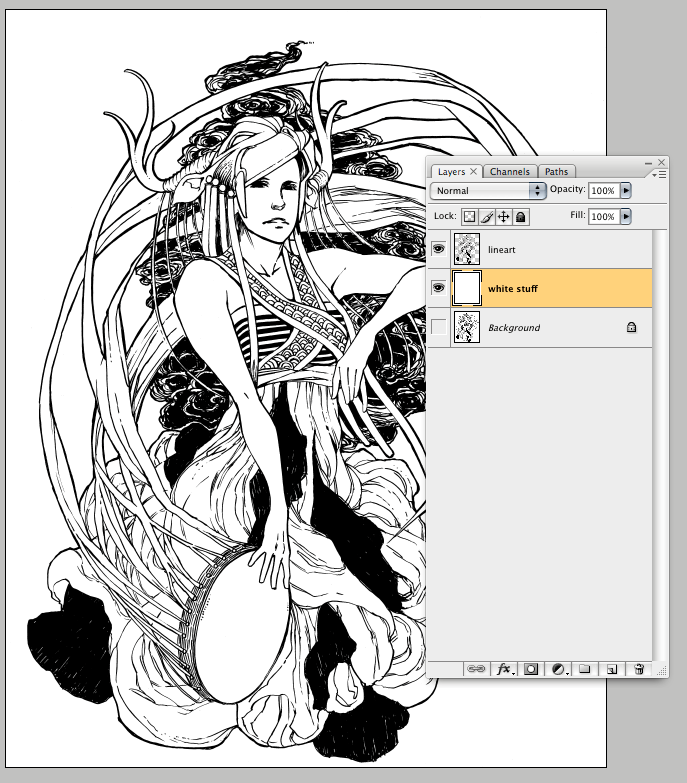
After you hit okay, you should have a selection of all the lineart. Create a new layer and fill it.
I'm aware that if you just want your lineart to stay black, you can set it on "multiply", but lifting the lineart is good for changing the colour without having it affect where it intersects with the colour.
Part 2: Filling
This part is mostly tedium. You can do it with the polygonal lasso tool or go in with a pencil tool, or use the multifill filter. I usually use a combination of the pencil tool and multifill, since the filter itself can do some pretty crazy things.
So, here's my lineart again,
And here it is after multifill:
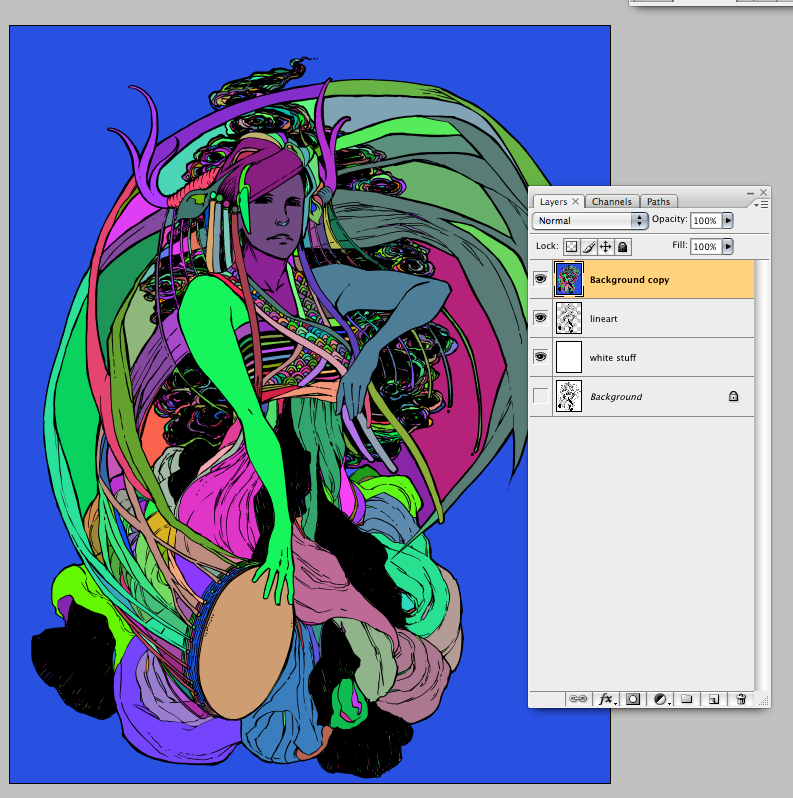
As you can see, multifill by no means does your job for you. You still need to fiddle around with the magic wand a lot to get it to actually look anywhere like how you'd like it to.
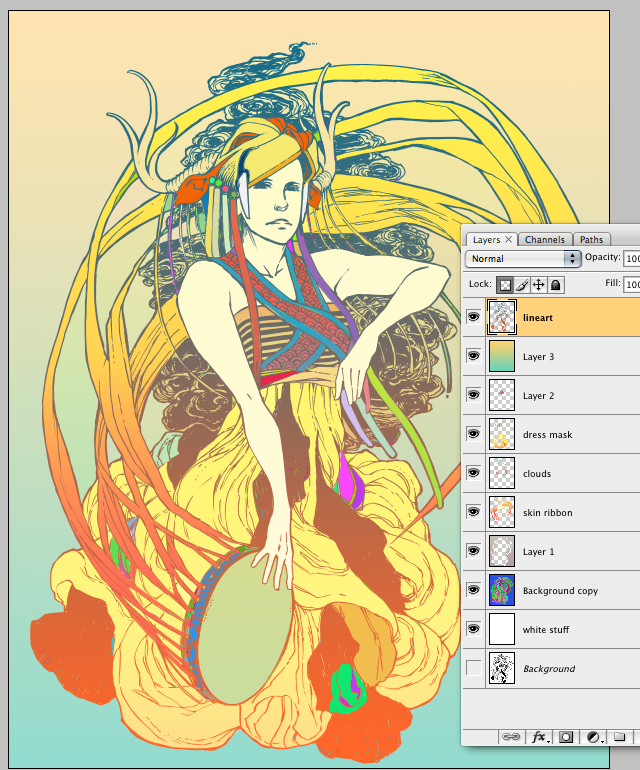
So... cleaning it up. Basically I magic wand all the areas that should be the same colour and put it on a new layer. To conserve RAM, I tend to put things that don't touch each other on one layer as well. (For example, the mask and the dress would be on one layer, and the ribbons and skin on a seperate layer)
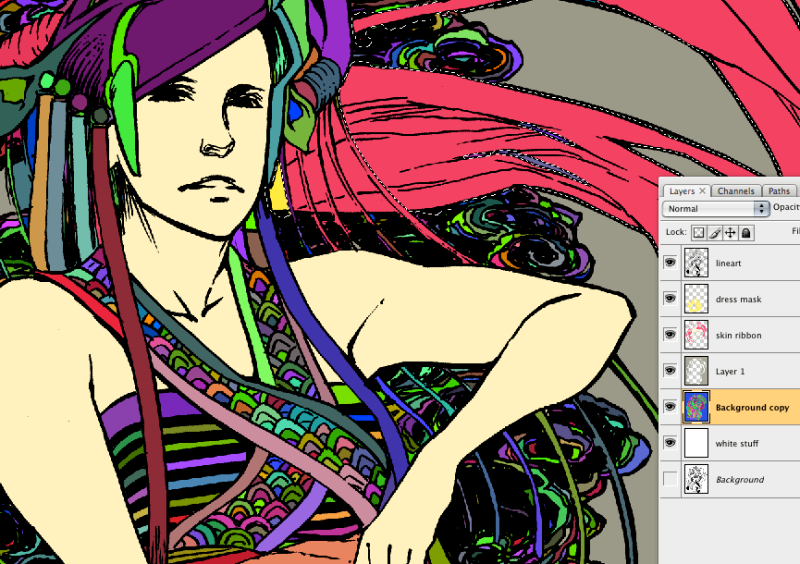
You'll probably find that there are lots of little spots that you keep missing and spots that are joining because you didn't join the areas properly. This is especially painful for someone who has the tendency to crosshatch a lot, like me.....
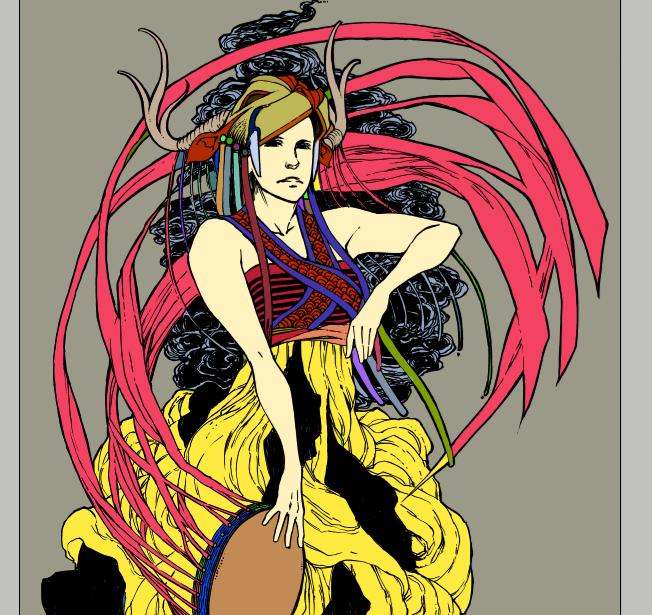
Anyway, when you have all your spots filled in on seperate layers (they don't necessarily need to be the colours you actually want), you can then fiddle around with them to make them look right together. I'm not too happy with any of the colours here... so I'm gonna play around with them a bit. I'm not supposed to be making this tutorial right now so I'm gonna ignore all the noodly bits, but normally I would fill those in as well.
A bit better.
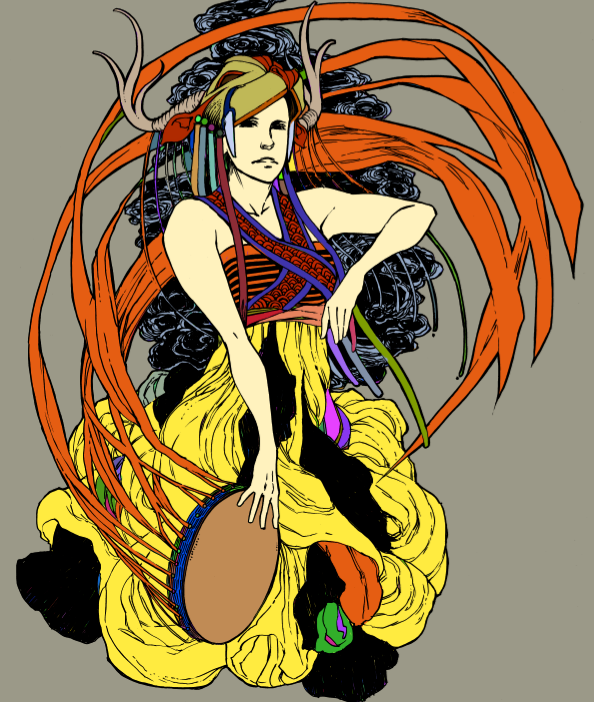
So, the great thing about having all the flats on different layers is that you can select the what you want and change the colour or apply a gradient, like this:
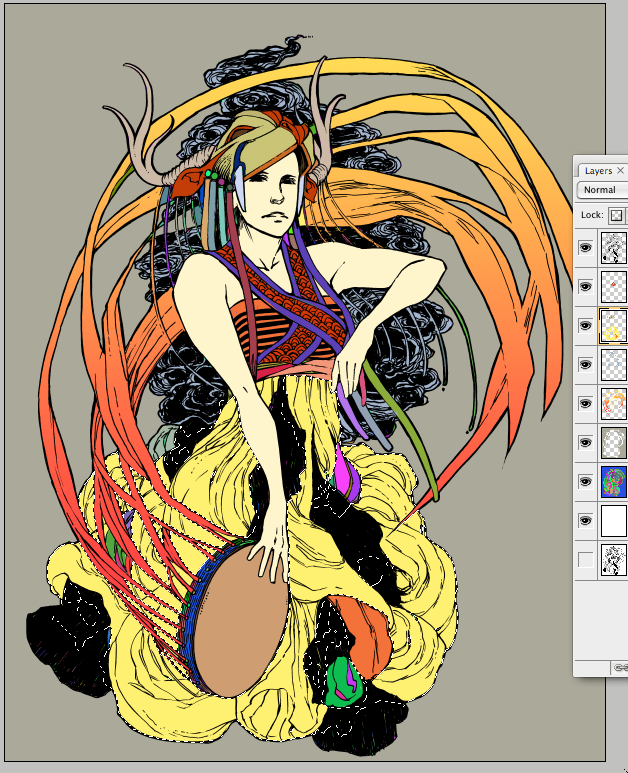
I'm a gradient fiend so I like to throw gradients around a lot... GRADIENTS. MORE GRADIENTS.
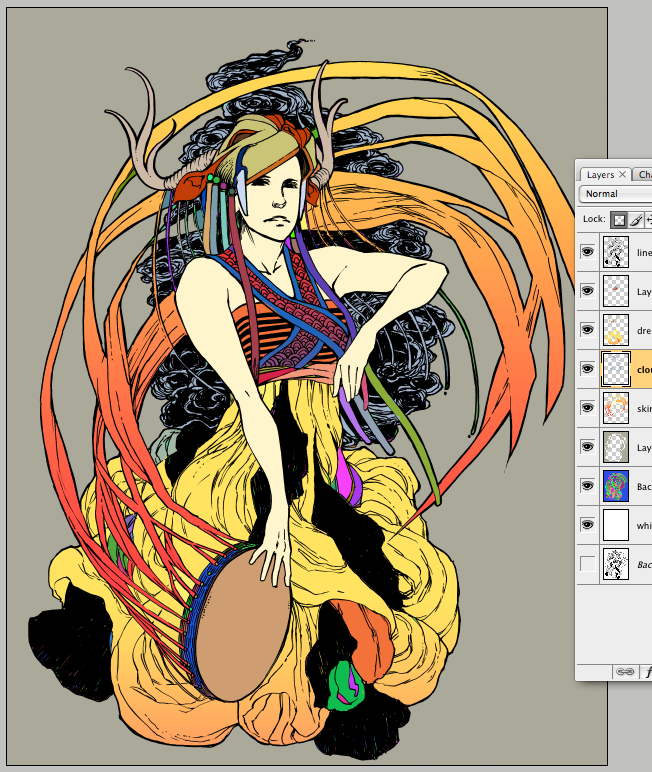
Or, if you only have one thing on the layer, you don't even need to wand it, you can just lock the transparency and... GRADIENTS. MORE GRADIENTS.
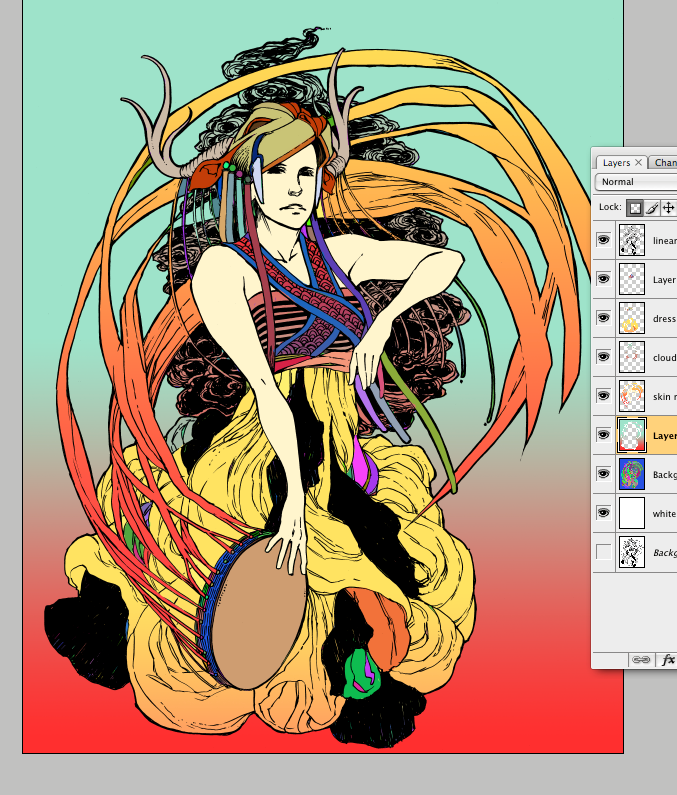
FFFF SO MUCH GRADIENT.
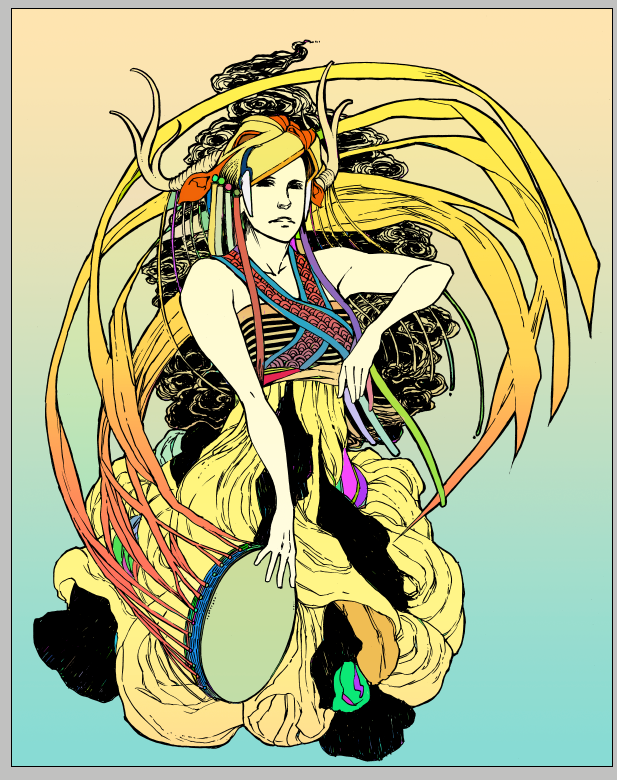
AAHHH MORE GRADIENT.
Anyway, you can also do the same thing with the lineart. Lock the transparency and put a gradient on it, which can give you some neat noodly effects.
DONE. A WORK OF ART.
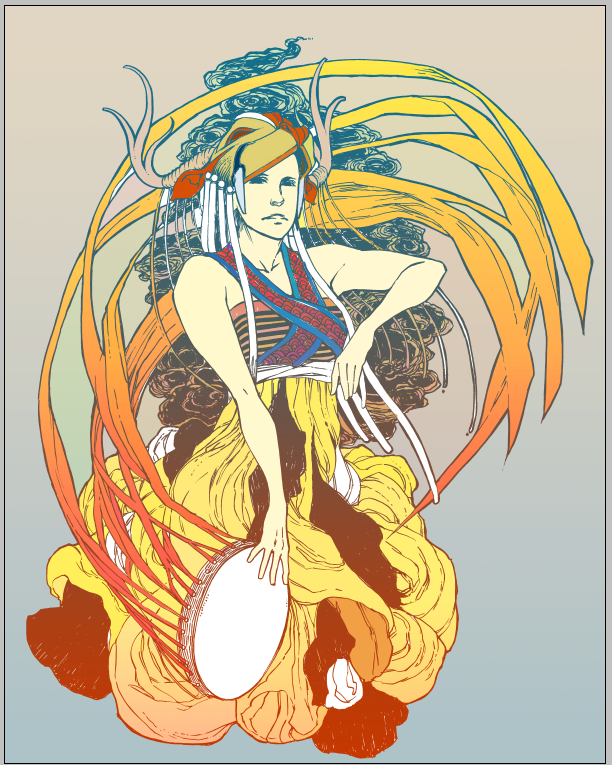
Man I really felt like I lost a lot of steam by the end. If I ever actually finish this pic I'll post it up.
This is a quick colouring tutorial on how to do flats for my buddy Kevin.
Part 1: Lifting the lineart
This is pretty basic but I'll include it too. For my linearts I prefer to work in bitmap mode, because that gives me less headache when cleaning them up. I try not to work any lower than 600 dpi, although that has a tenancy to lag up my computer.
Here is a lineart I have lying around. After scanning it, I converted it to greyscale, then to bitmap mode.

Convert this back to RGB and go to the "channels" palette. Copy the "Blue" channel, and invert it (ctrl + I or cmd + I)

Now go to Selection > Load Selection, and choose "Blue Copy".

After you hit okay, you should have a selection of all the lineart. Create a new layer and fill it.
I'm aware that if you just want your lineart to stay black, you can set it on "multiply", but lifting the lineart is good for changing the colour without having it affect where it intersects with the colour.
Part 2: Filling
This part is mostly tedium. You can do it with the polygonal lasso tool or go in with a pencil tool, or use the multifill filter. I usually use a combination of the pencil tool and multifill, since the filter itself can do some pretty crazy things.
So, here's my lineart again,

And here it is after multifill:

As you can see, multifill by no means does your job for you. You still need to fiddle around with the magic wand a lot to get it to actually look anywhere like how you'd like it to.
So... cleaning it up. Basically I magic wand all the areas that should be the same colour and put it on a new layer. To conserve RAM, I tend to put things that don't touch each other on one layer as well. (For example, the mask and the dress would be on one layer, and the ribbons and skin on a seperate layer)

You'll probably find that there are lots of little spots that you keep missing and spots that are joining because you didn't join the areas properly. This is especially painful for someone who has the tendency to crosshatch a lot, like me.....

Anyway, when you have all your spots filled in on seperate layers (they don't necessarily need to be the colours you actually want), you can then fiddle around with them to make them look right together. I'm not too happy with any of the colours here... so I'm gonna play around with them a bit. I'm not supposed to be making this tutorial right now so I'm gonna ignore all the noodly bits, but normally I would fill those in as well.
A bit better.

So, the great thing about having all the flats on different layers is that you can select the what you want and change the colour or apply a gradient, like this:

I'm a gradient fiend so I like to throw gradients around a lot... GRADIENTS. MORE GRADIENTS.

Or, if you only have one thing on the layer, you don't even need to wand it, you can just lock the transparency and... GRADIENTS. MORE GRADIENTS.

FFFF SO MUCH GRADIENT.

AAHHH MORE GRADIENT.
Anyway, you can also do the same thing with the lineart. Lock the transparency and put a gradient on it, which can give you some neat noodly effects.

DONE. A WORK OF ART.

Man I really felt like I lost a lot of steam by the end. If I ever actually finish this pic I'll post it up.