2nd Tutorial!
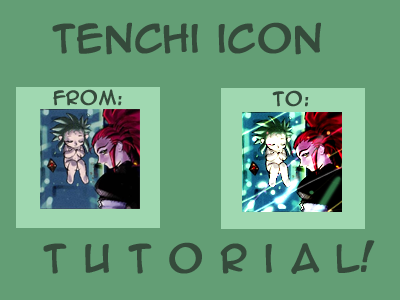
Click the image for the tutorial!
Program: Photoshop 7.0
Difficulty: Easy
1. We take
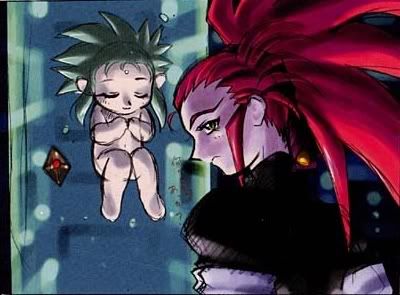
and crop it. 100x100.
Then we get:

2. Then we copy the cropped image(known now as CI):
And set it to pin light. Opacity 100%
3. We once again copy the CI and bring it to top. Then, we click filter > blur > Gaussian blur(GB). GB to 4.8 pixel radius, then the layer set to soft light 100%:
4. Now here's the tricky part! We want to click image > adjustments > levels(or control + l).
Set them to:
RGB: 10 //1.00 //201
Red: 0 //1.15 //255
Green: 0 //1.00 //215
And we'll get something like this:
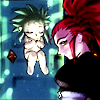
5. Now we're going to do color balance! Go to image > adjustments > color balance(or control + b).
Set to:
Midtones: 10 //9 //7
And we should get something along these lines:
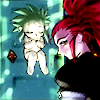
6. Now we make another layer, and fill it.
Layer: Fill with #B9FFBB.
Set to soft light 68%.
Erase Washu's face and Ryo-ohki(the triangle).
And we get:

7. Now take
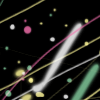
by twistedfae, and set it to linear dodge. Then erase over Washu's face.
We should get:
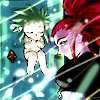
8. And finally, we copy the first layer, drag to top, then set it to soft light. And we should get:
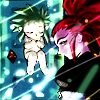
as the final product!
Phew! Any feedback would be greatly appreciated on this tutorial!
Also, feel free to join the community if you'd like!