Sewing Diary: Snapdragon stage 2, part 2
When we last left off, Snapdragon only had one ruffle. In the months that followed, I was to come to discover that just because the dress in the picture has pretty much 5 ruffles, that meant NOTHING compared to how many ruffles I was going to end up making.
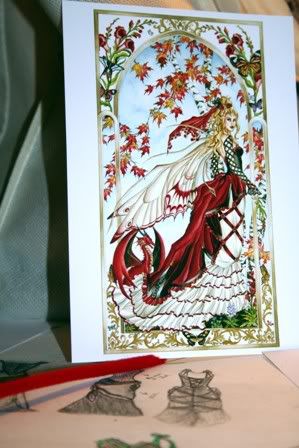
I was at a standstill as to what exactly to do about the train of the dress. Fortunately, a co-worker of mine had someone that she could introduce me to that could help me with that - her Grandmother. :)
I posted a recounting of our visit over at the Archimatta blog site, if you want to read it.
Dinner at Oma's House.
This is Oma's studio area.

I layed out what I had so far - the bottom ruffles were in place but none in the back - and she told me some really good tips on how to attach a train without restricting the fabric flow.

This was my studio a few weeks ago. It's good to know that all creative people are messy. :)

To use the methods that she recommended, it meant pretty much only one thing. MORE RUFFLES.

Piles. And Piles. And Piles of them.

To make a ruffle, I serged the satin with off-white thread on all 4 edges into strips using this machine.

Then I hemmed every edge inward using this machine.

Then I went out and bought this machine so that I could attach the ribbon faster. Every ribbon must be run twice.

Every ruffle was about 15 feet long. I created a monster. No really. A ruffle monster. And this pic is just the ruffles for the front of the underskirt. I think I was having nightmares about ruffles. Idk, you can ask blacklid . She was probably having them too.
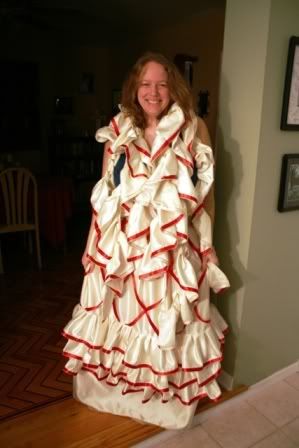
One important thing I had to do before I could attach the train was run an elastic strip through the casing that I had sewn into the under construction of the skirt to bunch the tulle into a bell shape. You can see the lines crossing the back in this picture.
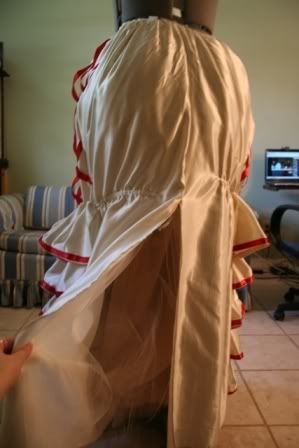
To run it through, I had to use a needle and do it one inch at a time. It took 3 hours. Boots was very helpful.
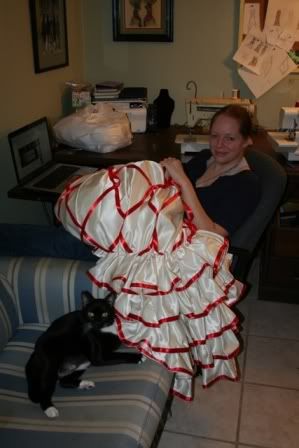
Then it was back to making ruffles.
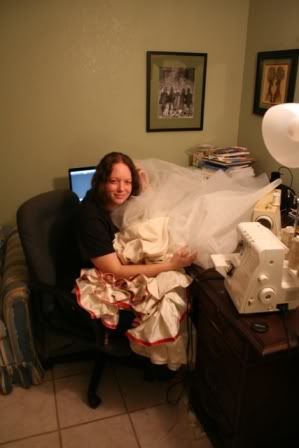
I made the train an entirely separate piece from the underskirt. This is a pic of me just holding it over to make sure it's the right size.

At this point I was going to hang myself with one of the ruffles just to get a break from all the PLEATING, so I stopped to go ahead and attach the small red flowers onto the intersections of ribbon on the front of the skirt, since the bell shape was established and I knew everything would be lined up properly.
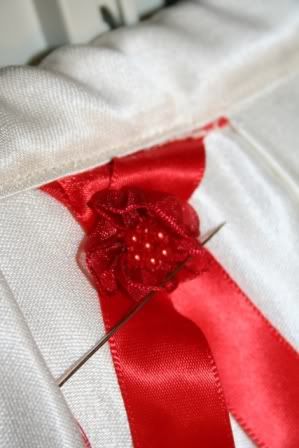
Then I attached the train section to the underskirt at only 2 places, allowing the fabric to fall naturally instead of pinning it in place.
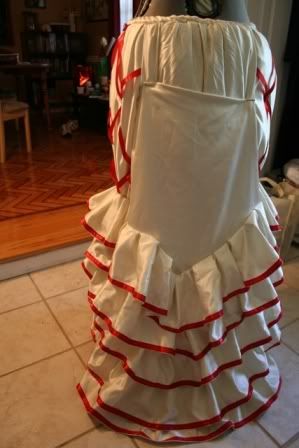
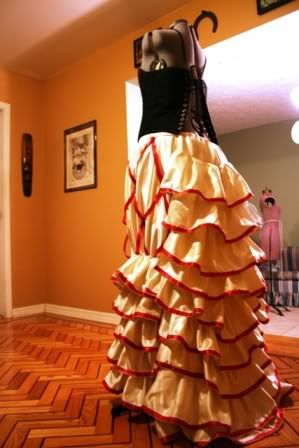
I could have stopped there since the rest is covered by the overskirt, but I wanted to have the option of wearing it without the overskirt in the future if I wanted, so I made MORE ruffles and finished it all the way up.

Since the 3 parts are only connected where they have to be, I hand-stitched the train sections down to the main skirt at certain strategic points to hold it together as one skirt while still allowing for the natural movement the fabric would need to have to look right.
Stage 3: Wings