Entry VII: Getting it all together
The busk and boning finally came so today we're going to put the busk into the fabric and sew up the panels altogether.
First it's important to know what is the top and outer part of you busk. the hook side will be the right side of the corset (if you;re looking at it, on your left side) also the outer part will have the hook on top of it.
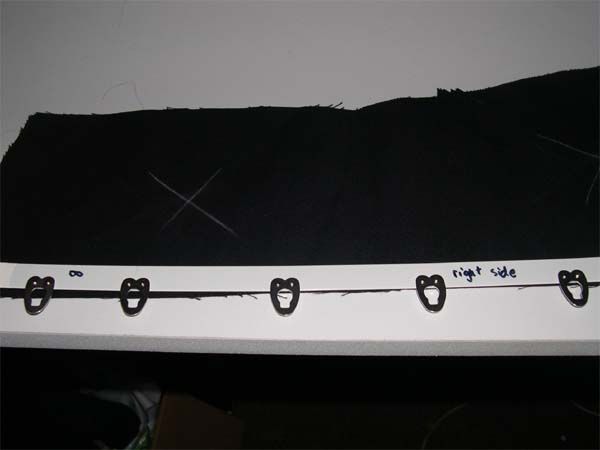
Align it up so that there is even space from the top and bottom. Make suer its 5/8 and inch away from the edge for seam allowance. mark between the places that you have the hook part sticking out. Stitch these areas. Remember to back stitch at the begining and end of each section. Hard press it with the iron wrong sides together and slide your busk between the pieces.
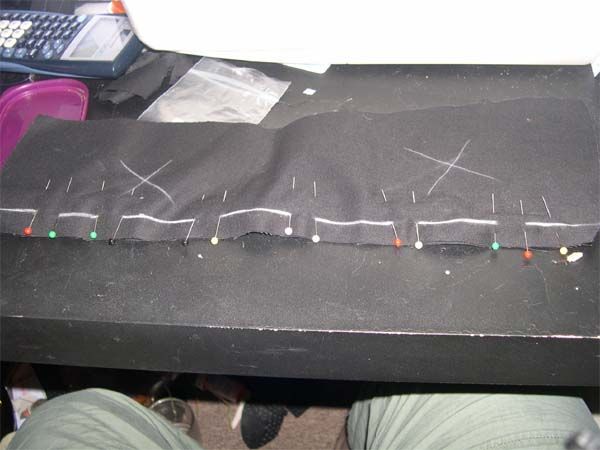
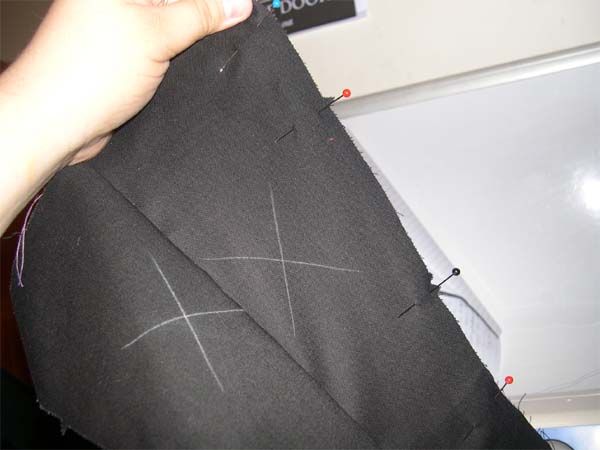
Carefully slip the hooks in one at a time making sure to pin the fabric after you insert each part. Using you zipper foot, stitch as close to the busk as you can.
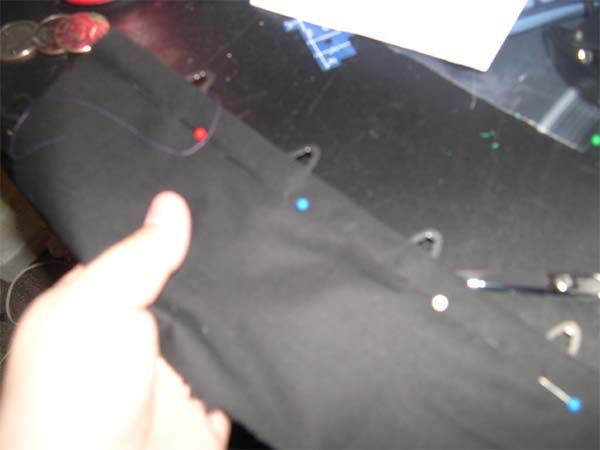
After you've stitched the right side of the corset, now it's time for the left side. First, unlike the other front pnael you will sew down the straight line all the way and give it a hard press. Using the side with the hook eyes, line up both fabric pieces and mark where you would have the post come through the eye. Using you're awl poke a hole and gently insert each post to where it should go.
Now when I did this I had trouble, perhaps it's because the black fabric I used was meant for lining. I'm not sure to be honest. I used some fray check but I found it left a white residue around it. I will look into something better later.
Repeat with how you did for the other side of the busk and sew as close to the edge after you've pinned it in place.
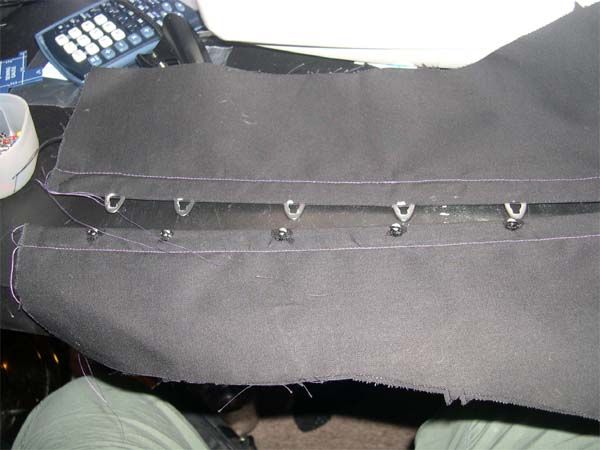
Now...this is where I made a mistake and had to go back. I stitched all of the panel linings and outer linings together.
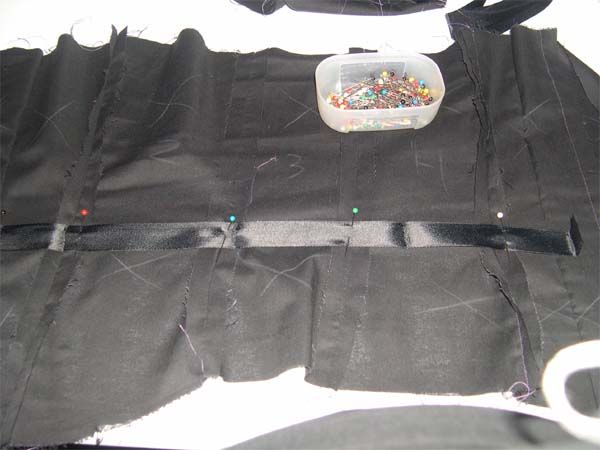
However before you do this, you need to first fit you're corset without the lining (save for the pieces involved with the busk and back). The importance of this is to find out where it lies for your waist. Once you've figured this out, you will sew twill tape on the inside of the outer fabric. This will strengthen it for future uses because the outer fabric will take more strain.
So what did I notice hen I tried mine on?
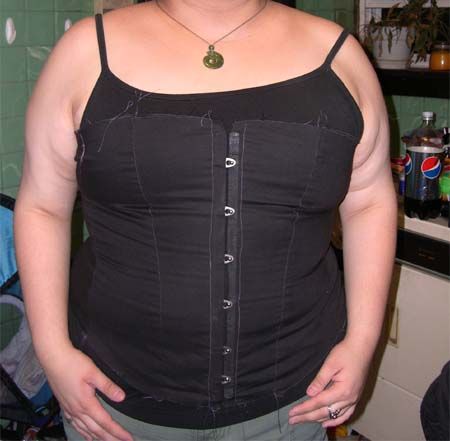
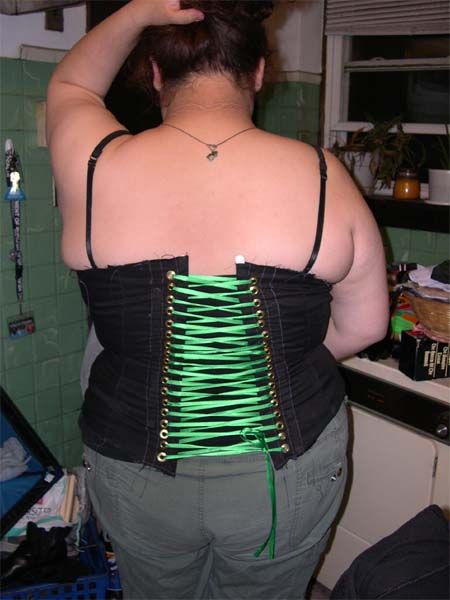
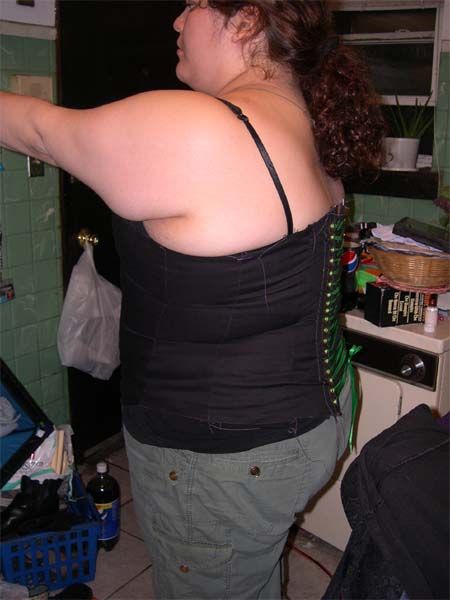
All in all I got lucky with the pattern. the size 28 worked for me because I could alter it size wise by just adding three inches gap in the back. After I fix the extra room on the top I will restitch the lining to the outer fabric.
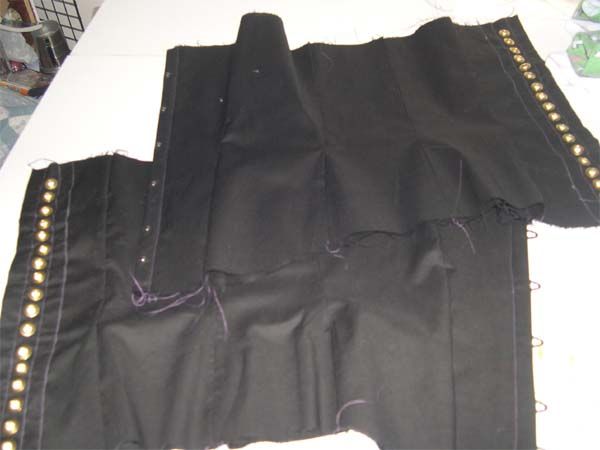
Well folks, till next time!
Update: After trying on my corset again and tightening it more (I left an inch gap in the back), I have realized that I don't need to adjust the bust area. So I simply restitched the lining back on.
First it's important to know what is the top and outer part of you busk. the hook side will be the right side of the corset (if you;re looking at it, on your left side) also the outer part will have the hook on top of it.

Align it up so that there is even space from the top and bottom. Make suer its 5/8 and inch away from the edge for seam allowance. mark between the places that you have the hook part sticking out. Stitch these areas. Remember to back stitch at the begining and end of each section. Hard press it with the iron wrong sides together and slide your busk between the pieces.

Carefully slip the hooks in one at a time making sure to pin the fabric after you insert each part. Using you zipper foot, stitch as close to the busk as you can.

After you've stitched the right side of the corset, now it's time for the left side. First, unlike the other front pnael you will sew down the straight line all the way and give it a hard press. Using the side with the hook eyes, line up both fabric pieces and mark where you would have the post come through the eye. Using you're awl poke a hole and gently insert each post to where it should go.
Now when I did this I had trouble, perhaps it's because the black fabric I used was meant for lining. I'm not sure to be honest. I used some fray check but I found it left a white residue around it. I will look into something better later.
Repeat with how you did for the other side of the busk and sew as close to the edge after you've pinned it in place.

Now...this is where I made a mistake and had to go back. I stitched all of the panel linings and outer linings together.

However before you do this, you need to first fit you're corset without the lining (save for the pieces involved with the busk and back). The importance of this is to find out where it lies for your waist. Once you've figured this out, you will sew twill tape on the inside of the outer fabric. This will strengthen it for future uses because the outer fabric will take more strain.

So what did I notice hen I tried mine on?


- I had good length on it
- the busk held well
- the grommets are alright, I def nee to get a machine for this instead of a hammer version.
- Some of the grommets need to be fray checked, perhaps it's the fabric.
- The bust needs to be taken in about 1 5/8 inch on each side.
- Side are not to high for me.
- The back is just where I want it.
- It looks all wrinkly but not in a bad way. I know these wringles will go away once I've properly boned the corset.
All in all I got lucky with the pattern. the size 28 worked for me because I could alter it size wise by just adding three inches gap in the back. After I fix the extra room on the top I will restitch the lining to the outer fabric.

Well folks, till next time!
Update: After trying on my corset again and tightening it more (I left an inch gap in the back), I have realized that I don't need to adjust the bust area. So I simply restitched the lining back on.